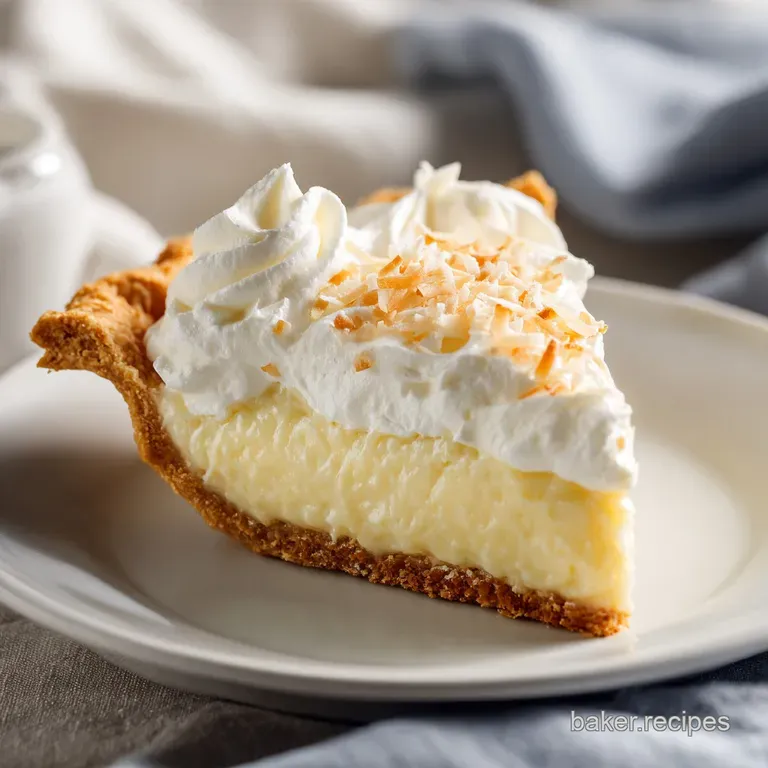
Best Coconut Cream Pie Recipe: Velvety Custard
- Time: Active 20 minutes, Passive 4 hours, Total 4 hours 20 mins
- Flavor/Texture Hook: Velvety coconut custard with a toasted coconut crunch
- Perfect for: Family gatherings or a weekend treat
- Create the Best Coconut Cream Pie Recipe
- The Science of the Set
- Quick Method Decision Table
- Component Analysis and Selection
- Essential Components for Maximum Flavor
- Necessary Gear for the Kitchen
- Executing the Perfect Pastry Fill
- Expert Tactics for Smooth Results
- Troubleshooting Your Custard
- Scaling the Recipe Size
- Flexible Swaps and Flavor Twists
- Debunking Common Kitchen Beliefs
- Storing Your Pie for Later
- Elegant Ways to Plate Slices
- Recipe FAQs
- 📝 Recipe Card
Create the Best Coconut Cream Pie Recipe
I still remember the first time I tried to make a coconut pie from scratch. I was obsessed with that diner style look, but my result was a disaster - a literal puddle of sweet milk sitting in a soggy crust. It was honestly heartbreaking, but it taught me that you can't just wing it with custard.
The balance between the liquids and the thickener is a precise dance that requires a bit of patience.
Once you get that first whiff of toasted coconut hitting the hot custard, you'll know exactly why we do this. It’s that deep, nutty aroma that fills the whole kitchen and makes the waiting time feel like an eternity. We've all been there, hovering by the fridge door every twenty minutes to see if it's set yet.
Trust me on this, the wait is the hardest part, but the payoff is a slice that actually stands up on the plate.
We're going for a texture that's silky and rich, not that weird gelatinous stuff you find in the grocery store freezer aisle. By using a mix of whole milk and full fat canned coconut milk, we get a depth of flavor that a simple extract just can’t touch. It's about building layers of coconut from the ground up.
The Science of the Set
Amylose Alignment: When cornstarch molecules are heated with liquid, they swell and burst, creating a networked web that traps moisture and turns liquid into a solid gel.
This process, called gelatinization, requires the mixture to reach a gentle bubble to ensure the starch is fully activated so the pie doesn't weep later.
Quick Method Decision Table
| Method | Time | Texture | Best For |
|---|---|---|---|
| Stovetop Custard | 15 minutes | Silky and dense | Authentic flavor |
| Instant Pudding | 5 minutes | Light and airy | Last minute needs |
| No Bake Method | 10 minutes | Mousse like | Summer heat |
Getting the temperature right is the difference between a velvety finish and a scrambled egg mess. If you've ever struggled with custard, you likely skipped the tempering step. By slowly whisking hot milk into your cold yolks, you raise their temperature gradually, preventing the proteins from clumping together.
It's a simple move that saves the entire dish.
Component Analysis and Selection
| Ingredient | Science Role | Pro Secret |
|---|---|---|
| Egg Yolks | Emulsifier | Use large yolks for a richer, golden color and smoother mouthfeel. |
| Cornstarch | Structural Agent | Always dissolve in cold liquid first to prevent stubborn lumps in the custard. |
| Coconut Milk | Fat Source | Use full fat canned versions only; the fat provides the necessary "body" for setting. |
Essential Components for Maximum Flavor
For this recipe, we are keeping things focused on high impact ingredients that don't break the bank. You don't need fancy equipment, just a heavy bottomed saucepan and a sturdy whisk. If you're looking to save even more time, you can use a Pastry Dough for recipe that you've prepared in advance and kept in the freezer.
- 1 pre baked 9 inch pie shell: This provides the structural base. Why this? A blind baked crust prevents sogginess from the heavy custard filling.
- 1.5 cups whole milk: Adds creaminess and protein for setting. Why this? The proteins in dairy help the cornstarch create a more stable gel.
- 13.5 oz full fat coconut milk: The primary flavor driver. Why this? Canned coconut milk has a higher fat content than the carton version.
- 4 large egg yolks: Provides richness and emulsification. Why this? Yolks contain lecithin, which binds the water and fats together perfectly.
- 0.75 cup granulated sugar: Sweetens without masking the coconut.
- 0.33 cup cornstarch: The heavy lifter for the texture.
- 0.5 tsp fine sea salt: Balances the sweetness and enhances the nuttiness.
- 1 cup shredded coconut: Adds texture and reinforces the flavor.
- 2 tsp vanilla extract: Rounds out the tropical notes.
- 2 tbsp unsalted butter: Adds a glossy finish and a velvety mouthfeel.
- 1.5 cups heavy whipping cream: For the billowy topping.
- 3 tbsp powdered sugar: Stabilizes the whipped cream.
If you find yourself short on whole milk, you can use a 1:1 swap with half and half for an even more decadent result. Just like with my Traditional Pumpkin Pie recipe, the fat content is your best friend when it comes to achieving that professional slice.
Necessary Gear for the Kitchen
You really want a heavy bottomed saucepan for this. Thin pots have "hot spots" that will scorch your milk before the cornstarch even thinks about thickening. A silicone whisk is also a lifter here because it gets into the corners of the pan where the custard loves to hide and burn.
I also highly recommend a fine mesh strainer. Even the best cooks get a little bit of cooked egg in their custard occasionally. Straining the mixture as you pour it into the crust ensures a perfectly smooth experience.
It's one of those small steps that separates a "good" pie from the absolute best version you've ever had.
Executing the Perfect Pastry Fill
1. The Infusion Phase
Whisk the granulated sugar, cornstarch, and salt in your saucepan until no lumps remain. Slowly pour in the whole milk and coconut milk, whisking constantly. Note: Starting with dry ingredients mixed prevents cornstarch clumps.
2. The Thicken & Set
Heat the mixture over medium heat, whisking frequently. Cook for about 8 minutes until the liquid begins to bubble and thicken significantly.
3. Tempering the Yolks
Place your 4 egg yolks in a medium bowl and whisk them lightly. Slowly drizzle about one cup of the hot milk mixture into the yolks while whisking vigorously. Note: This prevents the eggs from curdling when they hit the hot pan.
4. The Final Cook
Pour the tempered yolk mixture back into the saucepan. Continue cooking for another 2 minutes until the custard is thick and glossy.
5. Flavor Integration
Remove from heat and stir in the unsalted butter, vanilla extract, and half of the shredded coconut. Stir until the butter is completely melted and incorporated.
6. The Rapid Chill Transfer
Pour the warm filling into your pre baked pie shell. Smooth the top with a spatula and press a piece of plastic wrap directly onto the surface of the custard. Note: This prevents a tough "skin" from forming on the pie.
7. The Cooling Period
Refrigerate the pie for at least 4 hours. The pie is ready when the center doesn't jiggle when nudged.
8. The Final Flourish
Beat the heavy whipping cream and powdered sugar in a stand mixer until stiff peaks form and the cream holds its shape. Spread it over the chilled pie and top with the remaining toasted coconut.
Expert Tactics for Smooth Results
Chef's Tip: To get that restaurant quality look, toast your coconut in a dry skillet over medium low heat for 3 minutes before adding it to the pie. The oils release and provide a much deeper flavor profile than raw shreds.
Another trick I learned the hard way: freeze your metal mixing bowl for 10 minutes before whipping the heavy cream. Cold equipment keeps the fat in the cream stable, which means your topping won't deflate or become runny by the time you serve it.
It’s a small detail that makes a massive difference in presentation.
Finally, don't rush the cooling process. If you cut into a warm pie, the custard will simply spill out like a soup. The cornstarch needs those 4 hours to fully set its structure.
If you're in a rush, you can place the pie in the freezer for 45 minutes, then move it to the fridge, but the slow chill is always safer.
Troubleshooting Your Custard
Why Your Filling Weeps
If you see liquid pooling at the bottom of the pie after a day, it's usually because the cornstarch wasn't cooked long enough. The mixture needs to reach a boil to "lock" the starch molecules.
Avoiding Rubbery Textures
Overcooking the custard after adding the egg yolks can result in a rubbery, tough texture. Once those yolks go back in, you only need a couple of minutes to reach the right thickness.
| Problem | Root Cause | Solution |
|---|---|---|
| Lumpy custard | Cornstarch added to hot liquid | Dissolve cornstarch in cold milk first next time. |
| Runny center | Underbaked or insufficient cooling | Ensure the mixture bubbles during cooking and chill for 4 hours. |
| Skin on top | Air exposure during cooling | Press plastic wrap directly onto the custard surface. |
Common Mistakes Checklist
- ✓ Never use "light" coconut milk; the lack of fat will prevent the pie from setting properly.
- ✓ Whisk the bottom corners of the pan constantly to prevent the sugar from scorching.
- ✓ Don't skip the tempering step or you'll end up with bits of scrambled egg in your pie.
- ✓ Ensure the pie crust is completely cool before adding the hot filling to maintain crispness.
- ✓ Use a fine mesh sieve to strain the custard for the smoothest possible texture.
Scaling the Recipe Size
If you are cooking for a larger crowd, you can easily double this recipe to fill two 9 inch pie pans. When doubling, keep the salt and vanilla at about 1.5 times the original amount to avoid overpowering the delicate coconut.
You will also need to increase your cooking time by about 5 minutes as the larger volume of liquid takes longer to reach the boiling point.
For a smaller household, you can cut the recipe in half and use a 6 inch pie tin. Since you can't easily halve an egg yolk, go ahead and use 2 yolks; the extra richness won't hurt. Reduce the initial cooking time by about 20% since the smaller volume will thicken much faster.
Flexible Swaps and Flavor Twists
| Original Ingredient | Substitute | Why It Works |
|---|---|---|
| Whole Milk | Half and Half | Higher fat content leads to a sturdier, creamier custard. |
| Shredded Coconut | Toasted Coconut Chips | Adds a more significant crunch and a visual "wow" factor. |
| Granulated Sugar | Light Brown Sugar | Adds a subtle molasses note that pairs well with coconut. |
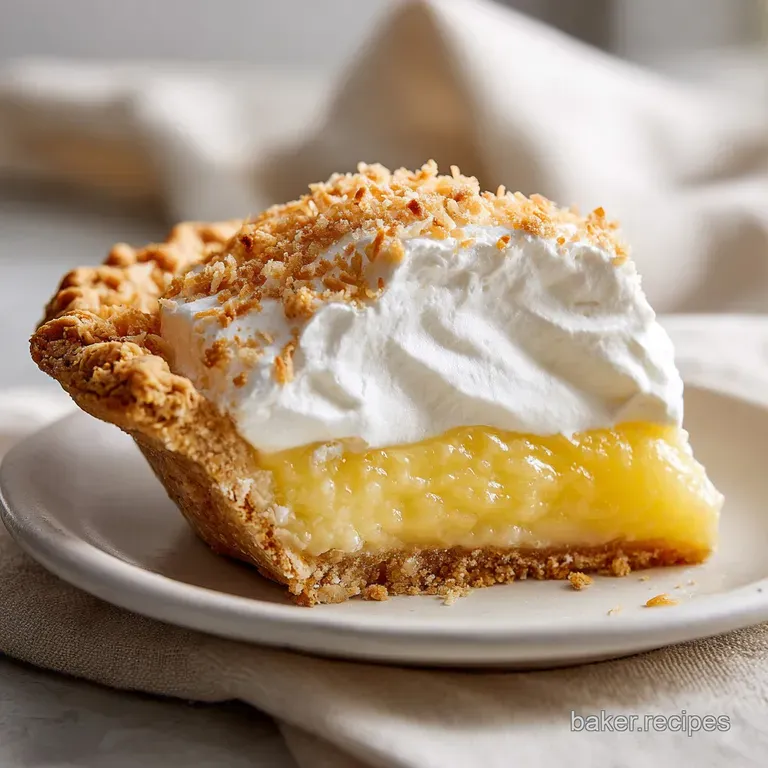
If you want a different vibe, try adding a tablespoon of rum to the custard once it’s off the heat. It gives it a tropical, vacation like feel without being too boozy. You can also swap the traditional crust for a graham cracker version if you prefer a sweeter, crunchier base that doesn't require any rolling pins.
Debunking Common Kitchen Beliefs
A common myth is that you can substitute flour for cornstarch at a 1:1 ratio. In reality, you need twice as much flour to get the same thickening power, and it often leaves a "pasty" aftertaste that masks the coconut. Stick to cornstarch for that clean, professional finish.
Another misconception is that you need to use a meringue topping for an authentic coconut pie. While meringue is traditional in some regions, whipped heavy cream provides a much better fat on-fat experience that complements the creamy filling.
Meringue can also weep and get chewy in the fridge, whereas stabilized whipped cream stays billowy.
Storing Your Pie for Later
Storage: This pie must be kept in the refrigerator. It will stay fresh and hold its structure for up to 3 days. Cover it loosely with foil or a pie dome, but try to avoid touching the whipped cream topping.
Freezing: I don't recommend freezing the fully assembled pie because the whipped cream will lose its texture upon thawing. However, you can freeze the custard filled crust (without the cream) for up to 1 month. Thaw it in the fridge overnight before adding the fresh whipped cream.
Zero Waste: If you have leftover egg whites from the yolks, don't toss them! Use them to make a quick batch of macaroons or a small Pavlova. Any leftover shredded coconut can be tossed into your morning oatmeal or yogurt for a quick flavor boost.
Elegant Ways to Plate Slices
To get those clean, sharp slices you see in photos, run a thin knife under hot water and wipe it dry between every single cut. The heat helps the knife glide through the cold fat of the custard without dragging or tearing the filling.
I love serving this with a few fresh raspberries on the side. The tartness of the berries cuts through the heavy richness of the coconut milk and cream, making the whole experience feel a bit lighter. If you're feeling fancy, a light dusting of lime zest over the whipped cream adds a zesty pop that really brings out the tropical notes. It’s a simple trick that makes the Creamy Coconut Shrimp recipe fans feel right at home with these flavors.

Recipe FAQs
What is the difference between coconut pie and coconut cream pie?
Coconut cream pie is richer and uses a custard base, relying heavily on milk/cream for texture. Traditional coconut pie often uses a lighter, sometimes meringue topped filling or sometimes even relies on evaporated milk, resulting in a less dense final product.
Why is my coconut cream pie so runny?
The mixture was likely undercooked. For the cornstarch to fully activate and create a stable gel, the custard must reach a full, slow boil. If it never bubbles vigorously, the starch is only partially activated and will break down later in the fridge.
What was Gilligan's favorite pie?
This is likely a fictional reference; there is no official source naming Gilligan's favorite dessert. If he was stranded anywhere with coconut, one would assume coconut cream pie would be a top contender given the abundance of ingredients!
What is Obama's favorite coconut cream pie?
There is no publicly documented confirmation of Barack Obama's specific favorite coconut cream pie recipe. While he has expressed fondness for various American classics, his preference for this specific dessert remains anecdotal.
How do I prevent a rubbery texture in my finished coconut cream pie?
Remove the custard from the heat immediately after the egg yolks are incorporated and thickened. Overcooking the eggs causes the proteins to tighten too much, resulting in a firm, rubbery texture rather than a silky custard.
Should I use carton coconut milk instead of canned?
No, stick to canned full fat coconut milk for the custard. The beverage carton version is heavily watered down and lacks the necessary fat content required to achieve the structural set needed for a thick, sliceable pie filling.
How to achieve a perfectly smooth, skinless custard surface?
Press plastic wrap directly onto the surface of the hot filling before chilling. This blocks air contact, which is the cause of the tough, dry skin. If you master this technique, it is transferable to other delicate baked custards, like those in our Rocky Road Ice recipe.
Best Coconut Cream Pie

Ingredients:
Instructions:
Nutrition Facts:
| Calories | 609 kcal |
|---|---|
| Protein | 6.5 g |
| Fat | 44.8 g |
| Carbs | 48.9 g |
| Fiber | 2.4 g |
| Sugar | 27.1 g |
| Sodium | 252 mg |
