Chocolate Covered Strawberries: Snappy Chocolate Shell
- Time: Active 20 minutes, Passive 1 hours 30 mins, Total 1 hours 50 mins
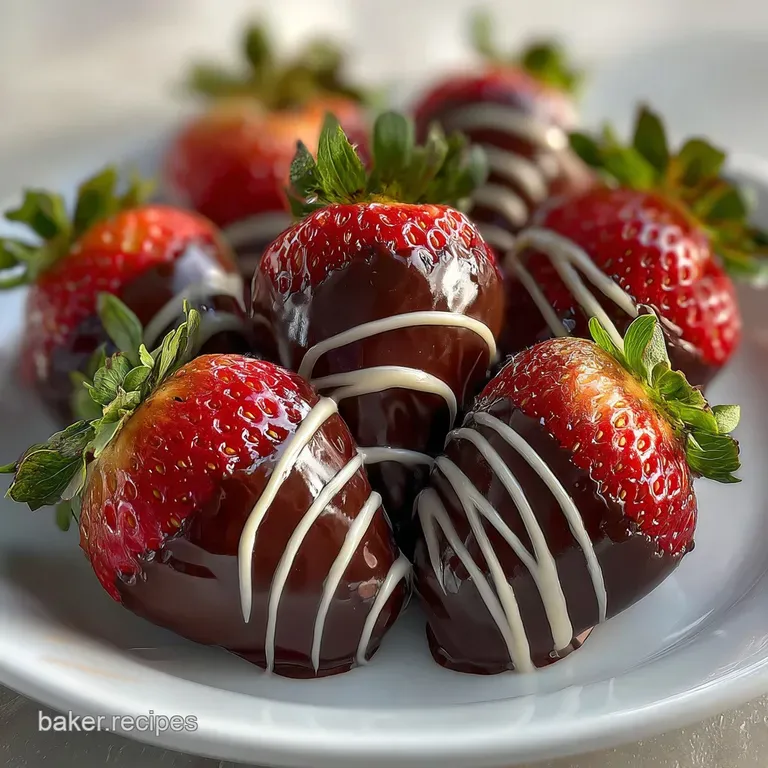
- Flavor/Texture Hook: Shatter crisp dark chocolate meets a juicy, velvety berry center
- Perfect for: Romantic dates, holiday gifting, or a sophisticated dinner party finale
- The Best Ever Homemade Chocolate Covered Strawberries
- Why This Method Works
- Ingredient Deep Dive Analysis
- Essential Elements and Substitutes
- Essential Kitchen Tools
- Detailed Step by Step Instructions
- Solving Common Dipping Hurdles
- Adjusting for Different Batches
- Customizing for Your Needs
- Debunking Kitchen Coating Myths
- Storing and Using Scraps
- Creating a Professional Finish
- Recipe FAQs
- 📝 Recipe Card
The Best Ever Homemade Chocolate Covered Strawberries
There is something truly heartbreaking about biting into a treat only to have the entire chocolate shell slide off in one sad, waxy piece. I remember the first time I tried making these for a Valentine’s party years ago.
I didn't dry the fruit properly, used cheap chocolate chips, and ended up with a puddle of greyish sludge and soggy berries. It was a mess, but that failure taught me everything I needed to know about the science of the dip.
Now, I’ve got this down to a literal art form. When you get that perfect "snap" as your teeth break through the dark chocolate, followed by the cold, sweet explosion of berry juice, you'll know exactly why we don't take shortcuts.
We're going for that boutique level finish where the chocolate is glossy, the stripes are thin and sharp, and the toppings actually stay where you put them. It’s about more than just melting and dipping; it’s about managing moisture and temperature like a pro.
Trust me, once you see how easy it is to get that professional look at home, you’ll never pay those ridiculous gourmet shop prices again. We're using real dark chocolate and a tiny bit of coconut oil to get that velvety flow.
Whether you're making these for a partner or just treating yourself on a Tuesday night, this Chocolate Covered Strawberries with Tips Downshiftology approach ensures you get results that look like they came out of a high end candy box every single time.
Why This Method Works
Getting the perfect finish on your Covered Strawberries with Tips Downshiftology isn't just luck; it is chemistry in action. Chocolate is temperamental, and strawberries are basically little water balloons. When they meet, things can go south quickly if you don't understand the "how" behind the process. Similar to how we balance textures in a How to Make recipe for pudding, we need to respect the ingredients here.
- Surface Tension Management: The triple drying process ensures the chocolate bonds directly to the fruit skin rather than sliding off on a film of water.
- Fat Stabilization: Adding a precise amount of coconut oil lowers the melting point slightly, creating a more fluid dip that sets with a professional sheen.
- Latent Heat Control: By using a gentle melting method, we keep the cocoa butter crystals from breaking down completely, which preserves that satisfying "snap" when you bite in.
- Moisture Barrier: The high cacao percentage in the dark chocolate creates a dense lattice that prevents the strawberry's natural juices from leaking out as quickly.
The Physics of the Snap
The secret to that satisfying shatter lies in the crystallization of the cocoa butter. When chocolate is melted too fast or gets even a drop of water in it, those crystals get disorganized, leading to a dull, soft coating.
By melting slowly and adding a touch of fat, we encourage a stable structure that remains firm at room temperature but melts instantly on the tongue.
| Method | Time | Texture | Best For |
|---|---|---|---|
| Double Boiler | 10 minutes | Ultra glossy, consistent | Large batches and professional finish |
| Microwave | 3 minutes | Slightly thicker, matte | Quick snacks or small quantities |
| Oven (Low) | 15 minutes | Risky, can grain | Not recommended for tempering |
Choosing the right method depends on your patience. I always advocate for the stovetop double boiler because the steam provides a gentle, even heat that the microwave just can't replicate. It prevents the chocolate from scorching, which is the fastest way to ruin your Strawberries with Tips Downshiftology.
Ingredient Deep Dive Analysis
When you are working with so few components, every single one has to pull its weight. You cannot hide poor quality ingredients under a layer of sugar here. This recipe relies on the contrast between the bitter depth of the dark chocolate and the bright acidity of the fresh fruit.
| Ingredient | Science Role | Pro Secret |
|---|---|---|
| Dark Chocolate (60%) | Structural base and flavor | Use bar chocolate, not chips, for better flow and snap. |
| Coconut Oil | Viscosity modifier | This thins the chocolate just enough to create those thin, elegant shells. |
| White Chocolate | Decorative contrast | High milk fat content allows it to stay pliable for fine drizzling. |
| Fresh Strawberries | Acidic foundation | Keep the green stems on; they act as a natural handle and keep the fruit intact. |
Using the right chocolate is non negotiable. Chocolate chips often contain stabilizers that prevent them from melting into a truly velvety liquid. For this Strawberries with Tips Downshiftology guide, I always suggest grabbing a high-quality bar and chopping it finely yourself.
Essential Elements and Substitutes
To make this recipe, you'll need the following quantities as specified in our kitchen tests. These measurements ensure the ratio of coating to fruit is exactly right.
- 24 large fresh strawberries: Look for bright red fruit with no soft spots.
- 10 oz high-quality dark chocolate (60% cacao): This provides the deep, sophisticated flavor.
- 4 oz white chocolate: For those classic, professional looking stripes.
- 1 tsp coconut oil: The secret to the perfect dipping consistency.
- 2 tbsp finely crushed toasted hazelnuts: Adds a much needed crunch.
- 1 tbsp flaky sea salt: To balance the sweetness and intensify the cocoa.
- 2 tbsp dehydrated raspberry dust: For a pop of color and extra zing.
| Original Ingredient | Substitute | Why It Works |
|---|---|---|
| Dark Chocolate (10 oz) | Milk Chocolate (10 oz) | Sweeter profile. Note: Lower snap factor due to higher milk solids. |
| Coconut Oil (1 tsp) | Shortening (1 tsp) | Similar fat structure. Note: Less flavor, but provides the same glossy finish. |
| Toasted Hazelnuts | Crushed Pistachios | Nutty and salty. Note: Adds a vibrant green color contrast to the red and dark brown. |
If you find yourself missing the raspberry dust, don't sweat it. You can crush up some freeze dried berries in a zip top bag with a rolling pin. It provides that same concentrated flavor hit without needing any fancy equipment.
Essential Kitchen Tools
You don't need a professional candy kitchen, but a few specific items will make your life significantly easier. First, a small heat proof glass bowl that fits snugly over a saucepan is vital for your double boiler setup. Make sure the bottom of the bowl doesn't touch the simmering water, or you'll burn the chocolate.
Second, a parchment lined baking sheet is the only way to go. Do not use foil or wax paper; the chocolate will stick and peel off in chunks. Parchment allows the berries to slide right off once set.
Finally,, a small piping bag or even a simple sandwich bag with the corner snipped off is essential for getting those thin, white chocolate lines that make these look like they cost fifty dollars a box.
Detailed step-by-step Instructions

This process is all about the "prep flow." If you try to wash the berries and dip them immediately, you will fail. The chocolate will seize, and you'll be left with a clumpy mess. Follow this timeline for the best results.
- Wash and dry. Rinse the 24 strawberries under cold water. Note: Do not remove the stems.
- Triple dry the fruit. Lay the berries on a paper towel, pat them dry, then let them air dry for at least 30 minutes. Note: Even a microscopic drop of water will ruin your chocolate.
- Chop the chocolate. Finely chop the 10 oz of dark chocolate. Note: Smaller pieces melt faster and more evenly.
- Set up the boiler. Place a bowl over simmering water. Add the dark chocolate and 1 tsp of coconut oil.
- Melt gently. Stir constantly until the mixture is velvety and completely smooth.
- The first dip. Hold a strawberry by the stem, dip it into the dark chocolate, and swirl. Note: Let the excess drip back into the bowl for 5 seconds.
- Apply toppings. Immediately sprinkle with hazelnuts or sea salt while the coating is still wet.
- The setting stage. Place the berries on parchment paper. Let them sit at room temperature for 15 minutes.
- The white drizzle. Melt the 4 oz of white chocolate and drizzle thin lines over the set dark chocolate.
- Final chill. Refrigerate for 1 hours 30 mins until the shell is firm and cold to the touch.
The technique for the drizzle is similar to how you would finish a How to Bake recipe for eclairs. You want a steady hand and a quick, flicking motion of the wrist to get those sharp, professional lines rather than thick globs.
Solving Common Dipping Hurdles
Even with the best intentions, chocolate can be a fickle mistress. If you've ever dealt with chocolate that turned into a gritty paste the moment you started stirring, you've experienced "seizing." This is usually caused by a stray drop of steam or water getting into the bowl.
Why Your Chocolate Thickened
If your chocolate becomes thick and clumpy, it has likely been overheated or contaminated with moisture. You can sometimes save it by adding a teaspoon of warm coconut oil and stirring vigorously, but often it's better to start fresh. Keep your heat low and your workspace bone dry.
| Problem | Root Cause | Solution |
|---|---|---|
| Chocolate is dull/grey | Out of temper/High heat | Melt slower; keep temperature below 90°F (32°C). |
| Puddle under berries | Condensation/Weeping | Dry berries for longer; don't wash right before dipping. |
| Coating is falling off | Wet fruit skin | Use the triple dry method to ensure a dry surface. |
Common Mistakes Checklist
- ✓ Never cover the bowl while melting (condensation will drip back in).
- ✓ Avoid using cold strawberries straight from the fridge (they will "sweat" and repel the chocolate).
- ✓ Don't stir the chocolate too vigorously; you'll incorporate air bubbles.
- ✓ Ensure your parchment paper is completely flat to prevent lopsided berries.
- ✓ Use a deep, narrow bowl for dipping to get better coverage with less chocolate.
Adjusting for Different Batches
Scaling this recipe is fairly straightforward because the ratios are simple. If you are making a massive batch for a wedding or a large party, you don't actually need to double the salt or the raspberry dust perfectly; a little goes a long way.
Scaling Down (12 Berries): Use 5 oz of dark chocolate and 1/2 tsp of coconut oil. You can use a smaller bowl over a small saucepan. Reduce the white chocolate to 2 oz. The setting time remains the same.
Scaling Up (48 Berries): You'll need 20 oz of chocolate, but only use about 1.5x the coconut oil (around 1.5 tsp) to keep it from getting too soft. Work in two batches for the melting process so the chocolate doesn't cool down too much while you're halfway through the fruit.
If the chocolate starts to thicken as you work, place it back over the simmering water for 30 seconds to loosen it up again.
Customizing for Your Needs
While this recipe is naturally vegetarian, there are plenty of ways to tweak it for other dietary requirements. If you want a vegan version, simply swap the dark chocolate for a high-quality dairy-free brand. Most dark chocolates with 70% cacao or higher are naturally vegan, but always check the label for milk solids.
For a keto friendly treat, use a sugar-free chocolate sweetened with stevia or monk fruit (like Lily's). Keep in mind that sugar-free chocolate melts differently and often requires a bit more coconut oil to reach a dippable consistency.
You can also skip the raspberry dust and use extra sea salt or crushed pecans to keep the carb count even lower. These Covered Strawberries with Tips Downshiftology adaptations make it possible for everyone to enjoy the treat.
Debunking Kitchen Coating Myths
One of the biggest myths is that you need a specialized tempering machine to get a professional shine. You don't. While tempering machines are great for high volume candy shops, the "seed method" (adding a few pieces of un melted chocolate to the melted bowl) or just using a touch of coconut oil works perfectly for home cooks.
Another misconception is that putting the berries in the freezer helps them set faster. In reality, the extreme cold causes the chocolate to bloom (turn grey) and makes the strawberries mushy once they thaw. Always use the refrigerator for setting, and never the freezer.
The slow chill allows the fat to stabilize properly, ensuring that beautiful shatter crisp texture we're after.
Storing and Using Scraps
Storage is the trickiest part of this recipe. Strawberries start to release their juices the moment they are picked, and the sugar in the chocolate actually draws that moisture out faster. For the absolute best experience, eat these within 6 to 8 hours.
- Fridge: Store in a single layer on a paper towel lined airtight container for up to 2 days. The paper towel absorbs any "sweat" or weeping from the fruit.
- Freezer: Not recommended. The fruit texture becomes grainy and the chocolate will likely crack.
- Zero Waste: If you have leftover melted chocolate, don't throw it out! Stir in some pretzels or nuts to make "bark," or pour it into a small jar. Once it hardens, you can shave it over oatmeal or yogurt the next morning. You can also save the strawberry tops (the green parts) to infuse into a simple syrup for cocktails or lemonade.
Creating a Professional Finish
To truly reach that "boutique" level, the presentation is everything. When you are doing the white chocolate drizzle, don't just go back and forth. Try a diagonal pattern, or "spin" the berry as you drizzle for a spiral effect. It takes a little practice, but even the messy ones taste incredible.
If you really want to go all out, place each finished berry in a small pleated paper candy liner. This prevents them from touching each other and makes them much easier for guests to grab at a party. Adding a tiny pinch of that flaky sea salt right at the end gives a shimmer that looks like diamonds under the light. It's these small, modern simplicity touches that make people ask which bakery you bought them from. For more texture ideas, you could even look at how we top our Homemade Toffee Crunch recipe with similar salty sweet elements.
Now, go grab your berries and get dipping. Just remember: dry fruit, low heat, and a little bit of patience with Tips Downshiftology are the only "secrets" you really need. Enjoy that first, perfect snap!

Recipe FAQs
Can I dip strawberries directly from the refrigerator?
No, this is critical for success. Cold strawberries sweat when they hit the warm chocolate, causing the coating to seize and slide off due to condensation.
How to melt chocolate without scorching it?
Melt at 50% power in 20-second intervals. Stir between each interval to prevent scorching, especially when using a microwave, ensuring the cocoa butter crystals stabilize correctly.
Is it true I must use real tempering techniques for a good snap?
No, this is a common misconception. For home use, adding a small amount of coconut oil to high-quality chocolate mimics the flow and snap properties of tempered chocolate without the precise temperature control.
What is the best way to dry the strawberries before dipping?
Wash, pat dry with towels, then allow them to air dry for at least 30 minutes. Ensure the green caps remain intact, as they serve as handles and help stabilize the fruit during the dip.
Can I substitute the coconut oil with butter for better flavor?
No, stick strictly to coconut oil or vegetable shortening. Butter contains water solids that will immediately cause the chocolate coating to seize into a grainy, unusable paste.
How long can I store chocolate dipped strawberries before serving?
Aim to serve them within 6 to 8 hours for peak quality. They should be stored in a single layer in an airtight container in the refrigerator, as the fruit moisture will eventually degrade the shell.
What is the trick to achieving thin, professional looking drizzles?
Use a piping bag or a small zip-top bag with a tiny corner snipped off. Drizzle quickly using a back and-forth or spiral motion, similar to how we handle the icing finish when learning [Classic Chocolate Eclairs recipe].
Chocolate Covered Strawberries Guide

Ingredients:
Instructions:
Nutrition Facts:
| Calories | 105 kcal |
|---|---|
| Protein | 1.1 g |
| Fat | 6.4 g |
| Carbs | 10.6 g |
| Fiber | 1.4 g |
| Sugar | 8.2 g |
| Sodium | 295 mg |
