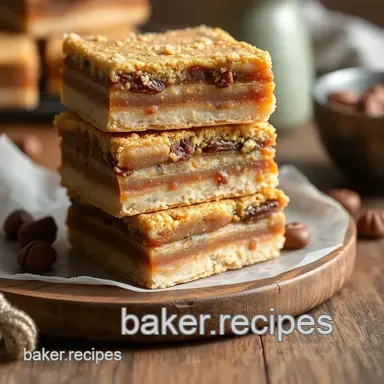
Delightfully Irresistible Caramel Snickers Layer Bars
- A Chewy, Crunchy Delight to Share: My Love for Layer Bars
- A Slice of History and Today’s Flavor
- Sweet Perks of Indulgence
- The Path to Creation
- The Essential Ingredients Guide for Baking Up Sweet Delights
- Mastering the Art of Professional Cooking: A Guide to Baking Irresistible Layer Bars
- Pro Tips & Secrets for Baking Success
- Perfect Presentation: The Eye Candy Factor
- Storage & Make-Ahead Tips
- Creative Variations: Make It Yours!
- Complete Nutrition Guide
- A Sweet Ending
- Frequently Asked Questions
- 📝 Recipe Card
A Chewy, Crunchy Delight to Share: My Love for Layer Bars
You know that moment when you take a bite of something so delicious, it instantly transports you back to childhood? yeah, that’s how i feel every time i take a bite of these delightfully irresistible caramel snickers layer bars ! i mean, who didn’t love a good snickers bar growing up?
Those layers of smooth caramel and crunchy peanuts wrapped in chocolate.
.. pure bliss! today, i’m here to help you recreate that magic at home and bake caramel snickers layer bars delightfully like a pro.
Let’s dive right in! ever since i stumbled across this recipe at my cousin’s birthday party, i’ve been hooked. it’s a super easy sweet snack that combines the nostalgia of a classic candy bar with the fun of baking at home.
Plus, it’s perfect for sharing with family or friends on special occasions like game night or even just a cozy friday in.
A Slice of History and Today’s Flavor
Now, where do these delicious bars come from? the recipe draws its inspiration from the beloved snickers candy bar, which hit the scene way back in 1930.
Can you believe that? fast forward to today, and these layered dessert bars have found their way into modern kitchens across the nation.
They’ve become staples at potlucks and bake sales, thanks to the sweet, salty, and nutty explosion of flavors. honestly, who can resist?
Here’s the scoop: it will take you about 15 minutes to prep and 25 minutes to bake, but don't forget to factor in chilling time too.
You're looking at a total of around an hour and ten minutes for a dessert that could easily impress your guests! it’s a bit of a medium level task, but nothing a determined home cook can’t handle.
Just keep it chill and enjoy the process.
Sweet Perks of Indulgence
Now let’s talk about why you absolutely need this recipe in your dessert arsenal. first off, the health benefits of this bar might not be what you expect, but there’s something comforting about biting into a sweet treat you made yourself.
You’ve got your carbs from the graham cracker crust, healthy fats from the peanuts, and, hey, a little chocolate never did anyone harm, right?
This dessert is perfect for any gathering be it a festive holiday feast or a relaxed movie night. plus, it’s a great way to get the kids involved in the kitchen! imagine their excitement when they see (and taste) the magic of baking with kids .
It’s guaranteed to be a hit at any gathering; just set it out and watch your guests come back for seconds.
Talk about crowd pleasing sweets !
Not to mention, these bars are customizable dessert bars you could switch it up with butterscotch chips or even swap the peanuts for almonds if you’re feeling adventurous.
Trust me, the possibilities are endless!
The Path to Creation
Alright, I won’t leave you hanging! After hearing about all these amazing reasons to whip up a batch of these snickers inspired dessert bars , it’s time to gather the ingredients.
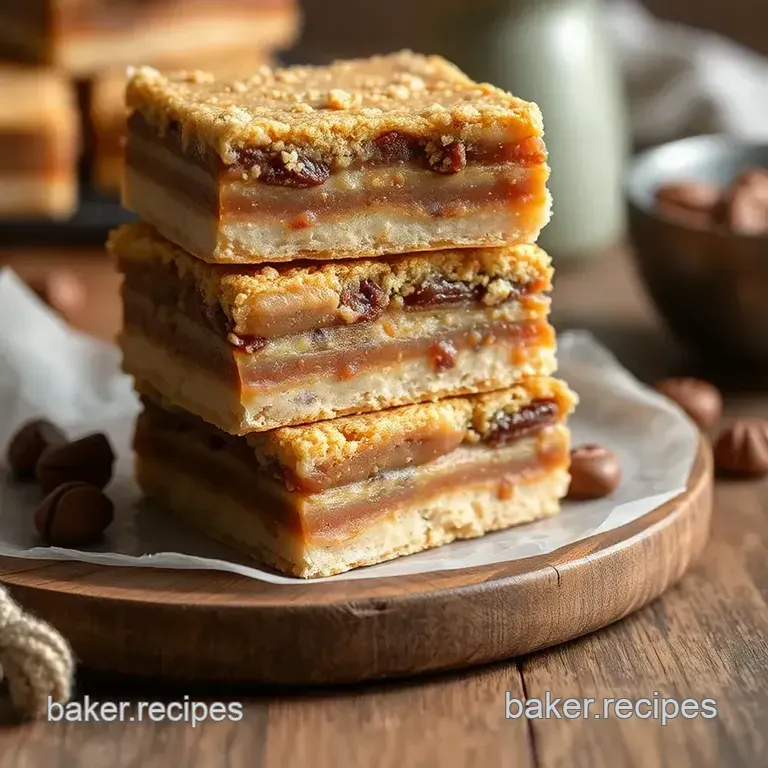
You’ll need graham cracker crumbs for the base, soft caramel candies, roasted salted peanuts, semi sweet chocolate chips, and a touch of coconut oil to bring it all together.
Each layer is delightful in its own right, and when combined, they create a treat that’s hard to resist.
So, are you excited to get your hands dirty? i know i am! whip out that mixing bowl, and let’s bake something magical together.
We’ve got all the tools to create the ultimate comfort food dessert that will bring smiles to everyone’s faces.
Get ready for the next section where we dive deeper into the ingredients!
The Essential Ingredients Guide for Baking Up Sweet Delights
Hey there, sweet lovers! today, we’re diving into the essential ingredients guide for creating mouthwatering treats like our bake caramel snickers layer bars delightfully .
You know those moments when you crave something rich, sweet, and just a bit salty? yeah, we’re talking about that!
Premium Core Components
First up let’s get the basics sorted. When you're baking those caramel dessert recipes , quality matters. Here’s a quick rundown on what to look for:
- Graham Cracker Crumbs: Make sure they're fresh! You want to aim for 1 ½ cups (150 g) for that buttery base.
- Unsalted Butter: You’re gonna need ½ cup (110 g) , melted. Check for a creamy, pale color.
- Granulated Sugar: ¼ cup (50 g) is all you need. If it’s clumpy, it might be time to toss it and buy a fresh bag!
Storage Tip: Keep your baking staples in a cool, dry place. Most last for several months, but always peek at the expiration date. Freshness is key!
Signature Seasoning Blend
Now, let’s talk flavors! the secret to those snickers inspired desserts lies in the right spices and herbs. while our layered dessert bars don’t need much in the way of spices, a sprinkle of sea salt on top of the chocolate can enhance the flavors brilliantly.
Flavor enhancers: you might not think of it, but a dash of vanilla extract can elevate your rich chocolate desserts .
It pairs oh-so-well with caramel and chocolate, adding that depth we crave.
Smart Substitutions
So, what happens when you’re short on ingredients? No worries, I got you covered with some quick fixes!
- Graham Crackers: If you can’t find them, reach for crushed vanilla wafers or digestive biscuits.
- Creamy Caramel: Run out of heavy cream? Use almond milk or coconut milk for a creamy texture in a pinch.
- Peanut Power: Substitute almond butter if you're crazy about nuts!
It’s super handy to know that these smart substitutions can help you whip up that sweet treat any day!
Kitchen Equipment Essentials
Let’s talk tools because you can’t bake all these heavenly goodies without the right gear. Here’s what you need:
- 9x9 inch (23x23 cm) Baking Pan: This is a must have for those layered dessert bars. Make sure it's square for even baking!
- Mixing Bowls & Spatula: Honestly, you can’t go wrong with these. They’re your best friends in any baking adventure.
- Parchment Paper: It’s super handy for easy removal. Trust me; you don’t want to risk breaking those delectable bars when you take them out!
Pro Tip: If you’re running low on a tool, don’t stress! You can often improvise with what you have at home.
Wrapping It All Together
Okay friends, now that we've covered the essential ingredients and tips, you’re all set to tackle your next baking project.
Whether you're in the mood for some no-bake dessert bars or indulging in a divine chocolate caramel treat , this guide walks you through it all.
Just imagine those layered dessert bars cooling in the fridge, waiting for you to slice them into perfection! You’re not just cooking; you’re crafting comfort food desserts that will leave everyone cheering for more!
Next up? we’ll jump right into the step-by-step instructions for creating your very own bake caramel snickers layer bars delightfully .
Get ready to impress family and friends with these crowd pleasing sweets !
Mastering the Art of Professional Cooking: A Guide to Baking Irresistible Layer Bars
Let’s take a little dive into the world of professional cooking, focusing on how to create something totally delicious like Bake Caramel Snickers Layer Bars Delightfully ! I mean, who doesn’t love a sweet treat that combines that rich, nutty flavor with a chewy, chocolatey finish?
But before we whip out the mixing bowls, let’s make sure we're prepped and ready to roll!
Essential Preparation Steps
First up, mise en place , a fancy way of saying "everything in its place." gather all your ingredients before diving in.
It’ll save you from those frantic moments of digging through the pantry when you’re halfway through mixing.
Next, let’s chat about time management . when baking, every minute counts. trust me; i've been there! set a timer for your crust and caramel layers.
It helps you keep track, making sure no step gets left behind or cooked too long.
Don’t forget about organization . A clean kitchen is a happy kitchen! Keep your workspace tidy and your tools handy. It’ll really make the process smoother.
And, of course, we cannot overlook safety . always watch for hot pans and melted chocolate. i once burned my finger reaching for a pan too quickly, and ouch! always use oven mitts and be careful when melting things on the stove or in the microwave.
Step-by-step Process
Alright, let’s get into the nitty gritty with some clear, numbered steps :
- Preheat your oven to 350° F ( 175° C) . This bad boy needs to be ready for that crust.
- Grab a 9x9 inch (23x23 cm) baking pan and line it with parchment paper, leaving some overhang. This will make removing your bars super easy.
- Now, combine 1 ½ cups graham cracker crumbs, ½ cup melted butter, and ¼ cup sugar until it looks like wet sand, then press that goodness into the bottom of the pan.
- Bake the crust for about 10 minutes or until it’s lightly golden. Keep an eye on it; we want it just right.
- For the caramel layer, combine 14 oz of soft caramel candies and 2 tablespoons of heavy cream over medium heat. Stir until it’s all melty and dreamy.
- Stir in 1 cup of roasted salted peanuts , then pour it over your baked crust. Let it set for 15 minutes .
- Don’t forget the chocolate! Melting 1 cup of semi sweet chocolate chips with 2 tablespoons of coconut oil gives you a silky topping. Pour it over and spread evenly.
- Chill for at least 30 minutes in the fridge before slicing up those bars.
Expert Techniques
To achieve the perfect results, let’s embrace some expert techniques . when melting chocolate, do it slowly no one likes burnt chocolate! keep an eye on that temperature.
And use a sharp knife to cut your bars, dipping it in warm water first can help too!
If your caramel layer feels too runny, don’t stress! just let it set in the fridge for a longer time.
You can always cover up any imperfections post slicing with a drizzle of extra melted chocolate.
Success Strategies
Now, let’s wrap things up with some success strategies :
- Avoid overmixing your crust. If you stir too much, it can get tough.
- Keep an eye on the timing every minute counts, remember?
- If the edges of your bars overcook, you can always trim those off for a cleaner look.
Oh, and for anyone looking to prep ahead, these bars can easily be made ahead of time. They’re perfect for those impromptu gatherings, summer cookouts, or as family friendly snacks to have at home!
Additional Information...
Feeling inspired to try your hand at layered dessert bars? trust me, once you’ve tackled the bake caramel snickers layer bars delightfully , you’ll want to experiment with other flavors and variations.
From swapping in different nuts to trying new chocolate types, the possibilities are endless. happy baking!
Pro Tips & Secrets for Baking Success
Oh my gosh, if you want to bake caramel snickers layer bars delightfully , you gotta have some insider tips! first off, always use fresh ingredients.
Trust me, it makes a world of difference. when it comes to the caramel layer , don't rush it. stir that gooey goodness on medium heat until it's smooth! no one wants burnt caramel, right?
For some time saving techniques , consider melting the chocolate in the microwave. just do it in 30-second bursts, and keep an eye on it.
You can also prep the crust ahead of time and pop it in the fridge while you tackle the caramel.
Want to enhance the flavor? toss in a pinch of sea salt to the chocolate drizzle. it’ll take those rich chocolate desserts to the next level.
And let’s talk about presentation once your bars are cut, arrange them artfully on a platter. you can dust a little cocoa powder around them.
Looks fancy, right?
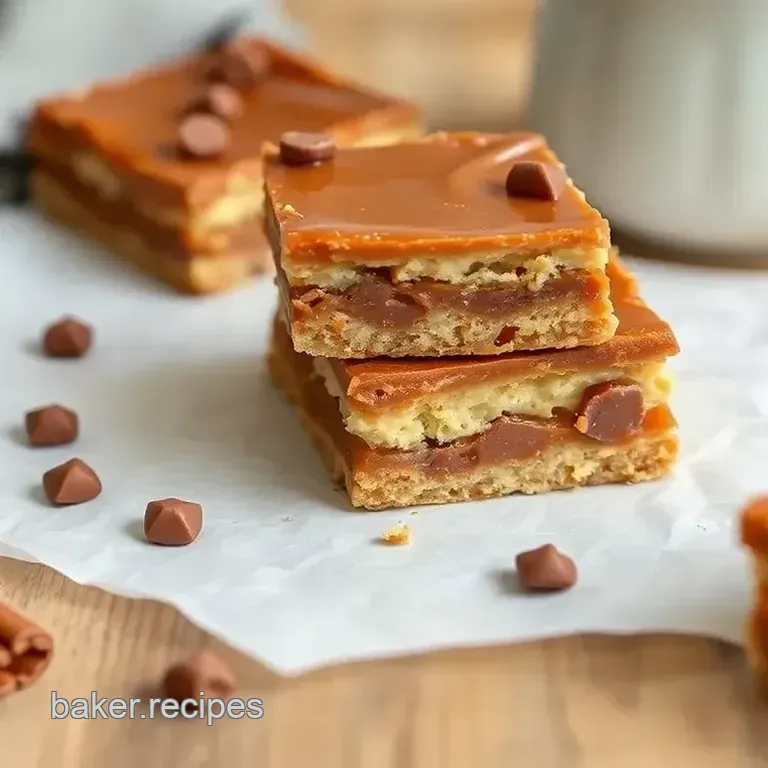
Perfect Presentation: The Eye Candy Factor
Alright, let’s make those treats look as good as they taste! for plating, stack two bars on top of each other, and drizzle a little extra melted chocolate on top.
That’s just a pro move that screams "i’m a gourmet at home"! garnish ideas like a sprinkle of chopped peanuts or a few caramel shards can jazz it up too.
Don’t forget about color combinations ! the golden brown of the caramel, contrasted with the dark chocolate and the bright colors of the peanuts, makes for a mouthwatering visual feast.
And trust me, the more inviting your bars look, the quicker they'll disappear at parties!
Storage & make-ahead Tips
Let’s face it, we all have busy lives. so, knowing how to store these bad boys is crucial. storage guidelines are simple: keep your bars in an airtight container at room temperature for up to a week.
If you wanna keep them longer, toss them in the fridge, and they’ll last about two weeks.
For preservation methods , you can freeze them too! just wrap each bar individually in plastic wrap before tossing them in a ziploc bag.
They’ll stay fresh for about three months. when you’re ready to eat, let them thaw for a bit or pop them in the microwave for a few seconds for that freshly baked feel.
Creative Variations: Make It Yours!
Now for the fun part getting creative! these layered dessert bars are a blank canvas. you can do a flavor adaptation by switching up the nuts.
Have cashews? toss 'em in! want a nut-free version? go for sunflower seeds.
If you’re into dietary modifications , try using almond milk and coconut oil to keep it dairy-free. Prefer a twist for the seasons? Add in peppermint extract during the holidays for a festive flair or swap some caramel for photos of your favorite summer fruits, like strawberries!
Complete Nutrition Guide
You know i like to keep things in check, especially when i’m diving into these sweet and salty desserts . each bar packs about 210 calories , but the protein and fiber content is low, so keep that in mind.
These treats are indulgent, but they sure make for fun family friendly dessert recipes too.
A tip? Monitor your portion sizes! If you're serving these at a gathering, cut them a bit smaller so everyone can enjoy without thinking, “Whoa, that’s too sugary for me!”
A Sweet Ending
So, are you ready to bake caramel snickers layer bars delightfully ? whether you're whisking them up for a gathering or just on a chill night, these bars are bound to satisfy that sweet tooth.
Plus, they’re so easy to whip up that even your kids can help. it's a great way to get them involved in the kitchen! let’s be honest: cooking is more fun with a buddy.
In the end, it’s all about having fun and enjoying the process. whether you’re making them for a special occasion or just because, these layered dessert bars are sure to wow your friends and family.
Happy baking!
Frequently Asked Questions
What ingredients do I need to Bake Caramel Snickers Layer Bars Delightfully?
To Bake Caramel Snickers Layer Bars Delightfully, you'll need graham cracker crumbs, unsalted butter, granulated sugar, soft caramel candies, heavy cream, roasted salted peanuts, semi sweet chocolate chips, and coconut oil or shortening.
Each ingredient plays a crucial role in creating the delicious layered effect, so ensure you have everything on hand before you start.
How do I make sure my layers set properly?
For best results, allow each layer to set adequately before adding the next. After pouring in the caramel peanut mixture, let it set at room temperature for about 15 minutes before adding the chocolate layer.
Additionally, chilling the completed bars for at least 30 minutes in the refrigerator will help ensure that everything sets beautifully and holds together when sliced.
Can I make any substitutions for the ingredients?
Yes! If you don’t have graham crackers, you can substitute them with crushed vanilla wafers or digestive biscuits. For a dairy-free version, use almond milk or coconut milk in place of heavy cream and consider using almond butter instead of peanuts for a nut-free option.
What are some useful tips for cutting the bars neatly?
To achieve clean cuts, use a sharp knife that you can warm slightly under hot water before slicing through the bars. This method helps prevent the chocolate and caramel from sticking to the knife, ensuring neat and tidy portions. Make sure to let the bars chill until fully set for easier cutting.
How should I store my Caramel Snickers Layer Bars?
Store your Caramel Snickers Layer Bars in an airtight container at room temperature for up to 3 days, or in the refrigerator for up to a week for prolonged freshness. If you're preparing them in advance, they also freeze well for up to 3 months; just ensure they're well wrapped to avoid freezer burn.
Are there any nutritional considerations I should be aware of?
Each bar is approximately 210 calories, containing significant amounts of sugar and fat due to the chocolate and caramel. If you’re looking to modify the recipe for dietary needs, consider using dark chocolate for a slightly healthier option and reducing sugar by adjusting the amount of caramel used.
Decadent Caramel Snickers Layer Bars