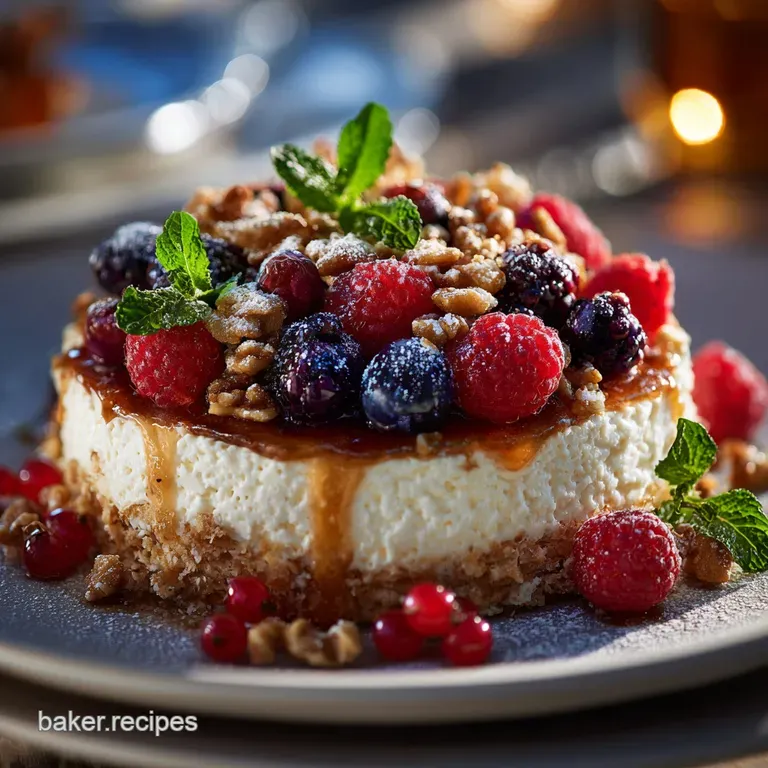
The Cream of the Crop Chefs Fluffy Nobake Vanilla Cheesecake
- Ditching the Oven: Why This Is the Ultimate NoBake Cheesecake
- Essential Tools for Effortless Pudding Prep
- Building the Perfect Biscuit Base (The Foundation)
- Achieving Peak Creaminess: Dairy Selection for the Filling
- Step-by-Step Guide to the Flawless NoBake Cheesecake Crust
- Mastering the Light and Airy Filling Technique
- The Critical Setting and Chilling Phase
- Troubleshooting: Why Is My Cheesecake Still Wobbly?
- Planning Ahead: Storage, Freezing, and Longevity
- Customizing Flavors: Quick Variations to Try
- Recipe FAQs
- 📝 Recipe Card
Ditching the Oven: Why This Is the Ultimate NoBake Cheesecake
This is the quintessential summer showstopper, offering maximum velvety decadence with minimal effort. This easy method bypasses the temperamental nature of traditional baked cheesecakes, which often demand specific oven temperatures and cautious handling.
Our NoBake Cheesecake relies entirely on quality ingredients and cold temperatures to achieve a ridiculously light, airy texture that is far superior on a warm day.
The magic truly lies in the structural integrity achieved through high fat dairy and gentle aeration. Forget the potential for cracks or sinking centers; this no bake cheesecake recipe guarantees a flawless finish every time.
This approach ensures all the rich, tangy complexity you expect from a great cheesecake, delivered stress free.
Essential Tools for Effortless Pudding Prep
While this recipe is simple, having the right equipment ensures your preparation is seamless and successful. A sturdy 9 inch springform cake tin is absolutely essential for achieving the professional clean slices this dessert deserves.
Investing in a reliable electric hand mixer will save you significant time and guarantees the crucial stiff peaks needed for the no bake cheesecake filling .
| Essential Tool | Why You Need It |
|---|---|
| 9 inch Springform Tin | For easy, clean removal after chilling. |
| Electric Hand Mixer | Ensures rapid, even whipping of the heavy cream. |
| Food Processor | Crushes digestive biscuits into fine crumbs instantly. |
The Magic of Chill Time vs. Bake Time
Traditional cheesecake relies on heat to coagulate eggs and set the structure, a process that can easily lead to overbaking and a dense texture. Conversely, the NoBake Cheesecake sets entirely through chilling, utilizing the binding properties of high fat dairy.
We trade the oven’s fiery heat for a patient minimum of four hours in the refrigerator, guaranteeing a silky, chilled finish.
Achieving the Velvety Texture We Crave
The velvety texture we seek is not chemical, but mechanical, achieved through the careful introduction of air. The secret is whipping the cold double cream until it holds ultra stiff peaks before folding it into the cream cheese base.
This mechanical aeration provides the lightness and stability necessary to support the rich no bake cheesecake filling recipe .
A Brief History of the Speedy Dessert
Cheesecakes have evolved over millennia, but the modern, simplified no bake cheesecake only gained traction with the wide availability of reliable, block style cream cheese and modern refrigeration.
This effortless approach quickly became the go-to dessert for home cooks seeking a high impact pudding without labor intensive techniques. It quickly cemented its place as a quick, elegant solution for casual entertaining.
Choosing the Perfect Springform Pan
The springform pan is the star of the assembly phase, allowing the cheesecake to maintain its perfectly smooth sides right up until serving. Ensure your 9 inch tin has a tight seal to prevent any melted butter from seeping out during the crust chilling phase.
We always line the bottom disc with a circle of baking parchment to guarantee a clean lift off when serving.
Mixing Bowls and Whisking Strategies
You will require two separate large mixing bowls to manage the components efficiently. The double cream requires a thoroughly chilled bowl to achieve maximum volume during whipping, which is essential for stabilizing the filling.
Separately, the cream cheese is mixed with sugar and flavors in a second bowl, preventing the delicate cream from being deflated by overmixing.
Building the Perfect Biscuit Base (The Foundation)
The foundation of our recipe is a classic, crisp biscuit base made with English digestive biscuits. We use 250 grams of finely crushed biscuits combined with 100 grams of melted unsalted butter. A pinch of fine sea salt enhances the buttery flavor, ensuring the base is savory enough to contrast the sweet filling above.
Achieving Peak Creaminess: Dairy Selection for the Filling
The success of any no bake cheesecake rests squarely on the quality and fat content of the dairy chosen. To guarantee a rich, satisfying mouthfeel, we demand full fat cream cheese and cold double cream, which must have at least 35% fat content.
Cutting corners on the dairy will result in a dessert that struggles to set and lacks the desired depth of flavor.
Butter Quality: Melting vs. Browned for Flavor
We simply melt the unsalted butter for the base, ensuring it completely binds the biscuit crumbs together. While brown butter offers a wonderful nutty complexity, its moisture content can slightly soften the base. We prefer the pure, crisp texture created by using traditionally melted butter.
Crust Substitutions: Beyond the Digestive Biscuit
While digestive biscuits offer the traditional texture, there are excellent alternatives depending on your flavor preference. Many recipes use Graham crackers, which provide a similar coarse crumb structure.
For a rich chocolate flavor, use finely crushed Oreos, remembering to remove the cream centers first to manage overall sweetness.
| Biscuit Type | Flavor Profile | Use Cases |
|---|---|---|
| Digestive Biscuits | Neutral, slightly sweet, satisfying crunch. | Traditional NoBake Cheesecake |
| Graham Crackers | Honey/Cinnamon, sturdy structure. | Excellent for no bake cheesecake bars |
| Shortbread | High butter content, very tender. | For a delicate, sophisticated base. |
Achieving a Stable, Non-Crumbling Edge
A strong base requires intentional pressure applied evenly across the entire surface and slightly up the sides of the pan. Pressing the crumbs up about one centimeter high forms a protective wall that keeps the filling contained and prevents edge crumbling upon slicing.
Use the bottom of a flat edged glass to compact the mixture until it is utterly solid before chilling.
The Crucial Role of Full Fat Cream Cheese
The required 600 grams of full fat cream cheese acts as the main structural element of the filling. The high fat content is non-negotiable, providing the necessary thickness and binding ability when cold.
Ensure the cream cheese is truly at room temperature before beating, otherwise stubborn lumps will ruin the texture of the no bake cheesecake filling .
Sweeteners and Flavor Enhancers
We rely on 150 grams of sifted icing sugar (confectioners' sugar) for rapid dissolution and a silky finish, avoiding the slight graininess that can come from granulated sugar. Fresh lemon juice provides a vital, bright tang that cuts through the fat, while quality vanilla extract adds aromatic depth to the creamy base.
Secret Ingredient for Extra Stabilisation
The structural integrity of this no bake cheesecake is ultimately secured by the volume of cold double cream. The 450 milliliters of heavy cream, once whipped to stiff peaks, acts as the natural binder.
It locks the cream cheese components together, eliminating the need for gelatin or other artificial stabilizers entirely.
Expert Tip: To ensure maximum volume and stability in your cream, chill your mixing bowl and whisk attachment in the freezer for ten minutes before you begin whipping. Cold equipment helps the fat globules hold their structure better.
step-by-step Guide to the Flawless NoBake Cheesecake Crust
Begin by prepping your springform tin, lightly greasing the sides and placing a circle of parchment on the base. Next, pulse the digestive biscuits in a food processor until they achieve a fine, sand like texture.
Combine these fine crumbs with the 100 grams of melted butter and salt until the mixture is uniformly damp. Tip the mixture into the prepared tin and use a measuring cup to press the crust down firmly and evenly across the base and slightly up the sides before immediately transferring it to the freezer for 15 minutes.
Related Recipes Worth Trying
- The Ultimate Fudgy Cherry Cheesecake Brownies A Baking Bonanza — Achieve true baking nirvana with these Fudgy Cherry Cheesecake Brownies We share the secrets to that perfect crackly top and velvety cream cheese swirl...
- The Effortless Elegance Classic NoBake Cherry Cheesecake — This foolproof No Bake Cherry Cheesecake recipe is utterly decadent and requires zero oven time Get the creamy texture you crave with a homemade cherry topping
- Easy NoFuss Vanilla Wafer Mini Cheesecakes Recipe — Love cheesecake but hate the fuss These easy Mini Cheesecakes with Vanilla Wafers use a simple crust for perfect individual servings So creamy and satisfying
Mastering the Light and Airy Filling Technique
The goal here is maximizing air without overmixing. Start by beating the room temperature cream cheese and sifted icing sugar until they are perfectly smooth and lump free. Separately, whip the cold double cream until it holds distinct stiff peaks, providing the volume and structure for the no bake cheesecake filling recipe .
The final step is the gentle integration of these two components using the specialized folding technique.
The Critical Setting and Chilling Phase
This final stage is the longest but the simplest part of the entire NoBake Cheesecake process. Once the filling is perfectly smooth and level in the tin, it must be covered loosely and placed in the coldest part of the refrigerator.
Adequate chilling is non-negotiable and determines the cake's ultimate firmness and sliceability.
Compacting the Base: The Right Pressure Matters
When pressing the biscuit base, applying firm, consistent pressure is key to preventing the base from crumbling when sliced. Use a small, flat bottomed object to compress the crumbs tightly into the pan.
This density ensures the base holds its structure and provides the satisfying crunch intended beneath the airy filling.
Pre-Chilling the Crust Before Filling
The short 15-minute stint in the freezer solidifies the melted butter within the biscuit base. This vital step creates an impermeable barrier between the fatty crust and the wet filling. Skipping this stage often results in a soggy crust where the filling ingredients bleed through.
Whipping the Cream Cheese to Eliminate Lumps
Ensure the 600 grams of cream cheese is truly softened to room temperature, which is the only way to avoid frustrating lumps. Beat the cream cheese alone first, then incorporate the sifted sugar and flavorings until the mixture is fully smooth and creamy.
This base mixture must be entirely lump free before the whipped cream is introduced.
Folding in the Whipped Cream (The Aeration Secret)
Folding is the specific technique used to incorporate the stiffly whipped cream into the heavy cream cheese base without deflating the structure. Use a large rubber spatula to cut down the middle of the bowl and gently fold the contents over, repeating until just combined.
You are aiming for a uniform mixture with maximum trapped air, which is essential for light no bake cheesecake bites .
Smooth Transfer and Leveling
Immediately spoon the completed fluffy filling onto the chilled crust after the folding step is complete to prevent the delicate aeration from collapsing. Use an offset spatula or the back of a large spoon to gently smooth the surface.
Take your time to ensure the top is perfectly level before transferring the pan to the refrigerator.
Knowing When Your Cheesecake Is Truly Set
After the recommended four hours, test the firmness by gently tapping the side of the pan. A truly set cheesecake will not show a wave or significant ripple in the center. Ideally, allow for an overnight rest (8– 12 hours) to ensure the structure is completely solid, guaranteeing clean, professional slices.
Troubleshooting: Why Is My Cheesecake Still Wobbly?
Persistent wobbling after extended chilling almost always points back to one key mistake: the heavy cream was not whipped to stiff peaks, or the folding technique deflated it. The fat content and air in the cream are the primary stabilizers in this no bake cheesecake .
Always ensure your cream is fridge cold and holds its shape rigidly before combining it with the cream cheese base.
Planning Ahead: Storage, Freezing, and Longevity
This dessert is perfect for preparing several days in advance, as the flavor actually deepens slightly after 24 hours in the fridge. When stored properly in an airtight container, the finished NoBake Cheesecake remains fresh and delicious for up to five days.
Planning ahead makes entertaining a breeze, offering a fresh dessert ready at a moment’s notice.
Customizing Flavors: Quick Variations to Try
The basic vanilla framework of this recipe is a blank canvas ready for personalization and creative flavor additions. Whether you prefer tart fruit swirls or rich chocolate notes, customizing your no bake cheesecake is simple and rewarding.
Use these variations to turn your single recipe into dozens of easy dessert options.
Salvaging a Loose or Runny Filling
If your filling remains unacceptably loose after a full eight hours of chilling, you may need an emergency stabilization measure. Dissolve one tablespoon of unflavored gelatin powder in a splash of boiling water and let it cool slightly to body temperature.
Quickly beat this liquid into the remaining filling mixture before smoothing it back into the pan and re-chilling immediately.
Dealing with Cracks Post Chilling
While rare for a no-bake recipe, cracks can occasionally appear if the cake experiences a sudden, drastic temperature change. Never move the chilled cheesecake from the freezer directly to a very warm kitchen counter.
Instead, if serving straight from the freezer, allow it to sit in the refrigerator for a few hours first to temper gently.
Optimal Refrigeration Times
For the best texture and guaranteed structural integrity, the optimal refrigeration period is overnight (8 to 12 hours). This extended chill time allows the fat molecules in both the cream cheese and the whipped cream to fully settle and bind.
Four hours is the bare minimum, suitable for smaller treats like no bake cheesecake cups .
Safely Freezing Your Leftovers
The finished cheesecake freezes beautifully, making it an excellent candidate for meal prep or leftovers. After setting, freeze the cheesecake uncovered for an hour until firm, then wrap it securely in plastic wrap followed by aluminum foil. Properly wrapped, it will maintain its quality for up to three months.
Defrosting the No-Bake Dessert
Always defrost your frozen no bake cheesecake slowly in the refrigerator to protect its delicate texture. Transfer the wrapped cheesecake directly from the freezer to the fridge and allow it a minimum of eight hours to thaw completely.
Rapid thawing on the counter can introduce moisture and cause the filling to soften excessively.
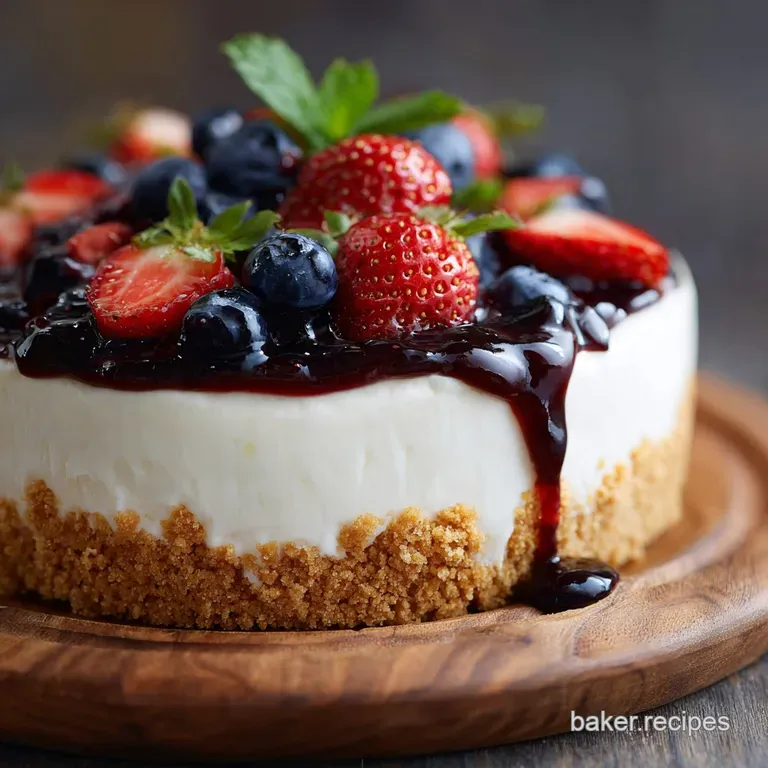
Citrus Zest and Berry Swirl Options
Introduce brightness by folding the zest of a whole lemon or lime directly into the cream cheese mixture alongside the extract. For a decorative finish, create a simple berry coulis by warming raspberries or blueberries with a spoonful of sugar.
Drizzle this vibrant sauce artistically over the top of the chilled filling to create stunning berry swirl no bake cheesecake bars .

Recipe FAQs
I'm worried about my NoBake Cheesecake not setting properly. Is there a trick to avoid a wobbly mess?
Stability hinges on two things: you must use full fat double cream whipped vigorously to stiff peaks, and you absolutely must adhere to the minimum 4-hour chilling time preferably letting it settle overnight for a guaranteed firm slice.
Help! My filling looks a bit grainy or lumpy, rather than velvety. Have I messed up the mix?
Lumps usually happen because the cream cheese wasn't completely at room temperature before mixing, or sometimes if the double cream was slightly over whipped; unfortunately, once the filling becomes grainy, it's difficult to recover that smooth, velvety finish.
Can I make this dessert ahead of time, and how long will it keep in the fridge?
Absolutely, this is a brilliant make-ahead pudding, often tasting better the next day; when tightly covered, it keeps beautifully in the fridge for up to 4 days, though the biscuit base is at its crispiest within the first two.
I fancy a bit of a change. Can I use different biscuits for the base, or are Digestives essential?
You’re in luck Digestives are traditional, but feel free to swap them out for Graham Crackers, Biscoff, or even ginger snaps; the critical bit is maintaining the ratio of 250g crumbs to 100g melted butter to ensure a sturdy foundation that holds its shape.
It's massive! Does this cheesecake freeze well for a later date?
Yes, it freezes like a dream, but make sure to omit any fresh fruit garnish first; wrap the chilled cheesecake securely (leaving it on the tin base) and freeze for up to three months, then thaw slowly in the fridge overnight before serving up that much deserved treat.
Easy Fluffy Nobake Cheesecake

Ingredients:
Instructions:
Nutrition Facts:
| Calories | 744 kcal |
|---|---|
| Protein | 6.2 g |
| Fat | 33.6 g |
| Carbs | 33.8 g |
| Fiber | 2.2 g |
| Sugar | 15.1 g |
| Sodium | 410 mg |
