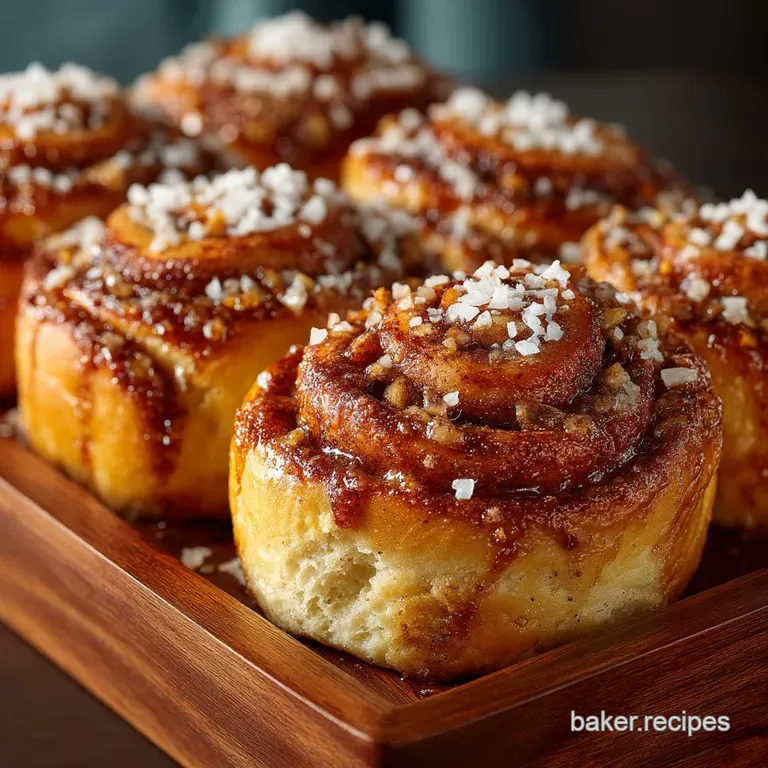
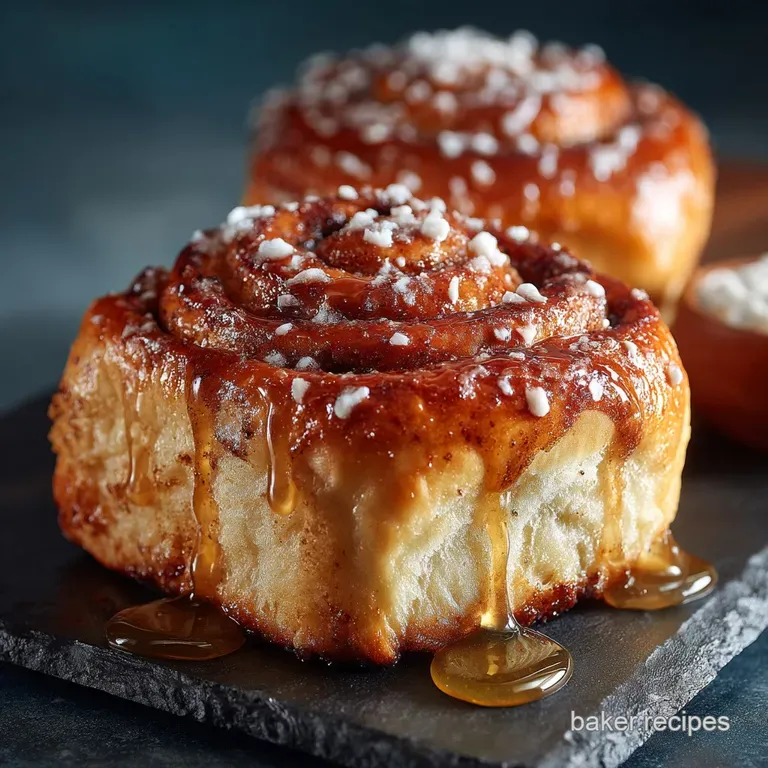
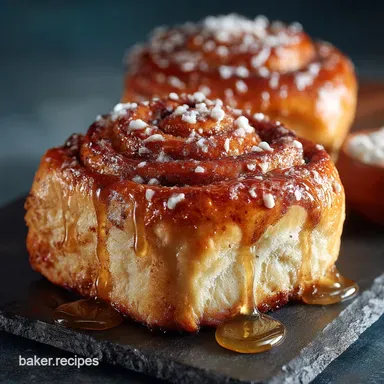
The Weekend Treat Fluffy Overnight Cinnamon Swirl Buns with Tangy Cream Cheese Frosting
- The Magic of Overnight Proofing: Achieving Maximum Fluffiness
- Essential Ingredients for Perfect Cinnamon Buns
- Mastering the Dough: From Mixing to the Overnight Rest
- Assembly and Baking: Creating the Perfect Swirl
- FAQs and Expert Tips for Baking Flawless Cinnamon Buns
- Storage, Freezing, and Reheating Strategies
- Recipe FAQs
- 📝 Recipe Card
The Magic of Overnight Proofing: Achieving Maximum Fluffiness
Creating truly exceptional cinnamon buns is a process that rewards patience. While many recipes rush the fermentation process, our approach hinges on an extended, cold overnight proof.
This method isn’t just a convenience for bakers seeking a fresh morning pastry; it’s the secret weapon that develops incredible complexity in the dough and guarantees that signature, meltingly soft interior.
The chilling period slows down the yeast activity significantly, allowing the enzymes to break down the starches into complex sugars, resulting in a deeper, more nuanced flavor profile that a quick two-hour rise simply cannot match.
This dedication to time is what separates a good roll from the best cinnamon buns recipe you’ll ever try, promising the ultimate light and fluffy cinnamon buns .
The Science Behind Enriched Doughs
The foundation of this recipe is an enriched dough, meaning it incorporates a significant amount of fat (butter) and sugar alongside the essential liquids. We use 1 cup of whole milk, two large eggs, and a full half cup of melted, cooled unsalted butter, along with sugar, to create a decadent base.
These rich ingredients coat the flour particles, inhibiting gluten formation initially and making the dough naturally softer. To counteract this reduced gluten development and ensure the rolls still have enough strength to rise, the dough requires a thorough, dedicated kneading session approximately 8 to 10 minutes in a stand mixer.
The initial 1.5 to 2 hours of bulk fermentation at room temperature allows the 2 ¼ teaspoons of instant dry yeast to fully activate before the dough is tucked away for its minimum eight hour cold nap.
Choosing high-quality Cinnamon for Intense Flavor
The quality of the spice directly dictates the success of your cinnamon swirl buns . Many standard supermarket brands use Cassia cinnamon, which offers a robust but sometimes gritty flavor. For maximum impact, invest in high-quality varieties like Vietnamese or Ceylon.
The filling calls for a generous 2 tablespoons of ground cinnamon, blended with ¾ cup of packed light brown sugar and a touch of salt to balance the sweetness. This intense spice mixture ensures that the aroma and flavor of the cinnamon shine through the richness of the dough and the tang of the glaze.
What Sets American Style Cinnamon Buns Apart
This recipe yields classic American style rolls, renowned globally for their decadence and scale. Unlike the often drier, breadier, or less glazed European variations, the American version is characterized by its large size, incredibly soft texture, substantial filling, and the crowning glory: a thick layer of frosting.
The aim is to achieve a pull apart softness where the edges are sticky and caramelized, and the interior is cloud like. By utilizing the overnight cinnamon buns technique, we maximize moisture retention, ensuring the finished product is perfectly moist rather than dry and crumbly, offering a far superior experience to any quick bake cinnamon buns recipe easy approach.
Essential Ingredients for Perfect Cinnamon Buns
A successful bake begins with precise measurements and understanding the role each component plays. While the process of making cinnamon buns requires time, the ingredient list is straightforward, relying on pantry staples for a truly luxurious result.
The Base: Dairy and Flour Breakdown
The enriched dough requires 4 ½ cups of all-purpose flour as the primary structure. Crucially, the activation of the yeast (2 ¼ teaspoons) depends on the temperature of the liquid; the 1 cup of whole milk must be warmed to the perfect zone of 105 115°F (40 46°C).
The inclusion of 2 eggs and ½ cup of melted butter adds the necessary richness and contributes significantly to the final tender crumb texture. Remember to also incorporate 1 teaspoon of fine sea salt, which is vital not only for flavor but also for controlling the rate of fermentation.
The Swirl: Building the Signature Filling
The signature cinnamon swirl buns require a simple yet potent filling. It consists of two parts: the binding agent and the flavor blend. For the binder, you need ½ cup (one stick) of unsalted butter that has been softened thoroughly it should be spreadable without tearing the delicate dough.
This butter is creamed together with the aforementioned 2 tablespoons of high-quality cinnamon, the ¾ cup of packed light brown sugar, and ½ teaspoon of sea salt, creating a thick paste that melts beautifully during baking, caramelizing the bottom layers.
Achieving the Tang: Ingredients for the Cream Cheese Glaze
No American style cinnamon rolls with cream cheese frosting are complete without the essential tangy finish. This glaze perfectly cuts through the richness of the dough and the intensity of the filling.
The key is using softened full fat cream cheese (4 ounces) blended with ¼ cup of softened unsalted butter. Powdered sugar (2 cups, sifted for smoothness) provides bulk and sweetness, while 1 teaspoon of vanilla extract and 1 to 2 tablespoons of milk or heavy cream are added gradually to achieve the desired drizzle-to-spread consistency.
Quick Ingredient Swaps for Dietary Needs
While the full fat ingredients deliver the ultimate richness, slight adjustments can be made. Whole milk can be successfully swapped with oat milk or a fatty plant based milk (like fortified soy milk) without disastrous results, although the overall richness of the final bun will be marginally decreased.
If you only have active dry yeast on hand instead of instant dry yeast, simply increase the amount by 25% (to roughly 2 ¾ teaspoons) and allow an extra 10 minutes during the initial proofing stage for full activation.
Mastering the Dough: From Mixing to the Overnight Rest
The process begins by ensuring your yeast is ready for action. Combine the warmed milk (ensure accurate temperature), the yeast, and the ¼ cup of sugar, allowing them to rest until a foamy "bubble bath" texture appears this confirms the yeast is active.
Once bubbly, incorporate the beaten eggs and cooled melted butter. The 4 ½ cups of flour and the salt are added gradually until a shaggy mass forms. This leads directly into the most active phase: kneading.
Related Recipes Worth Trying
- Ultimate Brioche Sticky Cinnamon Buns with Pecan Caramel — Learn how to make the Ultimate homemade sticky cinnamon buns These featherlight brioche buns are soaked in a burnt butter pecan caramel glaze Worth the...
- Ultimate Fluffy Cinnamon Buns Recipe with Tangy Cream Cheese Glaze — The search for the perfect fluffy cinnamon buns recipe is over This enriched dough yields bakeryquality spirals with an oozy filling topped with a sharp...
- The Bakers Best Gooey Cinnamon Buns Recipe — Bake the best homemade cinnamon buns this weekend Our foolproof recipe yields extragooey buttery cinnamon rolls topped with luscious cream cheese glaze Find...
Assembly and Baking: Creating the Perfect Swirl
Once the dough has completed its overnight rest and has been brought back to room temperature for the final proof, the path to baked perfection is swift and requires focus on detail, particularly in the shaping process which defines the beautiful cinnamon swirl buns .
Developing the Gluten: Kneading Techniques That Work
If utilizing a stand mixer and dough hook, set it to medium low speed and knead for a solid 8 to 10 minutes. The goal is to develop enough gluten for the dough to become smooth, elastic, and pull cleanly away from the sides of the bowl.
If kneading by hand, be prepared for a 12 to 15 minute workout. The resulting dough, once properly handled, should pass the windowpane test (stretching without tearing) before moving on to the first proofing stage.
Timing the Rise: When the Dough is Ready to Chill
After the dough is mixed, it rests in a lightly oiled bowl for the bulk fermentation, which takes 1.5 to 2 hours in a warm environment, or until it has doubled in volume. At this point, gently punch the dough down to release the gases and turn it out onto a lightly floured surface.
Now is the time to roll it into the crucial 12 x 18 inch (30 x 45 cm) rectangle, ready for the signature filling.
How to Assemble and Slice Uniform Cinnamon Buns
Spread the prepared cinnamon filling evenly across the dough, leaving a small ½-inch margin along the top long edge. Beginning with the long edge closest to you, roll the dough tightly, ensuring a firm but not restrictive cylinder. Tightly pinch the final seam closed.
For the cleanest, most uniform 1.5 inch slices, ditch the knife. Instead, slide a piece of unflavored dental floss beneath the log, cross the ends over the top, and pull sharply this yields 12 perfect rounds ready to be arranged snugly in the greased 9x13 inch pan before covering tightly for the cold proof.
Ideal Oven Temperature and Baking Time
After the second, final rise at room temperature (around 30– 45 minutes while the oven preheats), your rolls are ready. Preheat the oven to 375°F (190°C).
The cinnamon buns should bake for 22 to 26 minutes, rotating the pan halfway through for even browning. The ultimate test for doneness is not solely color; pull them out when the edges are deep golden but the center still appears soft and slightly jiggly.
For absolute certainty, use an instant read thermometer they are perfectly cooked when the internal temperature registers 200°F (93°C), preventing the common pitfall of dry rolls.
Whipping Up the Tangy Cream Cheese Frosting
While the baked rolls are cooling slightly, shift focus to the cinnamon rolls with cream cheese frosting . Ensure both the cream cheese (4 oz) and the butter (¼ cup) are thoroughly softened. Beat these two until perfectly smooth any lumps at this stage will remain lumps.
Gradually beat in the 2 cups of sifted powdered sugar and vanilla extract. Finally, incorporate the milk or cream, a tablespoon at a time, until the mixture is thick enough to hold its shape but easily spreadable across the warm surface of the buns.
The Final Glaze: Applying Frosting While Warm
Timing the glaze application is key to achieving that moist, glossy finish. Allow the rolls to cool in the pan for only 5 to 10 minutes after coming out of the oven.
Generously spread the creamy glaze while the buns are still warm; the residual heat slightly melts the frosting, allowing some of the sweetness and moisture to seep into the tops of the rolls. This subtle absorption enhances the overall texture and flavor immensely.
FAQs and Expert Tips for Baking Flawless Cinnamon Buns
The path to baking the best cinnamon buns recipe is made easier with a few professional secrets.
Preventing Dry Buns: The Importance of Internal Temperature
Overbaking is the single greatest enemy of a fluffy cinnamon buns texture. Visually, golden tops can be deceptive. Rely on an instant read thermometer to confirm the rolls have reached 200°F (93°C) internally.
Pulling them out just shy of this temperature is better than letting them sit too long, guaranteeing a soft, moist result every time. This simple trick elevates the cinnamon buns recipe easy concept into true baking excellence.
Scaling the Recipe: Tips for Bigger Batches
This recipe is designed to yield 12 large cinnamon buns . If you need to double the batch, it’s advisable to use two separate 9x13 inch pans rather than trying to cram the dough into a single large tray.
Overcrowding the pan inhibits proper rising and uniform baking, often resulting in hard edges and a doughy center. Ensure all ingredients are scaled up precisely, especially the yeast.
Flavor Variations: Adding Nuts, Zest, or Spices
If you wish to deviate from the classic cinnamon swirl buns , consider minor additions. Incorporate ½ cup of finely chopped pecans or walnuts into the filling mixture before spreading.
For a lighter, Scandinavian feel, swap the cinnamon entirely for 2 teaspoons of ground cardamom and 1 teaspoon of ground ginger, or add the zest of one lemon to the cream cheese frosting for a bright, citrusy tang.
Storage, Freezing, and Reheating Strategies
A batch of cinnamon buns is a wonderful commitment, and knowing how to store and revive them ensures your hard work doesn’t go to waste.
Best Methods for Storing Leftover Buns
Once the rolls are fully cooled, place any leftovers in an airtight container. They are best enjoyed within 2 days of baking. While refrigeration will keep them safe for up to 4 days, be aware that the cold environment tends to accelerate starch crystallization, making the dough seem stale faster.
To mitigate this, store them unfrosted and apply the glaze just before serving.
Freezing Unbaked Rolls for Later Use
For superior results when planning ahead, freeze the unbaked rolls rather than the baked product. After the overnight proof (Stage 2, step 10), move the pan directly into the freezer. Once the rolls are solid, transfer them to a freezer safe bag or container for up to 6 weeks.
When ready to bake, place the frozen rolls back in the pan and allow them to thaw and complete the final rise at room temperature for 4 to 6 hours before proceeding to the 375°F (190°C) bake.
Reviving Day-Old Rolls (Reheating Tips)
To bring day-old or refrigerated rolls back to their peak moisture and fluffiness, avoid the microwave, which often makes them rubbery. Instead, wrap individual cinnamon buns loosely in foil and reheat them in a preheated oven at 300°F (150°C) for about 10 to 15 minutes.
The foil traps the moisture, essentially steaming the roll slightly and restoring that incredible fluffy cinnamon buns texture.

Recipe FAQs
Blimey, my dough didn't rise properly! What went wrong with my fluffy cinnamon buns?
If your dough didn’t spring to life, the culprit is usually the yeast, which needs Goldilocks conditions not too hot, not too cold. Check your milk temperature first; if it was above 120°F (49°C), the heat likely killed the yeast.
Secondly, ensure your yeast hasn't expired and that your kitchen isn't freezing cold, otherwise the yeast might just be having a permanent kip.
I'm in a rush can I skip the overnight proof and bake them straight away?
While technically you can skip the chill, the slow, cold overnight proof is the secret sauce that develops deep flavour and gives the dough that wonderful, pillowy structure. If you absolutely must hurry, allow the shaped buns to proof at room temperature for 60 90 minutes, until visibly puffed but not quite doubled in size.
However, for a proper "Weekend Treat" texture, patience pays dividends!
My buns came out a bit tough, like old boots. How do I guarantee that lovely soft texture?
Toughness usually stems from either over kneading or, more commonly, over baking. When kneading, stop as soon as the dough is smooth and elastic don't incorporate too much extra flour.
Crucially, pull the buns from the oven when the internal temperature registers 200°F (93°C) and the tops are just golden, leaving the centres deliciously tender and moist.
How do I store these beauties so they taste good the next day, and can I freeze them?
The cinnamon buns are certainly best on the day they are baked, but you can keep them in an airtight container at room temperature for up to three days. If you want to freeze them, do so before adding the frosting: wrap each individual bun tightly in cling film and then foil.
When you’re ready, thaw them overnight, warm them gently in the oven, and then add that irresistible cream cheese frosting.
I’m not keen on cream cheese what's a good alternative topping for these?
No bother at all! A simple, crowd pleasing option is a classic confectioner's glaze, made by whisking sifted icing sugar with a splash of milk or lemon juice until smooth and thick.
For a decadent finish, you could whip up a quick caramel glaze to drizzle over the top, or even a simple vanilla infused butter glaze that melts into the warm pastry.
Fluffy Overnight Cinnamon Buns With Frosting
Ingredients:
Instructions:
Nutrition Facts:
| Calories | 525 kcal |
|---|---|
| Protein | 7.5 g |
| Fat | 17.2 g |
| Carbs | 42.6 g |
| Fiber | 6.7 g |
| Sodium | 6729 mg |
