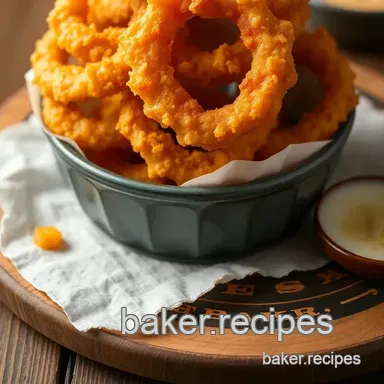
Fried Onion Rings with Golden Crunch
- Look into Into the Crunch: Fried Onion Rings with Golden Crunch
- Onion Rings: A Snack with a History
- What’s So Great About Onion Rings?
- Ready to Get Frying?
- Essential Ingredients Guide for Fried Onion Rings with Golden Crunch
- Unleashing the Secrets of Professional Cooking Methods
- Pro Tips & Secrets for Perfect Fried Onion Rings
- Perfect Presentation: Making Your Onion Rings Shine
- Storage & Make-Ahead: Keeping it Fresh
- Creative Variations: Get Funky with Your Rings
- Complete Nutrition Guide: Staying Informed
- Conclusion: Let’s Get Frying!
- Frequently Asked Questions
- 📝 Recipe Card
Look into Into the Crunch: Fried Onion Rings with Golden Crunch
You know those carefree summer days when you gather around a grill with friends, and the aroma of delicious fried snacks fills the air? that’s when fried onion rings become the star of the show! i remember the first time i tried making fried onion rings with golden crunch .
I was in high school, trying to impress my friends during our backyard bbq. i had no clue what i was doing, but i had my mom’s trusty onion ring batter recipe (the best!).
Honestly, they turned out a little wonky, but thankfully, they still tasted amazing! and let me tell you nothing beats that crispy, crunchy experience when you're biting into a perfectly fried onion ring.
Onion Rings: A Snack with a History
Onion rings have been a staple in american snack culture for decades. some say they date back to the 1930s in new york, while others point to variations found in the uk.
Whichever way you slice it, they’ve made their mark all over the globe! today, these tasty bites have become a classic american snack , loved by people of all ages.
From cozy family dinners to lively game days, onion rings are always a hit.
Now, let’s break down the nitty gritty. this easy onion ring recipe will take about 55 minutes from start to finish, including chilling time, and it’s super straightforward! if you're worried about your kitchen mastery, relax anyone can tackle this.
Plus, it’s cost effective, requiring just a few pantry staples and some sweet onions. you’ll end up with around 16-20 rings plenty to share or snack on solo!
What’s So Great About Onion Rings?
Let’s talk health the onion itself is a nutritional powerhouse! they're low in calories and pack a punch with antioxidants. fried or not, they offer some health benefits that make them a bit better than other fried snacks.
Plus, who doesn’t want crispy bites of joy that you can customize to your liking?
And speaking of custom, fried onion rings with golden crunch are versatile. you can make them spicier with hot sauce, or even try a flavored onion rings twist using herbs and spices.
They’re perfect for any occasion, whether you need a side dish recipe for your bbq, appetizer recipes for a gathering, or a fun game day snack idea .
I mean, what’s a football game without a platter of crunchy goodness?
Not to mention, they pair beautifully with the best dipping sauces for onion rings ! think zesty ranch, sweet bbq, or even a spicy aioli.
You could even whip up a homemade dipping sauce to impress your guests!
Ready to Get Frying?
Before we dive into the ingredients, let’s touch on a few tips. it’s essential to keep a close eye on your oil temperature while frying.
Aim for 350° f ( 175° c) for that perfect crunch! trust me, you don’t want soggy onion rings; nobody likes that!
And if you’re feeling adventurous, try using panko breadcrumbs for onion rings it gives them that extra crispy factor. oh, and don’t be shy to experiment with some onion ring tips and tricks to elevate your dish even further.
So, whether you're whipping these up for a cozy night in or serving them at your next party, just know you’re about to make something everyone loves.
Let’s hash out the details and tackle the ingredients you won’t want to miss this crispy adventure into the heart of comfort food.
Next up, get ready to gather your supplies and unleash your inner kitchen hero !
Essential Ingredients Guide for Fried Onion Rings with Golden Crunch
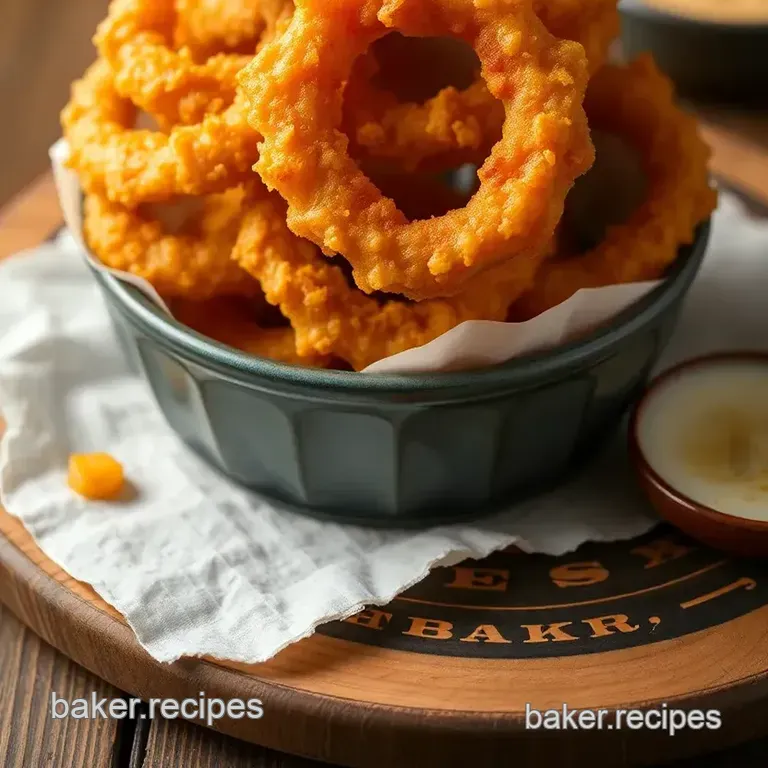
Oh boy, if you’re like me, there’s just something about fried onion rings with golden crunch that brings back those classic american diner vibes! let's dive into the essential ingredients that’ll make your onion rings truly special.
Trust me, with the right stuff, your homemade onion rings will turn out crispy and golden every time.
Premium Core Components
When it comes to making those Crispy Onion Rings , you need to start with the basics . Here’s a quick list of what you’ll need:
- 2 large sweet onions (about 500g): Look for ones that are shiny and firm. Avoid any with soft spots.
- 1 cup all-purpose flour (120g): Keep it fresh! Check that it’s not expired it makes a world of difference.
- 1 cup breadcrumbs (Panko preferred for extra crunch) (120g): Again, go for those Panko breadcrumbs. They’re key to achieving that crunch we all love.
- 1 cup buttermilk (240ml): If you don’t have buttermilk, just mix regular milk with a tablespoon of vinegar for a quick substitute.
Feel free to store your ingredients properly. Most of these should be kept in a cool, dry place. Onions, for instance, love to hang out in a pantry, away from the fridge.
Signature Seasoning Blend
Now let’s talk about flavor! A signature blend really brings those rings to life. You’ll want some essential spices:
- 1 teaspoon garlic powder
- 1 teaspoon paprika
- 1/2 teaspoon salt
- 1/4 teaspoon black pepper
Mix these in with your flour! It’s all about that flavor explosion when you bite into those Golden Fried Onion Rings .
Smart Substitutions
Didn’t plan ahead? No worries! Here’s the scoop on smart substitutions :
- For flour: gluten-free flour works just fine if you’re watching your gluten intake.
- For buttermilk: Try plain yogurt thinned with a little water. It’s a great non-dairy shortcut.
- For flavor: If you want to jazz it up, add a pinch of cayenne for Spicy Fried Onion Rings!
Kitchen Equipment Essentials
Alrighty! Let’s gear up. You don’t need a fancy kitchen to whip these up, but there are a few must have tools:
- A big bowl for mixing your batter.
- Shallow dishes for breading.
- A deep skillet or fryer —this is where the magic happens! A thermometer to check the oil temperature at 350° F ( 175° C) is super helpful, but if you’re going with your gut, toss in a small piece of onion. When it sizzles, you’re good to go!
Also, remember to keep some paper towels handy; nobody wants soggy rings!
Now that we have our ingredients and kitchen gear lined up, get ready to roll up your sleeves! you’ll be just steps away from making those crunchy onion rings that are sure to wow your friends and family.
Whether it's for a cozy night in or a big game day, these rings are a killer addition to your appetizer recipes.
Next, let's jump into the specific instructions for creating those delicious, homemade onion rings that everyone will be craving!
Unleashing the Secrets of Professional Cooking Methods
Diving into the world of professional cooking can seem a bit intimidating at first, but trust me, it’s much more about practice and passion than being a culinary wizard.
When you master these methods, even a simple dish like fried onion rings with golden crunch can transform into a showstopper.
So buckle up, and let’s get started!
Essential Preparation Steps
First things first, let’s talk mise en place . this fancy term just means having everything in its place. before you start cooking, chop, measure, and organize your ingredients.
Don’t you hate scrambling for flour while your oil’s heating up? i know i do.
Now, onto time management . i always like to set a timer. it’s like my cooking coach, keeping me in check.
For our onion rings, remember the chilling time: 30 minutes in the fridge is key. that chilling helps the batter stick and creates that perfect crunch you crave!
Being organized also makes life easier keep your workspace clean, and use shallow dishes for breading. this way, you won’t have a mountain of dishes to face once you’ve taken that first glorious bite of your crispy onion rings .
And don’t forget safety considerations ! Hot oil can be tricky. Always look out for splashes and keep a fire extinguisher nearby, just in case.
Step-by-step Process
Alright, let’s break it down step-by-step. Here’s how to whip up those golden fried onion rings :
Prepare Your Onions : Slice two large sweet onions into 1/4 inch rings . This size is perfect for frying.
Make the batter : combine 1 cup of all-purpose flour , 1 tsp baking powder , 1 tsp garlic powder , and 1 tsp paprika in a bowl.
Add 1 cup of buttermilk until the mixture is smooth.
Bread Those Rings : Dip each onion ring into the batter, then roll it in Panko breadcrumbs . Trust me, that extra crunch is worth it!
Chill : Put those battered rings on a baking sheet and chill them in the fridge for 30 minutes . You’ll thank me later!
Heat the Oil : Get your oil hot aim for 350° F ( 175° C) . A kitchen thermometer here can be your BFF.
Fry away : gently drop a few rings at a time into the hot oil. fry them for about 3- 4 minutes until they’re golden brown.
Be sure to flip halfway through!
Drain and Enjoy : Use a slotted spoon to transfer the fried onion rings to paper towels. Let that oil drain, and then serve them hot with your favorite dipping sauce.
Expert Techniques
Now, let’s chat about some expert techniques . for that ideal crunch, consider double dipping your onion rings. after the initial batter, return them to the batter and coat them again in breadcrumbs.
Seriously, you won’t regret it!
Timing precision is everything! Those 4 minutes can turn from perfect to burnt in a blink, so hey, keep an eye out.
And always do a quality check during frying. If the oil starts bubbling too much or smells funny, it's a sign something's gone awry.
Success Strategies
Let’s not overlook the common mistakes we all make in the kitchen. one key error is overcrowding the frying pan.
Fry in small batches, and those fried snacks will come out crispy and delicious every time!
Ensure your batter is well mixed for a smoother consistency. Lumpy batter can lead to uneven coating, making for some sad, soggy onion rings.
Want to prepare in advance? make and chill your rings ahead of time, then just fry them up when you’re ready.
This way, you can enjoy those golden crunch onion rings during a game night or family dinner without all the fuss!
Additional Information
With this knowledge under your belt, you’re now ready to tackle not just fried onion rings with golden crunch , but any frying recipe that comes your way.
Celebrate those crisp bites of joy paired with the best dipping sauces for onion rings that you can imagine. your friends and family will be begging for your easy onion ring recipe everyone can enjoy, and you might just elevate your game day snacking to the next level!
Cooking is all about finding joy in the process, experimenting, and sharing those delicious moments with loved ones. Let’s keep that spirit alive in our kitchens!
Pro Tips & Secrets for Perfect Fried Onion Rings
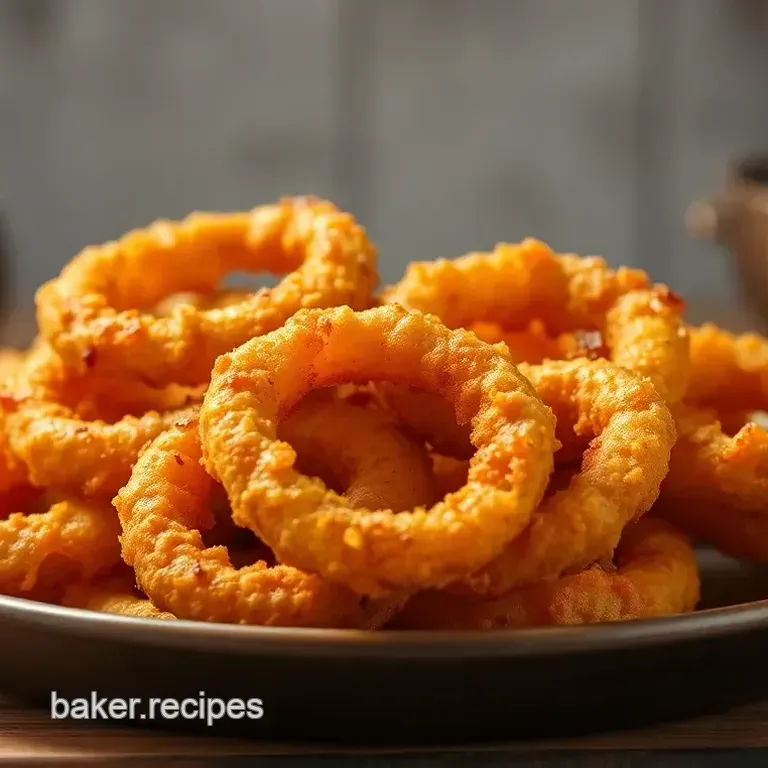
Alright, let’s dive into the crispy goodness of fried onion rings with golden crunch ! these babies are not just any old onion rings; they’re the life of the party, the ultimate classic american snack .
Now, before we hit the kitchen, let me share some pro tips to ensure you get that perfect crunch every single time.
First off, time saving techniques can be a lifesaver. while the recipe calls for chilling the coated onion rings for 30 minutes, if you’re in a pinch, you can skip the chilling, but i promise, it’s worth the wait! letting them chill helps the batter stay put while frying.
Want to kick it up a notch? think flavor enhancements . try adding a dash of cayenne pepper or even a sprinkle of italian herbs to your flour mixture.
It’s a game changer for those who love spicy fried onion rings or a unique twist on the onion flavor profile .
And don’t forget about presentation ! a simple sprinkle of parsley on top just before serving can elevate your dish from ordinary to instagram worthy .
Perfect Presentation: Making Your Onion Rings Shine
Speaking of presentation, let’s chat about how to make those crispy onion rings look as amazing as they taste. first, plating techniques matter.
Use a clean white plate to highlight the golden color of your tasty rings. stack them vertically for height trust me, it’ll catch eyes.
Now let’s talk garnishes ! fresh herbs like parsley or some zesty lemon wedges on the side create a pop of color and cut through the richness of the onion rings.
You want to make sure everything looks tempting, right? so remember the magic of color combinations . contrast the golden fried onion rings with vibrant sauces maybe a homemade ranch dip or even a spicy ketchup.
Storage & make-ahead: Keeping it Fresh
Now, if you find yourself with extra onion rings (which is rare, but let’s be real, it can happen!), here’s how to store them.
Place the leftover rings in an airtight container in the fridge, and they’ll stay fresh for about 2-3 days. but let’s be honest, the best time to eat them is right after they come out of the fryer!
When you’re ready to reheat, place them in a hot oven at 375° f ( 190° c) for about 10- 15 minutes to get that crunch back.
Microwaving is a no-go unless you want sad, soggy rings. so remember, fresh is best !
Creative Variations: Get Funky with Your Rings
Now, it’s time to get creative! feeling adventurous? how about a flavored onion rings twist? you can adapt the batter by switching up basic ingredients.
Want to go vegan? a simple swap of dairy milk for a non-dairy alternative works wonders!
Looking for a seasonal touch? Try sweet onion rings in the springtime or onion rings with beer batter during football season they’re a hit at game day!
You can also explore regional variations. Think about incorporating jalapeños for that Tex-Mex vibe or even using sweet onions for a milder flavor. The sky's the limit!
Complete Nutrition Guide: Staying Informed
It’s always good to know what’s going in your belly, right? these fried onion rings clock in at roughly 260 calories per serving, making them a fun comfort food recipe just in moderation, ya know? they contain some carbs and protein but are best enjoyed as part of a balanced meal.
If you're monitoring your diet, tweak the recipe. Go for gluten-free onion rings using a gluten-free flour blend. It’s all about making sure your meals fit your lifestyle!
Conclusion: Let’s Get Frying!
So, there you have it! the secrets to making the best fried onion rings with golden crunch . with a little prep and the right techniques, you’ll impress everyone at your next get-together or game day.
Just remember, cooking isn't just about the food it's about enjoying the experience, having a blast, and maybe even getting a little messy.
Don’t overthink it; get in there, have fun, and whip up those crunchy onion rings. You won’t just make a snack you’ll make memories! Happy frying!
Frequently Asked Questions
What are the best onions to use for Fried Onion Rings with Golden Crunch?
The best onions for this dish are sweet onions like Vidalia or Walla Walla, as they provide a lovely sweetness when fried. Yellow onions can also work well for a stronger flavor. Avoid using red onions, as their flavor may not be suitable for a fried ring.
How do I make sure my Fried Onion Rings with Golden Crunch are crispy?
To ensure crispy onion rings, use Panko breadcrumbs, as they create a light and crunchy coating. Chilling the coated rings for 30 minutes before frying helps the batter adhere better, reducing the chances of it falling off during cooking.
Additionally, frying in batches at the correct oil temperature (350°F or 175°C) will help maintain the crispiness.
Can I prepare Fried Onion Rings with Golden Crunch in advance?
Yes, you can prepare the coated onion rings in advance and store them in the refrigerator for a few hours. For longer storage, you can freeze them before frying. Just remember to separate them with parchment paper to prevent sticking.
When ready to fry, do not thaw fry them directly from the freezer for the best texture!
What are some variations I can try with this Fried Onion Rings with Golden Crunch recipe?
There are many fun variations! For a spicy twist, add cayenne pepper or hot sauce to the batter. Alternatively, you can make beer battered onion rings by replacing buttermilk with beer. For a vegan option, try using a non-dairy milk and an egg replacer in the batter.
How should I store leftover Fried Onion Rings with Golden Crunch?
To store leftover onion rings, let them cool completely, then place them in an airtight container in the refrigerator for up to 2-3 days. To reheat, place them in a preheated oven at 350°F (175°C) to crisp them up again, rather than using a microwave, which can make them soggy.
Are Fried Onion Rings with Golden Crunch healthy?
Fried onion rings are considered a treat and are typically higher in calories and fat due to frying. If you’re looking for a healthier option, consider baking them instead of frying or choosing whole grain breadcrumbs for added fiber.
Remember to enjoy them as an occasional indulgence rather than an everyday snack!
Golden Crisp Onion Rings Delight