Cone Cupcakes the Ultimate Vanilla Bean Birthday Party Treat
- The Magic of Mess and Free Baking: Why Cone Cupcakes Rule Your Next Party
- Gathering Your Supplies: The Perfect Batter and Buttercream Components
- Step and by-Step Mastery: Transforming Ingredients into Perfect Cone Cupcakes
- Troubleshooting and Customization: Elevating Your Finished Desserts
- Recipe FAQs
- 📝 Recipe Card
The Magic of Mess and Free Baking: Why Cone Cupcakes Rule Your Next Party
Is there anything better than a dessert that looks totally wild but means you don’t have to wash a single cupcake wrapper? I didn’t think so. That’s the genius of Cone Cupcakes.
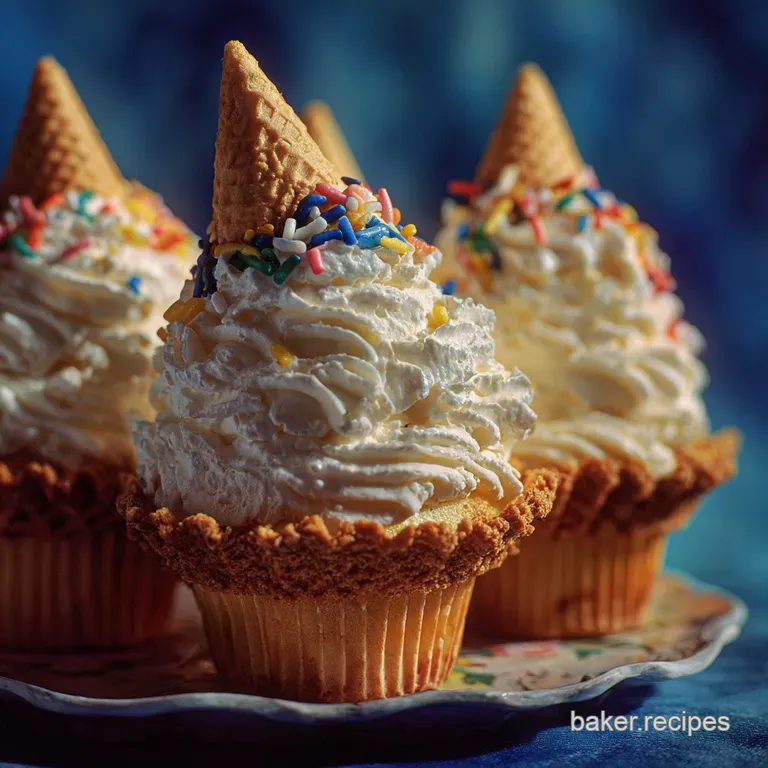
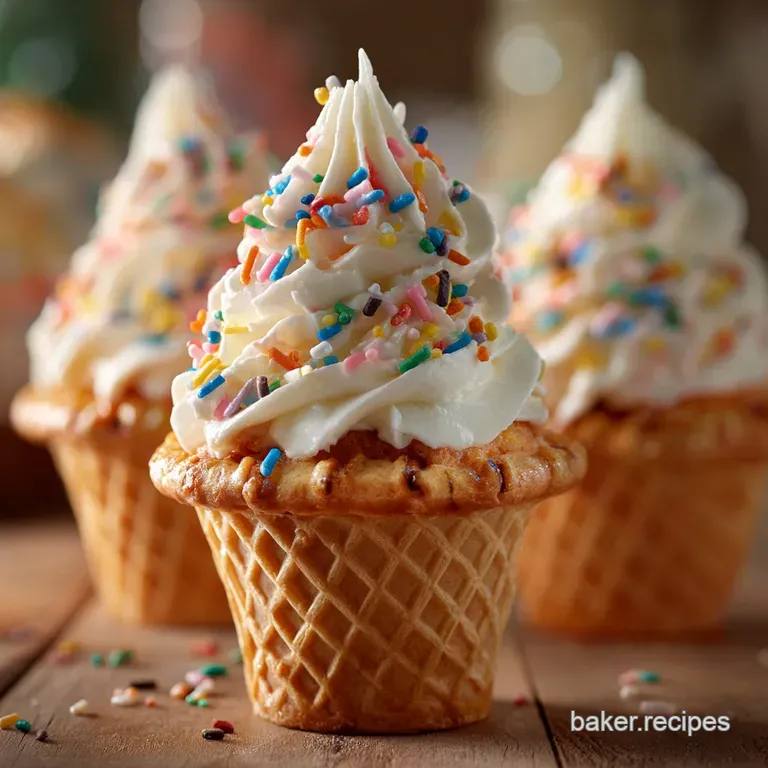
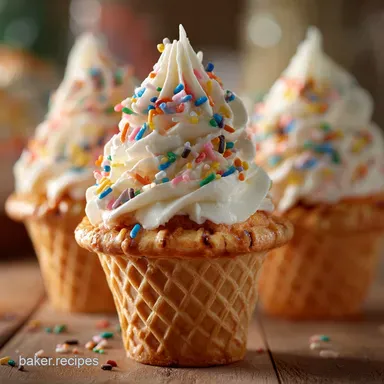
These aren't just vanilla cakes baked in a cone; they are miniature, perfectly portable birthday party Cone Cupcakes, designed to invoke that immediate nostalgia rush of the best summer ice cream truck day. Seriously, hand one of these to a kid (or a grown and up, let’s be real), and watch their face light up.
From Batter to Bliss: Understanding the Structural Science of Cone Cupcakes
This isn't your grandma’s pound cake batter. When you're making a cake cone cupcakes recipe, the science is simple: the batter has to hold its ground. Since the cone is your only support structure, we need a resilient sponge that rises beautifully but doesn't instantly collapse or become greasy.
That’s why we rely heavily on the creaming method. It incorporates lots of tiny air bubbles right into the butter and sugar, giving the cake lift without relying solely on chemical leaveners. If the cone is basically a shell, what happens inside?
It needs to be sturdy enough to be handled, yet still delicate to eat.
A Throwback Treat: Capturing Nostalgia with Every Bite
I love how these instantly take everyone back to childhood parties. Remember those flimsy wafer cones we used to get? They were terrible, but the sheer joy of the ice cream dripping down your hand was part of the experience.
These sugar cone cupcakes capture that look perfectly, but without the mess (or the brain freeze, thankfully). They feel special. They feel like a true celebration. Honestly, sometimes I think the sprinkle placement is more crucial than the actual baking time, just for the pure, psychological joy factor.
The Essential Upgrade: Flat and Bottom Cones vs. Traditional Wafer Cups
Listen up, this is the single most important decision you will make in this entire process. Do not, under any circumstances, try to bake these using those pointed, traditional wafer cones. They look cute, yes. They are also guaranteed to spill batter, burn their fragile edges, and generally cause chaos in your oven.
CRITICAL WARNING: You must use the flat and bottomed cones, usually called sugar cones, or sometimes waffle cones (though the sugar ones are generally sturdier). If the cone can’t stand up on its own, it’s going to be a disaster when you fill it. End of story.
Gathering Your Supplies: The Perfect Batter and Buttercream Components
When making cake cone cupcakes, we need things to be structurally sound. This means room temperature ingredients are non and negotiable. If your butter is too cold, the creaming stage won't happen properly, and you’ll end up with a denser, less reliable cake.
The Secret Ingredient for Stability: Ensuring a Resilient Sponge
There is no one secret ingredient, actually. It’s a secret technique. We are using whole milk, not skim. That little bit of extra fat content helps tenderise the crumb while keeping the cake moist, which is crucial because the cone itself tends to absorb moisture during baking.
Also, make sure your baking powder is fresh. An old box will give you a sad, flat cake that doesn’t clear the rim of the cone, and that’s just depressing.
Essential Equipment Check: Your Must and Have Baking Tools
This is where we solve the "how do I keep these things upright?" problem. You’re going to need a standard 12 cup muffin tin, and a roll of heavy and duty aluminum foil. You’ll rip off a decent square of foil for each cup and gently press it into the muffin well, creating a collar or a cushion for the cone to sit in.
This keeps the cone perfectly vertical during its 20 minute oven spa session. It’s brilliant.
Choosing Your Vessel: Sourcing the Right Ice Cream Cones
We already talked about the flat bottom, but let’s talk flavour. You can easily find the standard, lightly sweetened sugar cones. These work perfectly because they don’t dominate the vanilla cake flavour.
I've done waffle cone cupcakes before, and while they taste incredible, they tend to be a little bit more brittle and prone to cracking while you're filling them. If you’re a perfectionist (like me, sometimes), stick to the classic sugar cone.
Related Recipes Worth Trying
- Flaky Sweet Potato Sage Scones The Ultimate Autumn Brunch Recipe — Skip the tough bakes Learn the secrets to perfect flaky sweet potato scones The warmth of fresh sage and potato makes these the best savory scone recipes...
- Easy Whipped Raspberry Honey Butter Recipe for Scones Toast — Elevate your brunch game with this foolproof Raspberry Honey Butter recipe Its sunshine in a jar blending fresh berries with creamy butter Perfect for spreading
- Proper Nostalgic Cupcake Cones My Easy Vanilla Sponge Secret — Skip the liners These perfect Cupcake cones use flat bottom wafer cones and an easy vanilla sponge Learn my secret to prevent burning get silky American...
Step and by-Step Mastery: Transforming Ingredients into Perfect Cone Cupcakes
Mixing the Base: Achieving the Ideal Creaming Consistency
When you are creaming the butter and sugar, you need patience. You’re aiming for a texture that is visibly pale, almost white, and looks light and aerated it should take a full three to four minutes on medium speed. This step, more than any other, dictates the lightness of your finished sponge.
Don’t rush it. Once you add the eggs and vanilla, make sure everything is fully incorporated before starting the dry/wet alternating stage.
Filling the Cones: Mastering the Art of the 2/3rds Rule
This is where I once went wrong. My first batch? Disaster. I filled them to the rim, thinking "more cake is better," and watched in horror as they exploded over the top, sticking themselves permanently to the foil and smelling vaguely burnt. Learn from my past trauma.
Use a small ice cream scoop (the kind you use for cookies) or a piping bag to fill each cone precisely two and thirds full. The batter will rise perfectly to meet the top edge, creating a nice flat surface for frosting.
Baking Time Strategies: How to Achieve Perfectly Golden Tops
Because the cones are darker than a standard paper liner, they conduct heat faster, especially near the base. You might notice the bottoms baking slightly quicker. Keep your oven rack in the center. After about 18 minutes, start checking them.
They are done when a thin skewer inserted into the center of the cake comes out totally clean, and the cake itself pulls just slightly away from the interior wall of the cone.
Piping Perfection: Creating the Signature "Soft and Serve" Swirl
You want a very sturdy buttercream for this. If it's too soft, your beautiful high swirl will slump. If you are struggling, beat it for an extra minute or two (adding air stiffens it up) or put the entire bowl in the fridge for 5 minutes.
The key tool here is a large, open star tip, like a Wilton 1M. Start piping in the center, touching the cake, and let the swirl build on itself, overlapping slightly as you move outward and upward. Finish with a quick squeeze and a lift straight up.
Troubleshooting and Customization: Elevating Your Finished Desserts
Pro Tip: Preventing Soggy Cones During Storage
Ah, the soggy bottom conundrum. Since the cake is moist and it’s sealed inside the cone, the moisture eventually tries to escape and hits the cone’s inner wall, making it soft. This is especially bad if you make them a day ahead.
The solution? Melted white chocolate.
- Melt a few ounces of white chocolate or candy melts.
- Once your cones are cooled, use a pastry brush to quickly paint a thin layer of melted white chocolate on the inside base and up the bottom inch of the cone.
- Let it set completely before adding the cake batter.
This creates a moisture barrier. It’s the professional hack for keeping your cones perfectly crisp for days.
Scaling Up the Recipe: Adjustments for Large Batch Baking
If you are planning a massive birthday bash and need 50 of these, don't try to cram 5 trays into your oven at once. You'll get uneven baking. Instead, bake in shifts. Since the vanilla cake mix batter holds up well, mix two double batches of the batter, store the unused portion in the fridge, and bake one tray (12 cones) at a time.
The real limiting factor will be the number of muffin tins you own. Recruit a friend to help with the piping it makes it much faster.
Flavor Swaps: Exploring Chocolate, Strawberry, and Other Cone Cupcake Variations
It's easy to customize this basic recipe once you have the structural stability nailed down.
- Chocolate Chip Cone Cake: Fold ½ cup of mini chocolate chips into the batter right before filling the cones.
- Strawberry Dreams: Use strawberry extract instead of vanilla extract in the buttercream, and beat in a tablespoon of freeze and dried strawberry powder for intense flavor and colour without adding excess liquid.
- Mocha Upgrade: Replace ¼ cup of the milk with strong, cooled coffee (instant espresso powder dissolved in water works great) for a rich, coffee and tinged cone cupcake.

Recipe FAQs
Why are my cones falling over in the oven? It's turning into a bit of a disaster!
That’s an absolute nightmare! The key here is the heavy duty aluminium foil cradles; they must be pressed firmly into the muffin tin cups before you place the cones in, providing a structural jacket to hold them bolt upright during the bake.
If you skip this step, the cones will inevitably tip and spill their lovely contents.
Can I make these Cone Cupcakes ahead of time for a weekend party?
Absolutely, but with a caveat: the cakes themselves freeze beautifully unfrosted, but the cones are prone to going a bit soft if stored too long. For the best crunchy base, bake the cakes one day ahead, store them in an airtight container, and only pipe on the buttercream and decorate a maximum of 4 hours before serving.
I'm not a confident baker yet can I use a standard boxed cake mix for this recipe?
You certainly can, but be mindful of the batter consistency; boxed mixes are often runnier than homemade batters, which can lead to a slightly weaker crust that doesn’t hold up as well.
If using a boxed mix, consider reducing the liquid specified by 1-2 tablespoons to ensure the batter is resilient enough to bake securely in the cone.
My finished cone feels soft or soggy after a day. How can I keep the waffle part crispy?
That soggy bottom is usually due to moisture transferring from the cake to the cone! To combat this, you can try painting the inside of the cone with a very thin layer of melted white chocolate and allowing it to set before filling, creating a waterproof barrier between the cake and the cone wall.
What is the secret to getting that perfect, tall scoop of buttercream like the one in the photo?
It’s all down to using a piping bag fitted with a large star tip (like a Wilton 1M) and ensuring your buttercream is exceptionally stable and cold enough to hold its shape. Start piping directly in the centre, push firmly while rotating the cone, and pull upwards quickly to create that satisfyingly tall, ice-cream like swirl.
Birthday Cone Cupcakes Recipe
Ingredients:
Instructions:
Nutrition Facts:
| Calories | 375 calories |
|---|---|
| Fat | 18 g |
| Fiber | 0.5 g |
