Crispy Oven-Baked Fries: the Healthier Way to Indulge
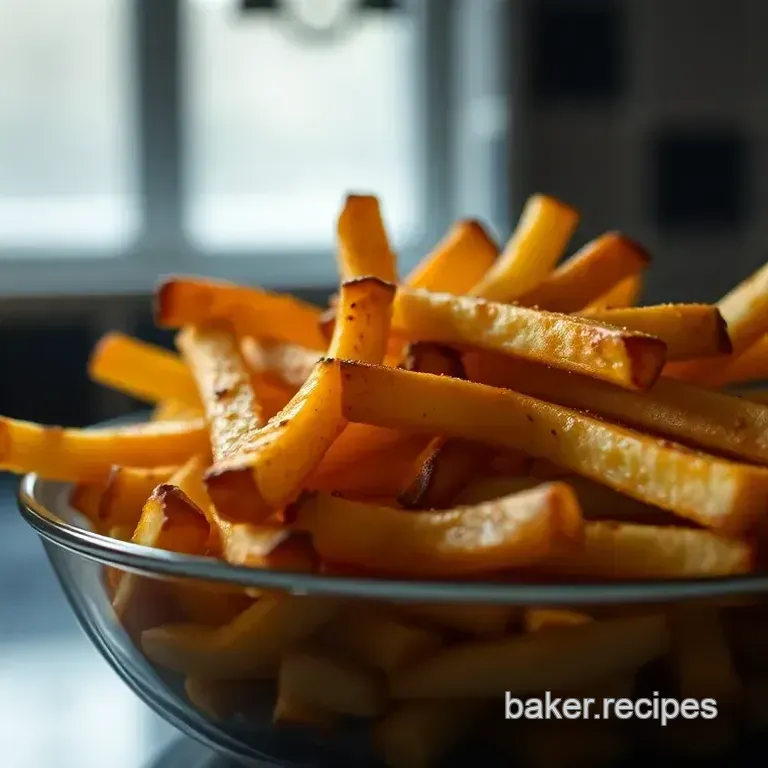
Crispy Oven Baked Fries: The Healthier Way to Indulge
When Life Gives You Potatoes…
Let me tell you a little story. picture this: it’s friday night, the end of a long week, and all i’m craving is some good old comfort food.
An image of crispy fries pops into my head. you know those golden, crunchy beauties? but then, that inner voice reminds me i don’t want to face the guilt that can come from a drive thru run.
So, i thought, how do you make fries in the oven ? turns out, it’s not just possible, it’s downright delicious!
These homemade baked fries are like a warm hug after a hard day. they pack all the flavor of traditional french fries but are baked, not fried, making them much healthier.
Plus, you can customize them to your heart’s desire. let's dive into the chewy, crispy magic of crispy baked french fries !
A Tasty Take on Tradition
Believe it or not, fries date back to the 1600s in belgium. they’re like that classic rock band that never gets old.
In fact, europeans are so mad about these golden sticks that they hold them close to their culinary hearts. fast forward to today, and fries are as popular as ever taking over dinner plates and party spreads alike!
So, let’s chat about this fabulous recipe. you’ve got about 15 minutes to prep, and if you soak the potatoes, give them around 30 minutes in cold water.
Then, just pop them in the oven for 30 to 35 minutes at 425° f ( 220° c) , and voila you have a perfect side dish that serves about four !
Thinking about the costs? This recipe is light on your wallet too. Grab four large russet potatoes, and you're set to create a batch that’s way more affordable than those takeout fries.
Why You’ll Love These Fries
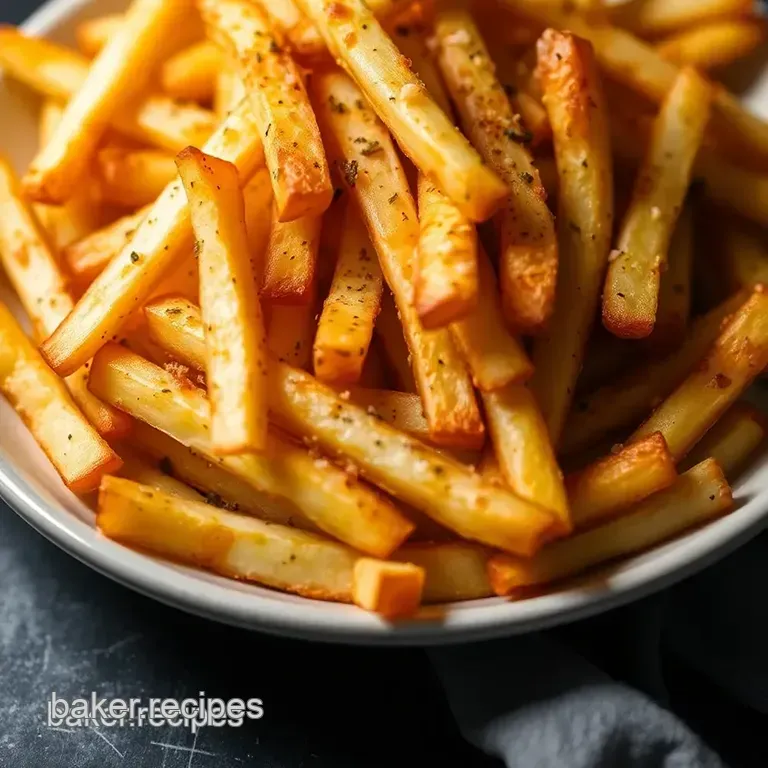
First off, let’s talk health. these oven baked french fries are made with just olive oil, sea salt, pepper, and a splash of garlic powder and paprika .
You’re getting that crispy satisfaction without all the grease you’d find in a deep fryer. and hey, potatoes are a great source of potassium and vitamin c, which makes these indulgences a little easier on the conscience!
Got a party coming up? these fries are a hit at gatherings! they are super versatile, acting as a side for everything from burgers to a big ol’ salad.
Trust me, when you serve these, folks will be asking for the recipe!
What i absolutely love about this french fry recipe baked in the oven is how customizable it is. feeling spicy? toss in some chili powder.
Want a gourmet touch? try some grated parmesan on top when they come out of the oven. your diners will be dazzled, and you’ll look like a pro chef!
Time to Gather Your Ingredients
Alright, now you’re ready to get started! Here’s what you’ll need for these crispy homemade fries :
- 4 large russet potatoes (around 2 pounds or 900 grams )
- 3 tablespoons olive oil
- 1 teaspoon sea salt
- ½ teaspoon ground black pepper
- 1 teaspoon garlic powder
- 1 teaspoon paprika (smoked paprika for a fancy flair)
- Fresh herbs (optional, to sprinkle on top)
Now you've got a good idea of why these oven baked french fries are a go-to in my house. they are easy, affordable, and satisfy that comfort food craving without breaking a sweat.
So let’s roll up those sleeves and get to the fun part cooking!
Next up, I’ll walk you through the simple steps to whip up these tasty bites, and I promise you’ll want to make them over and over again! Happy frying…well, baking!
Your Go-To Guide on Essential Ingredients
When you're diving into the world of cooking, having the right ingredients on hand makes all the difference. let’s break it down like we're chatting over coffee.
We're talking about those premium core components and all the fun little details that help you whip up the best meals, like how do you make fries in the oven or brighten up your basic dish with something special.
So, let’s dig in!
Premium Core Components
First off, the measuring . for americans, it’s usually cups and spoons. but hey, if you’re feeling fancy, there's always the metric system too! you’ll want to remember that 1 cup of flour is about 120 grams , and 1 tablespoon is roughly 15 ml .
Those little conversions can save your baking adventure when you’re trying to replicate that grandma’s special pie recipe.
Now let’s talk quality . look for ingredients that aren’t just pretty on the shelf. when you pick spices, give them a whiff.
Are they fragrant? fresh? if they smell blah, then toss ‘em or save for your kid’s craft project. and always check those expiration dates on the packaging spices can lose flavor like a deflated balloon over time!
Storage Guidelines and Freshness Tips
Store your herbs and spices in a cool, dark place . a spice rack is great, but if it’s sunny in your kitchen, they’ll fade faster than your willpower at a dessert buffet.
And if you’ve got fresh herbs, wrap them in damp paper towel and then pop them in a ziplock like they’re getting a mini spa treatment.
They’ll last much longer that way!
Signature Seasoning Blend
Let’s get to the fun part: flavors! get ready to discover your new best friend in cooking your signature spice mix.
Things like black pepper and garlic powder go together like peanut butter and jelly. but don’t stop there! don’t be afraid to branch out.
Italian herbs add a nice kick think about how easy it can be to spice up your oven baked french fries with some italian seasoning instead of just salt and pepper.
Regional Twists
And speaking of variations, have you tried using spices that reflect your local vibe? if you’re in the south, maybe you want to add some cajun seasoning for that kick.
You know, there’s nothing like some zesty flavors that can remind you of sunny picnics at the park.
Smart Substitutions
Do you ever find yourself in the middle of a recipe thinking, “Uh-oh, I’ve got no paprika!” No sweat. Next time, try switching it up with some chili powder or even some cayenne pepper for that extra oomph!
If you’re going gluten-free or have a vegan friend stopping by for dinner, swapping out standard items is a breeze.
Substitute regular flour with almond or coconut flour. keep your cooking light and with less guilt who doesn’t love that!
Kitchen Equipment Essentials
And let’s not forget about your tools. you don’t need a fancy chef’s knife that cost a fortune just a sturdy one will do! a good cutting board and a baking sheet are absolute necessities.
You can make delicious baked french fries even easier with equipment you already have.
Preparation Tips
Preparation is key, folks. a sharp knife makes chopping quicker and safer, and trust me, you want all your fries uniform so they cook evenly.
And while we're here, always line that baking sheet with parchment paper. it saves you time cleaning thank me later!
Wrapping it Up
So, why are these ingredients and tools important? they can transform your cooking from "meh" to "wow!" plus, now that you're armed with all this knowledge, you’re ready to tackle anything.
Just think about how you’ll show off those crispy baked french fries at your next get-together.
As you dive into the fun part of cooking, remember these essential ingredients, smart substitutions, and trusty tools. next, let’s move on to the step-by-step instructions that will guide you right through making those irresistible oven french fries .
You got this!
Mastering the Art of Professional Cooking: Elevating Your Culinary Game
Have you ever watched those cooking shows and thought, “how do they make it look so easy?” well, cooking like a pro is all about what’s called "mise en place.
" it’s not just a fancy term, trust me! let’s break down the essential steps that’ll turn your kitchen into a michelin star kitchen, or at least help you make some killer oven baked french fries !
Essential Preparation Steps
Mise en place means having everything in place before you start cooking. think of it as your culinary battle station.
Chop those veggies, measure out your spices, and have your ingredients lined up like a well rehearsed marching band. this isn’t just for fancy chefs; it’s for anyone who wants to dodge chaos in the kitchen.
Now, let’s talk time management. don’t run around like a headless chicken. use a timer for your cooking. for those crispy baked french fries , you’ve got about 30- 35 minutes in the oven, but it’s good to check at the 15 minute mark.
Trust me, it saves you from burnt disappointments.
Staying organized is key. use separate cutting boards for raw meats and veggies to avoid cross contamination. always remember: safety first! keep a sanitizer handy, and never put your hands on your face when you’re handling raw food.
step-by-step Process: Your Roadmap to Perfect Fries
Let’s get cookin’!
Preheat Oven : Set that beauty to 425° F ( 220° C) . Hot oven = crispy fries!
Prepare Potatoes : Scrub those potatoes clean and cut them into 1/4 to 1/2 inch sticks. Get them as uniform as possible; it helps with even cooking.
Soak it up : place those cut fries in cold water and let them chill for 30 minutes . this little soak removes excess starch and helps achieve that crunch we all crave.
Drying Action : Drain the fries and pat them dry. Moisture is the enemy of crispiness!
Seasoning Steps : Toss those beauties in olive oil, sea salt, pepper, garlic powder, and smoked paprika in a mixing bowl! Get the flavors in there this is where the magic happens!
Arrange and bake : spread your seasoned fries in a single layer on a baking sheet. crowding them is a big no-no.
You want each fry to get some love from the heat.
Bake away : slide the sheet into the oven for 30- 35 minutes . flip them halfway through to ensure even crispiness.
Keep an eye out; you’re looking for a golden brown finish.
Serve Hot : Let them cool for a brief moment, then dive in with your favorite dipping sauce!
Expert Techniques: Elevate Your Fry Game
Now, you’re probably wondering about those secret pro tips. here you go! for an extra crunch, don’t skip soaking the fries.
It’s a game changer! also, try adding a sprinkle of parmesan right before serving for that italian flair.
Quality checkpoints? If your fries look a bit soggy after baking, they may need more time or need to be flipped sooner. No one likes a limp fry.
Success Strategies: Avoiding the Pitfalls
Common mistakes? Overcrowding the baking sheet. Seriously, don’t do it! Also, if you find your fries aren’t cooking evenly, they may need a little more space. Always make sure they’re spaced out!
Want to prep ahead? Just slice the potatoes and soak them the night before. When you're ready, toss them in oil and bake the perfect way to prep for friends or a movie night!
Wrapping It Up with a Perfect Fry Recipe Baked
Next time you find yourself asking, “ how do you make fries in the oven? ” just remember these simple steps.
With a bit of practice, you’ll be whipping up crispy oven baked fries like a pro in no time!
So, if you’re itching to take your cooking to the next level, keep these techniques in mind. cooking should feel fun and exciting, not overwhelming.
Ready to dive deeper? stick around for more additional information on how to bring out your inner chef!
Additional Recipe Information for Crispy Oven Baked Fries
Ah, the classic french fry that crunchy, salty, golden delight we just can’t resist! so, let’s dive into some tips and tricks to make your oven baked french fries the best they can be.
I promise you’ll want to keep coming back for more!
Pro Tips & Secrets
Here’s the scoop: soaking your fries before baking really pays off. it helps remove excess starch and gives them that extra crunch we all crave.
Honestly, don’t skip this step! while they’re soaking (you can chill for about 30 minutes ), it’s a perfect time to catch up on your favorite show or tackle that laundry pile.
When it's time to bake, make sure you spread the fries out on the baking sheet. it’s like giving each fry its own space to shine.
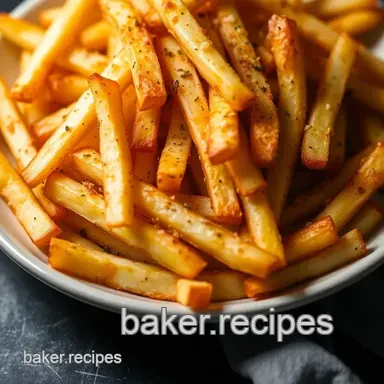
Crowded fries just don’t get crispy! oh, and if you’re feeling adventurous, sprinkle on some smoked paprika or fresh herbs after baking for that flavor enhancement !
Perfect Presentation
Let’s talk about how to make those fries look as good as they taste! start by arranging them in a single layer.
As they come out of the oven, a little sprinkle of fresh herbs like parsley or rosemary can make a world of difference.
You know how you eat with your eyes first? throw in a nice dip on the side maybe some zesty ketchup or homemade garlic aioli and your presentation is complete.
Bam! everyone will be diving in before you can say, “ how do you make fries in the oven? ”
Storage & make-ahead
If you have leftovers (but really, who does?), make sure you store them correctly. place the fries in an airtight container and pop them in the fridge.
They'll be good for about 3-4 days . to reheat, pop them back in the oven at 375° f ( 190° c) for about 10 minutes .
They’ll regain that crunch! you can also freeze them before baking if you want to save time for future fry cravings.
Just remember, when you reheat, give them space on the sheet!
Creative Variations
Let’s get funky with flavors! how about tossing in some cheese or a sprinkle of truffle oil for a fancy twist? you could even do a seasonal spin with pumpkin spice for the fall! if you're keeping things gluten-free, just check your spices because, hey, flavor shouldn’t be limited by dietary restrictions.
And if you’re in the mood for a sweet variation, sweet potatoes can be a fantastic substitute for russets, delivering a different but equally tasty experience!
Complete Nutrition Guide
Now, i know fries aren’t exactly health food, but we can make them a bit better, right? these baked french fries are lower in calories compared to their deep fried counterparts.
Expect around 200 calories per serving, packed with potassium and a moderate amount of fiber. just remember to keep your portions reasonable you don’t want to end up in a fry-induced food coma!
Wrapping It Up
So there you have it! whether you’re whipping up crispy baked french fries for a snack while binge watching your favorite show or serving them up as a side with a juicy burger, these tips will take your fries to the next level.
It’s all about having fun and experimenting in the kitchen.
Honestly, cooking should be enjoyable, a time to express yourself and share love through food. now, get out there, channel your inner fry chef, and serve up some homemade goodness.
You’ve got this! happy cooking, friends!
Frequently Asked Questions
How do you make fries in the oven for the best crunch?
To achieve the ultimate crunch in your oven baked fries, soaking the cut potatoes for at least 30 minutes is key. This removes excess starch, resulting in a crispier texture. Make sure to dry them thoroughly before tossing with oil and seasoning to optimize their crunchiness!
What kind of potatoes work best for oven baked fries?
Russet potatoes are the go-to choice for fries due to their starchy content, which helps achieve that fluffy interior and crispy exterior. If you're feeling adventurous, try sweet potatoes for a healthier twist that adds a touch of natural sweetness just keep an eye on cooking times as they can differ!
Can I prepare fries ahead of time?
Absolutely! You can cut and soak your fries in advance, storing them in the refrigerator for up to 24 hours. Just make sure to dry them well before seasoning and baking to ensure they turn out crisp. For longer storage, freeze them after soaking and drying, and bake directly from frozen when you're ready to enjoy!
What variations can I try with my oven baked fries?
There are endless ways to jazz up your fries! You can experiment with herbs and spices like rosemary, thyme, or even a sprinkle of paprika or grated cheese after baking. For a full-on flavor explosion, try tossing the fries with an Italian herb blend or a smoky Cajun seasoning before baking.
How do I store leftover fries?
Leftover fries can be stored in an airtight container in the fridge for up to 3 days. To reheat, pop them back into a hot oven at 400°F (200°C) for about 10-15 minutes to revive that crispiness. Microwave reheating can make them soggy, so the oven is definitely the way to go!
Are oven baked fries a healthy alternative to fried ones?
Yes, they certainly are! Oven baked fries use significantly less oil compared to the traditional deep fried variety, cutting down on fat and calories while still delivering delicious flavor. You can also customize them with healthier oils and seasonings to suit your dietary preferences.
It's comfort food without the guilt perfect for any occasion!
Crispy Oven Baked Fries The Healthier Way To Ind
Ingredients:
Instructions:
Nutrition Facts:
| Calories | 200 |
|---|---|
| Fat | 7g |
| Fiber | 3g |
