Homemade Buttercream Frosting: Silky and Stiff
- Time: Active 15 minutes, Passive 0 minutes, Total 15 minutes
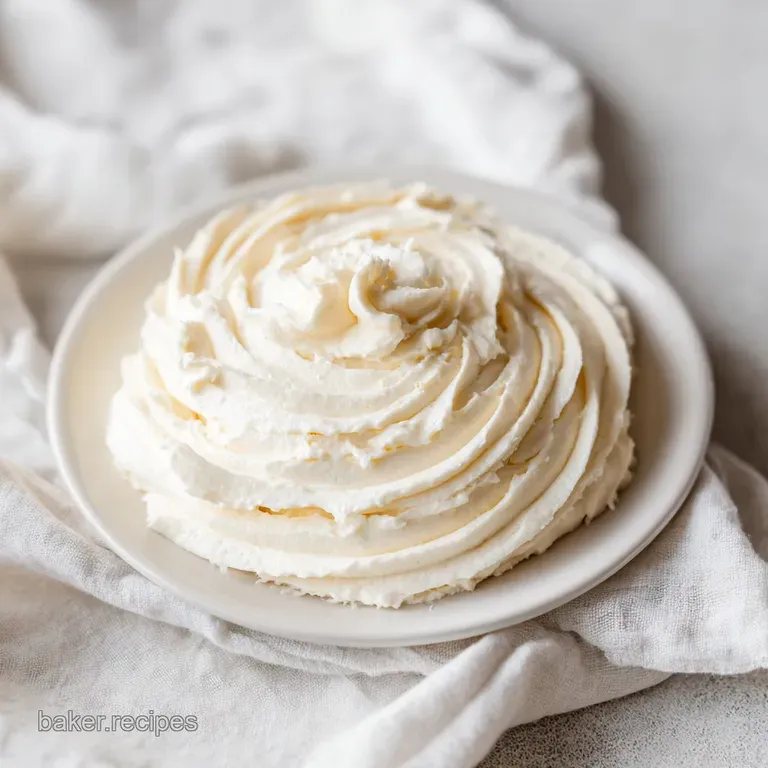
- Flavor/Texture Hook: Silky, melt in-your mouth sweetness with a velvety ivory finish
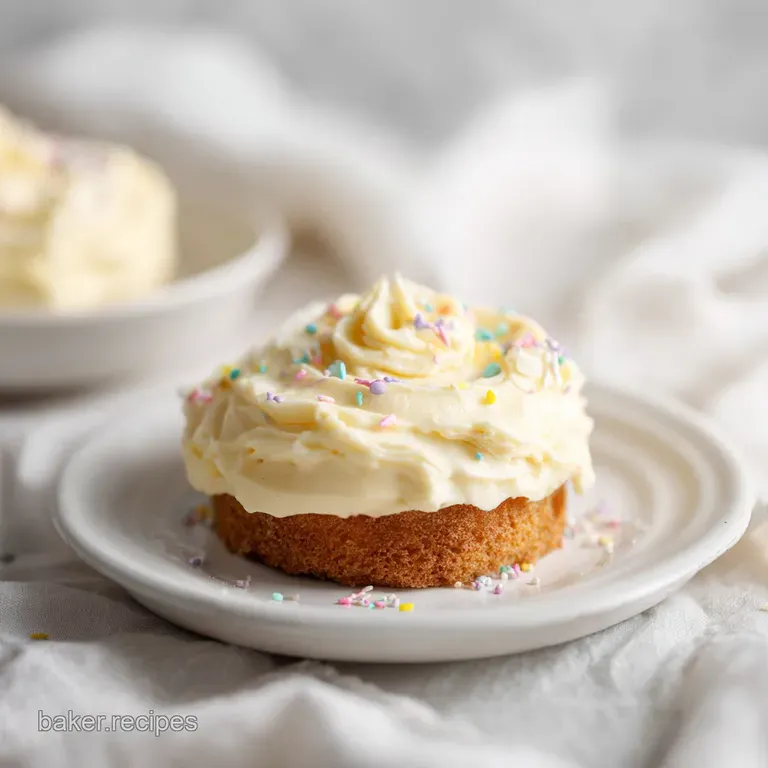
- Perfect for: Birthday cupcakes, tiered celebration cakes, and beginner bakers
- Simple Secrets to Fluffy Buttercream Frosting Success
- What Makes This Frosting So Silky
- Why Aeration Is the Hidden Key
- Essential Recipe Timing and Yield Specs
- Choosing the Right Pantry Staples
- Tools for a Smooth Finish
- Step-by-Step Guide to Perfect Whipping
- How to Fix Common Textures
- Troubleshooting Common Issues
- Flavor Swaps and Easy Variations
- Best Storage and Freezing Methods
- Pro Decorating and Piped Finishes
- Recipe FAQs
- 📝 Recipe Card
Simple Secrets to Fluffy Buttercream Frosting Success
You know that specific sound when the mixer finally hits the sweet spot? It goes from a heavy, sluggish thud to a light, rhythmic whipp whipp whipp. That is the exact moment when you know the butter has surrendered its density and is ready to become something special.
I remember standing in my kitchen years ago, staring at a bowl of yellow, greasy soup because I thought "softened" meant "nearly melted." It was a mess, honestly, and I ended up wasting a whole pack of butter trying to fix it.
That failure taught me that the real hero of a great Buttercream Frosting isn't the sugar it is the butter temperature. When you get it right, about 65°F, the butter has enough structure to hold air but enough give to become perfectly smooth.
It should feel like cool play dough, not greasy film. Once I stopped rushing the softening process, my frosting went from "okay" to "can I have the recipe?" overnight.
We are going to walk through how to get that signature cloud like texture without any fancy tricks. It is all about patience during those first five minutes of whipping. If you have ever struggled with frosting that slides off the cake or feels like eating a stick of sweetened lard, this approach will change your kitchen routine.
Let's get into why this works so well for your budget and your taste buds.
What Makes This Frosting So Silky
The magic happens through a process called aeration. When you beat butter on high speed, the paddle attachment creates millions of tiny air pockets. These pockets are held in place by the fat molecules. If the butter is too cold, the pockets won't form; if it is too warm, they collapse.
This is why we aim for that specific 65°F mark.
Another key factor is the suspension of sugar. Since we use confectioners' sugar, which contains a tiny bit of cornstarch, it dissolves partially into the small amount of moisture provided by the heavy cream and vanilla.
This creates a stable matrix that stays firm at room temperature but melts the second it hits your tongue. It is a simple chemical balance of fat, sugar, and just enough liquid to bridge the two.
- Fat Aeration: High speed beating traps air, doubling the volume of the butter and lightening the color from yellow to ivory.
- Sugar Stabilization: The fine particles of the sugar provide structure, acting like a scaffold that keeps the air pockets from popping.
- Emulsification: The heavy cream acts as the binding agent, bringing the fat and sugar together into a cohesive, velvety mass.
| Method | Time | Texture | Best For |
|---|---|---|---|
| Stand Mixer | 15 minutes | Maximum fluff, very airy | Tiered cakes and piping |
| Hand Mixer | 20 minutes | Dense and creamy | Cupcakes and sheet cakes |
| Manual Whisk | 30 minutes | Very thick, rustic | Small batches or fills |
Choosing the right method depends on your tools, but a stand mixer is the gold standard for getting that "whipped" look. If you are working on a budget, a hand mixer does a fantastic job; you just need to be prepared to hold it for a few extra minutes to get the same level of aeration.
Why Aeration Is the Hidden Key
To get the most out of your ingredients, you need to understand how they interact under pressure. The butter provides the body, but the sugar provides the soul. When we talk about a budget smart recipe, we aren't cutting corners on quality; we are maximizing the potential of every gram of sugar and every drop of vanilla.
For example, using pure vanilla extract is the one place I suggest spending a little more because the aroma carries the entire dish.
| Component | Science Role | Pro Secret |
|---|---|---|
| Unsalted Butter | Structural Fat | Use at 65°F for the most stable air pockets. |
| Confectioners' Sugar | Volume & Structure | Sift twice to ensure zero grit in the final texture. |
| Heavy Cream | Moisture & Emulsion | Add cold to help stabilize the fat as it whips. |
Butter is about 80% fat and 15% water. When we whip it, we are essentially trying to stretch that 15% water and the milk solids around the air we are forcing in. If you want a deeper dive into different textures, you might find my Velvety Whipped Buttercream helpful for comparing different fat ratios.
Essential Recipe Timing and Yield Specs
This recipe is designed to be fast but thorough. Don't be tempted to cut the whipping time short. Those five minutes at the beginning are what separate "butter mixed with sugar" from a true professional frosting. You are looking for a total volume increase of about 30% to 50% by the time you are finished.
- Prep Time: 15 minutes
- Total Time: 15 minutes
- Yield: 24 servings (enough for 24 cupcakes or one 9 inch double layer cake)
Chef's Tip: If your kitchen is hot (over 75°F), put your mixing bowl in the fridge for 10 minutes before you start. A cold bowl helps keep the butter from hitting that "greasy" stage while you whip it.
Choosing the Right Pantry Staples
When you are shopping, look for the best butter you can afford. Since it is the main flavor, the quality matters. However, you don't need the most expensive European style butter to get a great result. Standard supermarket unsalted butter works perfectly as long as it is fresh.
- 1 cup (227g) unsalted butter: Must be slightly cool to the touch. Why this? It provides the creamy base and allows for maximum air incorporation.
- 4 cups (500g) confectioners' sugar: Always sifted before measuring. Why this? Fine particles prevent a grainy mouthfeel and help the frosting hold its shape.
- 3 tbsp (45ml) heavy cream: Full fat is best for stability. Why this? It thins the frosting to a spreadable consistency while adding richness.
- 2 tsp (10ml) pure vanilla extract: Avoid the imitation stuff if possible. Why this? It provides the primary floral and sweet aroma of the frosting.
- 1/4 tsp (1.5g) fine sea salt: Don't skip this. Why this? It balances the intense sweetness of the sugar and wakes up the vanilla flavor.
| Original Ingredient | Substitute | Why It Works |
|---|---|---|
| Heavy Cream | Whole Milk | Lower fat. Note: Result will be slightly less stable in heat. |
| Unsalted Butter | Salted Butter | Same fat. Note: Omit the extra 1/4 tsp of sea salt from the recipe. |
| Vanilla Extract | Almond Extract | Different profile. Note: Very strong; use only 1/2 tsp for a nutty flavor. |
Using milk instead of cream is a great way to save a couple of dollars, but just be aware that the frosting might be a tiny bit softer. If you go that route, add it one teaspoon at a time so you don't accidentally make the mixture too runny.
Tools for a Smooth Finish
You don't need a kitchen full of gadgets, but a few specific items make the process much easier. If you don't have a stand mixer, a sturdy hand mixer is your best friend. Just avoid doing this by hand with a whisk unless you are looking for a massive arm workout and a much denser frosting.
- Stand Mixer: Preferably with a paddle attachment. The paddle beats the sugar into the butter without adding too much air (which causes those annoying bubbles).
- Fine Mesh Sieve: Essential for sifting the sugar. Lumps are the enemy of a smooth finish.
- Rubber Spatula: You will need to scrape the bowl frequently to ensure every bit of butter is incorporated.
- Digital Thermometer: Optional, but great for checking if your butter is actually at 65°F.
step-by-step Guide to Perfect Whipping
- Prep the butter. Place the slightly cool butter (65°F) in the bowl of a stand mixer fitted with a paddle attachment.
- Start the whip. Beat on medium high speed for a full 5 minutes until the butter is pale ivory and visibly fluffy. Note: Scrape the sides of the bowl every 2 minutes to ensure no yellow butter is left at the bottom.
- Slow things down. Reduce the mixer to the lowest speed to prevent a "sugar cloud" in your kitchen.
- Add the sugar. Gradually add the sifted confectioners' sugar one cup at a time.
- Incorporate thoroughly. Ensure each addition is fully incorporated before adding the next cup. Watch for the mixture to thicken and turn white.
- Add liquids. Pour in the heavy cream, vanilla extract, and fine sea salt while the mixer is still on low.
- Final aeration. Increase speed to medium and beat for another 2 minutes until the texture is velvety and smooth.
- Manual finish. Turn off the mixer and use a rubber spatula to stir the frosting by hand for 30 seconds. Note: This knocks out large air bubbles for a smoother look.
How to Fix Common Textures
Even with the best intentions, things can go sideways. Usually, the issue is temperature or the ratio of liquid to sugar. Don't panic; almost every frosting mistake is fixable with a little bit of patience and a few more minutes of mixing.
Troubleshooting Common Issues
| Issue | Solution |
|---|---|
| Buttercream Grainy | Graininess usually comes from the sugar not being fine enough or not having enough moisture to "grab" onto. If you skipped sifting, that is likely the culprit. To fix this, add one more tablespoon of |
| My Frosting Is Too Soft | If the frosting feels like it is melting or won't hold a peak, your butter was probably too warm or you added too much cream. Try putting the whole mixing bowl in the fridge for 15 minutes. Once chill |
| Remove Large Air Bubbles | Big air pockets are great for fluffiness but terrible for a smooth cake finish. This often happens if you whip the frosting on high speed for too long at the end. The fix is simple: use a wooden spoon |
Flavor Swaps and Easy Variations
Once you have the base down, you can turn this into almost anything. This recipe is like a blank canvas. For a citrus twist, check out my Lemon Sunshine Buttercream, which uses zest to cut through the richness.
- Chocolate: Sift 1/2 cup of unsweetened cocoa powder with the sugar and add 1 extra tablespoon of heavy cream.
- Strawberry: Replace the heavy cream with 3 tablespoons of reduced strawberry puree (simmered until thick and cooled).
- Coffee: Dissolve 2 teaspoons of espresso powder into the vanilla extract before adding it to the bowl.
- Peanut Butter: Add 1/2 cup of creamy peanut butter during the final 2 minutes of whipping.
If you are looking for a deeper, darker chocolate version, you can't miss the Silky Smooth Chocolate Buttercream which uses a slightly different fat ratio for a fudgier finish.
Best Storage and Freezing Methods
Buttercream is incredibly hardy because of the high sugar and fat content. You can make it well in advance, which is a lifesaver for big events. Just remember that it picks up fridge odors easily, so seal it tight.
Storage: Keep in an airtight container in the fridge for up to 1 week. Before using, let it sit on the counter for 1 to 2 hours to reach room temperature, then re whip it for 2 minutes to restore the fluffiness.
Freezing: You can freeze this frosting for up to 3 months. Thaw it overnight in the fridge, then follow the same "room temperature and re whip" process. I often freeze leftover frosting in small zip top bags to use as "glue" for gingerbread houses or as a quick topping for a single cupcake.
Zero Waste Tip: If you have just a little bit of frosting left over, don't toss it! It makes an incredible filling for homemade "oreo" style cookies, or you can even stir it into your morning coffee for a decadent, vanilla infused treat.
Pro Decorating and Piped Finishes
Getting those perfect bakery style swirls is less about the hand movement and more about the pressure. If your frosting is the right temperature, it should flow easily through a piping tip without you having to squeeze the life out of the bag.
If your hands are warm, the butter in the bag might start to melt; if that happens, just set the piping bag in the fridge for 5 minutes.
For a smooth finish on a cake, start with a "crumb coat." This is a very thin layer of frosting that traps all the loose crumbs. Chill the cake for 20 minutes after the crumb coat, then apply your final thick layer.
The cold surface will help the Buttercream Frosting set instantly, making it much easier to get those sharp, clean edges.
Chef's Note: For the whitest possible frosting without using food coloring, add the tiniest "pin prick" of purple gel food coloring. The purple neutralizes the yellow tones of the butter, leaving you with a bright, clean white finish that looks stunning on wedding cakes.
If you want to try a different style of icing that is even lighter, my guide on Decadent Vanilla Buttercream explores how to use different whipping techniques to achieve a marshmallow like consistency. Whatever path you choose, remember that the best part of baking is the tasting so don't forget to lick the spatula!

Recipe FAQs
What are the ingredients for buttercream frosting?
You need five specific ingredients: unsalted butter, sifted confectioners' sugar, heavy cream, pure vanilla extract, and fine sea salt.
How to make buttercream icing for beginners?
Start by beating 1 cup of slightly cool butter for 5 minutes until it reaches a pale ivory, whipped consistency. Slowly incorporate 4 cups of sifted confectioners' sugar on low speed, then finish by beating in 3 tablespoons of heavy cream, 2 teaspoons of vanilla, and 1/4 teaspoon of salt until velvety.
What is the trick to buttercream frosting?
The secret is the 5-minute initial whip of the butter before any sugar is added. If you enjoy mastering this aeration technique, see how we apply similar texture building principles in our ultimate vanilla white cake recipe.
Can I make buttercream with just butter and icing sugar?
Yes, but it will lack the signature velvety texture. While you can technically combine butter and sugar, the heavy cream and salt are essential for achieving a professional, smooth finish that isn't overly cloying.
Is it true I can use melted butter for a faster whip?
No, this is a common misconception. You must use butter that is slightly cool, around 65°F; melted or warm butter will prevent the frosting from holding its structure and cause it to turn into a greasy soup.
How to fix grainy buttercream?
Sift your confectioners' sugar before adding it to the bowl. Graininess is almost always caused by clumps in the sugar, so sifting is the only way to ensure the final result is perfectly smooth.
How to firm up buttercream that is too soft?
Place the entire mixing bowl in the refrigerator for 15 minutes. Once the butterfat firms up slightly, you can re-whip the mixture briefly to bring back that smooth, stable consistency.
Homemade Buttercream Frosting Guide

Ingredients:
Instructions:
Nutrition Facts:
| Calories | 157 kcal |
|---|---|
| Protein | 0.1 g |
| Fat | 8.4 g |
| Carbs | 20.9 g |
| Fiber | 0 g |
| Sugar | 20.8 g |
| Sodium | 25 mg |
