A Proper Brew Sweet Salty Dutch Oven Kettle Corn the Fairground Classic
- Unlocking the Fairground Flavor: Why We Need the Dutch Oven
- Kettle Corn Chemistry: Salt, Sugar, and the Art of the Glaze
- Gathering Your Supplies: The Essential Gear for Dutch Oven Kettle Corn
- Mastering the Technique: Step-by-Step Dutch Oven Kettle Corn Production
- The Popping Sequence: Timing the Sugar Addition Perfectly
- Troubleshooting & Maintenance: Ensuring Your Dutch Oven Kettle Corn Stays Crisp
- Advanced Kettle Corn Tips and Flavor Variations
- Recipe FAQs
- 📝 Recipe Card
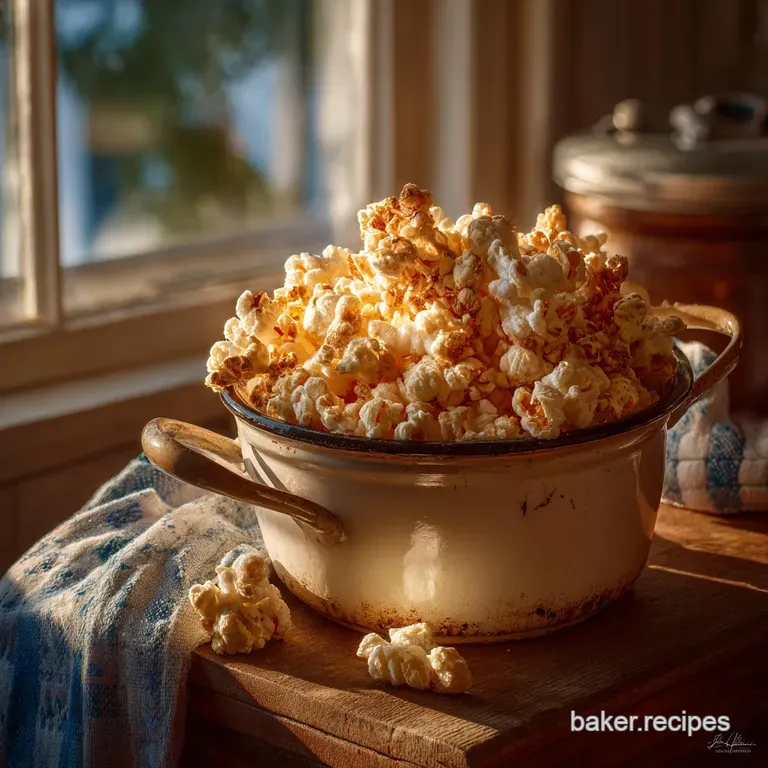
Unlocking the Fairground Flavor: Why We Need the Dutch Oven
When aiming to replicate the nostalgic, irresistible taste of authentic fairground popcorn, the key equipment is non-negotiable: you need heavy bottomed cast iron. Crafting perfect Dutch Oven Kettle Corn is fundamentally a heat management challenge.
Unlike standard air-popped or stovetop popcorn, kettle corn requires the kernels, oil, and sugar to be heated simultaneously. This delicate balance demands precise, even heat from the start, a task the dense material of a cast iron vessel excels at.
The superior thermal properties of the Dutch Oven mean the heat is distributed uniformly across the entire base and up the sides. This minimizes hot spots, which are the main enemy when trying to achieve the perfect sugar glaze.
If the pot has inconsistent temperature zones, the sugar will rapidly scorch and burn before the kernels reach the necessary popping temperature, leading to bitter, sticky messes. By using a robust vessel, we ensure that every kernel gets a clean coat of caramelized sugar, resulting in the absolute Best Dutch Oven Popcorn possible crisp, fluffy, and evenly coated.
This technique makes the challenging Fairground Kettle Corn Recipe surprisingly accessible at home.
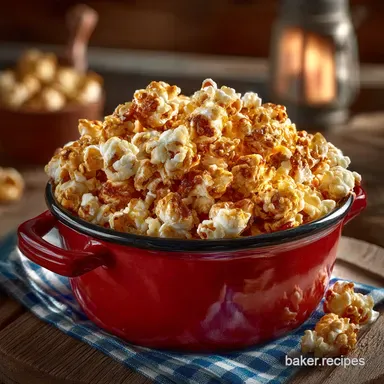
Kettle Corn Chemistry: Salt, Sugar, and the Art of the Glaze
True kettle corn is an exercise in controlled chaos. The success of this Sweet and Salty Popcorn Recipe lies in leveraging the high heat retained by the cast iron to simultaneously pop the corn and caramelize the granulated sugar without burning it.
It’s a medium difficulty endeavor that requires speed and focused attention, but the reward is a yield of approximately 12 14 cups of the ultimate snack.
What Separates Kettle Corn from Standard Popcorn?
The fundamental difference between this Kettle Corn Recipe and basic popped corn is the timing of the seasoning. Standard popcorn is typically seasoned with butter and salt after it has popped.
Kettle corn, however, utilizes the sugar and salt during the popping process. We combine all the primary ingredients the kernels, the oil, the 1/3 cup of granulated white sugar, and the 1 teaspoon of fine sea salt into the pot before the popping begins.
As the pot heats, the sugar melts and begins to caramelize just as the kernels explode. This forces the sugar glaze onto the hot, freshly popped surface of the corn.
The Essential Role of Even Heat Distribution
The essential characteristic provided by the Cast Iron Kettle Corn setup is heat retention. Once the sugar begins melting, the temperature must remain high enough to ensure rapid popping (approximately 8 to 10 minutes of active cooking time) but stable enough to prevent localized burning.
The heavy lid of the Dutch Oven helps trap the necessary heat and steam, while the thick bottom buffers the kernels and sugar from direct, intense heat spikes, ensuring a successful glaze formation on this Easy Dutch Oven Popcorn .
The Evolution of the American Kettle Corn Treat
Homemade Kettle Corn has a rich, nostalgic history rooted in American colonial tradition. Historically, it was made in large iron cauldrons (or "kettles") over an open fire, a technique that naturally produced the sweet and-salty flavor profile that became synonymous with county fairs and harvest festivals.
Today, recreating this taste involves utilizing modern techniques to manage the heat, replicating the deep, even heating action of those original cauldrons through the use of the stovetop Dutch Oven.
Gathering Your Supplies: The Essential Gear for Dutch Oven Kettle Corn
Before attempting to create this dutch oven kettle corn recipe , precise measuring and preparation are crucial. We refer to this as mise en place . Because the cook time is short and rapid, scrambling for ingredients will guarantee a scorched batch.
Ensure your 1/2 cup of kernels, 1/4 cup of oil, and the sugar/salt mixture are all precisely measured and sitting ready by your stove.
Choosing the Best Kernel Variety (Oil vs. Air-Popped)
For stovetop popping, quality matters. Look for high-quality popping corn kernels, as these yield far fewer unpopped "old maids" and ensure a fluffy result. While some popcorn types are marketed specifically for air-poppers, any standard yellow or white popping kernel works wonderfully here, provided they are fresh.
Which Oil Provides the Highest Smoke Point?
Because we are heating the oil, kernels, and sugar simultaneously to a high temperature, we must use an oil with a high smoke point. Our recipe calls for 1/4 cup of refined coconut oil or a suitable high heat vegetable oil (such as peanut or canola oil).
Refined coconut oil is highly recommended as it contributes a clean, neutral flavor that mimics the taste often found in commercial fairground operations. Avoid low smoke point oils like olive oil, which will smoke and degrade rapidly, spoiling the taste of the Dutch Oven Kettle Corn .
Sizing Your Dutch Oven for Optimal Volume
The ideal vessel for this recipe is a heavy bottomed 6-quart (5.7 L) Dutch Oven with a tight fitting lid. This size is perfect for popping 1/2 cup of kernels, allowing ample headspace for the corn to expand into 8 10 generous servings.
Trying to use a pot that is too small will result in kernels escaping the pot and a dense, chewy texture due to overcrowding.
Do I Need a Specific Type of Sugar or Salt?
For the signature glaze, standard granulated white sugar is necessary, measured precisely at 1/3 cup. While substitutes like brown sugar can add complexity, they dramatically increase the risk of burning due to their molasses content.
For the savory component, we use 1 teaspoon of fine sea salt, though if you prefer a sharper saline flavor, you can use 1/2 teaspoon of kosher salt, adjusting to your specific taste.
Related Recipes Worth Trying
- Stovetop Granola The Crispy Quick Recipe No Oven Needs — Ditch the oven this summer This foolproof stovetop granola recipe delivers deep nutty clusters in under 30 minutes Perfect for a healthy quick breakfast crunch
- The Best No Bake Banana Pudding Cheesecake Recipe OvenFree — You wont believe this decadent No Bake Banana Pudding Cheesecake needs zero oven time Its the creamy dreamiest No Bake Banana Pudding Dessert mashup youll...
- The Golden Crown Creamy Hashbrown Casserole with Cornflakes — This easy Hashbrown Casserole with Cornflakes delivers incredible texturecreamy potatoes meet a buttery crunchy topping The ultimate funeral potatoes recipe
Mastering the Technique: step-by-step Dutch Oven Kettle Corn Production

The entire process, from start to finish, takes approximately 15 minutes, with the active popping stage lasting just 3– 4 minutes.
The steps for how to make kettle corn in a dutch oven require diligence and quick action, particularly once the ingredients are introduced to the heat. First, the 6-quart Dutch Oven is placed over medium high heat, and the oil is added.
While the oil is heating, ensure your large cooling bowl is positioned next to the stove; the second the corn is done, it must be removed from the residual heat.
The Popping Sequence: Timing the Sugar Addition Perfectly
The critical phase of making delicious Dutch Oven Kettle Corn is the precise timing of the sugar addition relative to the oil temperature. Get this right, and you achieve a perfect glaze; get it wrong, and you risk a burnt coating.
Testing the Temperature: The 'Sacrificial Kernel' Method
To determine the ideal popping temperature, add 2 to 3 test kernels to the hot oil and cover the pot. The oil should be shimmering but not smoking. When these sacrificial kernels pop (usually within 3 minutes), the oil is perfectly calibrated.
Immediately remove the pot from the heat momentarily to bring down the internal temperature slightly. This prevents the sugar from seizing or burning the moment it touches the bottom of the pot.
Crucial Shaking Techniques to Prevent Sugar Scorching
With the pot off the heat, add the remaining 1/2 cup of kernels, the 1/3 cup of sugar, and the salt. Give the mixture a quick stir for about 5 to 10 seconds to coat everything evenly. Then, return the pot to medium high heat and replace the lid. Within about 30 seconds, popping will begin rapidly.
This is the moment speed is crucial. Once the vigorous popping starts, you must continuously shake or agitate the Dutch Oven using heavy oven mitts. Use a back and-forth or side-to-side motion, keeping the pot slightly lifted above the burner.
This constant movement ensures the melting sugar coats the kernels and the base of the pot uniformly, preventing it from settling and burning on the bottom of the cast iron.
Knowing When the Popping Has Officially Stopped
Continue the relentless shaking until the popping sound slows dramatically. This usually happens when the interval between pops stretches to 1 2 seconds. Do not wait for silence.
Leaving the corn in the pot even for a few extra seconds past this point will result in the sugar coating overheating and turning bitter due to the intense residual heat of the cast iron.
Cooling and Breaking Apart the Sticky Clusters
As soon as the popping slows, immediately remove the Dutch Oven from the heat and lift the lid to release steam. Quickly and carefully pour the entire contents into the prepared large mixing bowl. Do not allow the corn to sit in the Dutch Oven.
While the kettle corn is still warm, use a sturdy spatula to gently break apart any large, sticky clusters. Allow the popcorn to cool completely about 10 to 15 minutes before serving.
This cooling process is essential as it hardens the caramelized sugar, delivering the signature crunchy texture of authentic Homemade Kettle Corn .
Troubleshooting & Maintenance: Ensuring Your Dutch Oven Kettle Corn Stays Crisp
A successful batch of Dutch Oven Kettle Corn is crisp, fluffy, and evenly glazed. After you have enjoyed this fantastic snack, dealing with the inevitable caramelized sugar residue on the cast iron might seem daunting, but it’s surprisingly simple.
Once the corn is transferred out, immediately add about 1 inch (2.5 cm) of water to the Dutch Oven. Place the pot back on the stove and simmer gently for a few minutes. The boiling water will dissolve the leftover sugar residue, making cleaning the pot a straightforward task rather than a scrub-a-thon.
This simple step ensures the longevity of your cast iron.
Advanced Kettle Corn Tips and Flavor Variations
We’ve perfected the classic, but the fun doesn't stop there. Mastering this technique opens the door to numerous flavor adjustments and essential maintenance knowledge.
How to Store Leftover Kettle Corn for Long Lasting Freshness
If, by some miracle, you have leftovers, proper storage is key to maintaining the perfect crunch. Kettle corn is highly susceptible to humidity. Store the completely cooled corn in an airtight container at room temperature.
Avoid refrigerating it, as the cold environment often introduces moisture, leading to a loss of crispness.
Why Is My Popcorn Chewy (And How to Fix It)?
Chewy popcorn is nearly always a result of trapped moisture or steam. When the kernels pop, they release steam. If the lid is left on the pot immediately after popping stops, that steam is trapped and reabsorbed by the sugar glaze and the popped corn.
The fix is simple and critical: remove the lid the second the popping slows down to allow the steam to escape before transferring the corn to the cooling bowl.
Scaling the Recipe: Adjusting Ratios for Larger Batches
This how to make kettle corn in a dutch oven recipe is designed for 1/2 cup of kernels, yielding about 12 14 cups. It is highly recommended not to double the recipe in a standard 6-quart pot, as overcrowding severely impacts popping volume and increases the risk of scorching.
If you must scale up, use a significantly larger pot (8-quart or more) and maintain the critical ratio of 1/4 cup oil to 1/2 cup kernels to 1/3 cup sugar.
A Quick Look at Nutrition Facts and Serving Suggestions
Based on a yield of 8 10 servings, each portion of this Dutch Oven Kettle Corn is an estimated 190 210 kcal, making it a satisfying treat. With 7 9g of sugar and 3g of fiber per serving, it’s a much more wholesome snack than many store-bought options.
This sweet and salty mix pairs exceptionally well with robust, cutting beverages like homemade sparkling lemonade or a cold, spicy ginger beer. For an elegant presentation, skip the movie bucket and serve the kettle corn in vintage style paper cones or incorporate a small, attractive pile onto a cheese or fruit charcuterie board for an unexpected crunch and flavor contrast.

Recipe FAQs
Is using a Dutch Oven essential for making proper Dutch Oven Kettle Corn?
Absolutely, it’s the key to making this recipe spot on! The heavy cast iron of a Dutch Oven provides superior, even heat retention, which is crucial when dealing with sugar. This consistent temperature ensures the kernels pop uniformly before the sugar has a chance to scorch on the bottom of the pot, resulting in a perfectly crisp coating every time.
My sugar keeps burning! How do I stop the bottom of the batch from turning into a sticky, black mess?
That's a classic kettle corn conundrum, but easily sorted if you look sharp! The trick is continuous, vigorous shaking once the popping starts. Use thick oven mitts and shake the pot constantly (side-to-side, lifting slightly off the heat) to prevent the molten sugar from resting against the hot surface.
Crucially, remove the popcorn immediately once popping slows and transfer it to a separate bowl, as the residual heat in the Dutch Oven will quickly turn the sugar into cinders.
How long does this lovely stuff stay fresh, and what’s the best way to store it?
If stored properly, your homemade kettle corn should stay perfectly crisp and delicious for 4 to 5 days. Ensure it has cooled completely before transferring it to an airtight container or a robust freezer bag.
Humidity is its nemesis, so keep the container tightly sealed and away from the steam of the kettle or any moisture source to maintain that signature crunch.
Can I use less sugar in the recipe, or substitute the oil for something else?
While you can slightly reduce the sugar (no more than cutting it by a quarter), cutting it dramatically means you won't achieve that iconic caramelized glaze and satisfying crunch. Regarding the oil, refined coconut oil is a high heat hero, but canola or peanut oil are excellent, reliable high smoke-point substitutes.
Avoid oils like standard olive oil; their low smoke point means they will burn and taint the flavour before the kernels have reached proper popping temperature.
I ended up with quite a few "old maids" (unpopped kernels). What went wrong?
"Old maids" usually indicate either inconsistent heat distribution or kernels that aren't fresh. Ensure your popping corn is high-quality and stored in a cool, dry place to maintain its moisture content.
Also, make absolutely certain the oil is piping hot before you add the sugar and the main batch of kernels, as signalled by the successful pop of the initial test kernels; this ensures a fast, vigorous pop when the rest are added.
Proper Fairground Dutch Oven Kettle Corn
Ingredients:
Instructions:
Nutrition Facts:
| Calories | 174 kcal |
|---|---|
| Protein | 0.4 g |
| Fat | 10.2 g |
| Carbs | 12.6 g |
| Fiber | 0.3 g |
| Sodium | 4000 mg |
