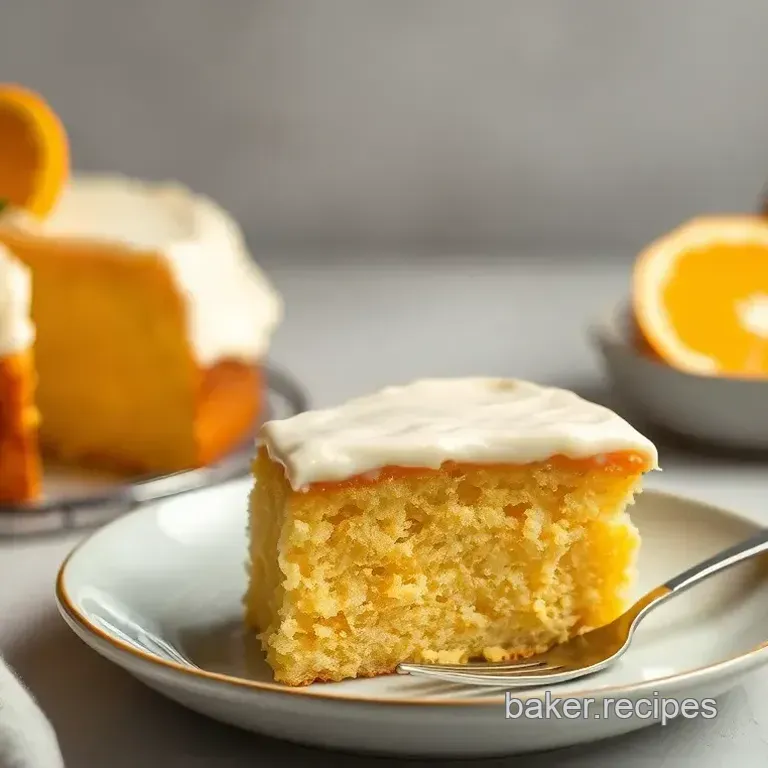
Sun-Kissed Orange Cake with Creamy Vanilla Frosting
Oh my gosh, let me take you back a few summers ago! i was at my friend's backyard barbecue, soaking in that golden sun, and then it hit me the moment someone cut into an orange cake topped with the most creamy frosting i’ve ever laid eyes on.
Seriously, the sweet and tangy flavors of that slice just hit different! ever since then, i knew i had to learn how to bake orange cake with creamy frosting myself.
It's become my go-to for summer get-togethers and family celebrations.
Isn’t it funny how food can transport us back in time? that's the magic of a citrus cake like this.
With its light and fluffy texture , it's not just a dessert; it's a taste experience, a reminder of warm days spent with friends and family.
So, if you're ready to whip up a slice of nostalgia, let’s dive into what makes this orange delight so special!
Recipe Overview
To kick things off, let’s get a bit historical. the roots of cakes like this one can be traced way back to classic recipes from europe that celebrated the bright flavor of citrus.
Over time, this lovely orange dessert became popular and evolved in american baking to suit our taste buds. today, you can easily find this cake at birthday parties, holiday gatherings, or just a casual sunday brunch because who wouldn’t want to indulge in a piece of sunshine?
Now, about how long it takes to whip one up prep time? just about 20 minutes. cook time? roughly 30 to 35 minutes.
Throw in some cooling time, and you’re looking at about an hour and 15 minutes from start to finish. the best part? it serves about 12 people, making it perfect for gatherings.
And don’t stress much about the difficulty; if you can follow basic baking techniques , you’ve got this!
When it comes to cost, this cake won’t break the bank. most of the ingredients are pretty standard pantry staples flour, sugar, butter, and those fresh juicy oranges normally running you under $15.
The yield is bountiful for the small investment, so it’s definitely a sweet deal!
Key Benefits
Now, let’s talk benefits because you know there’s more than just great flavors! first off, this cake has some serious health perks thanks to the orange zest benefits .
Oranges are loaded with vitamin c, and the zest? it packs additional nutrients and essential oils that can uplift your mood talk about a zesty cake !
Plus, it’s amongst those family friendly recipes that even kids can get behind, making it a hit during birthday parties or backyard gatherings.
The flavorful cake variations you can create from just this base recipe are endless! want a twist? add some chocolate or mix in other citrus, like lemon or lime, creating unique flavor combinations that are still easy to make.
This cake holds its own for special occasions too, especially when you pair it with that creamy vanilla icing . It’s not just a dessert; it’s a centerpiece! And if you really want to impress, think about some cake decorating ideas fresh orange slices or candied citrus peel on top of that frosting will make it pop!
So with all this sweetness and joy locked into one recipe, how about we break down the ingredients you’ll need for this delightful cake?
Essential Ingredients Guide for Your Baking Bliss
When you’re in the mood to bake orange cake with creamy frosting , it’s super important to know your essential ingredients inside and out.
Think of it as your trusty toolkit before you dive into the sweet world of baking! let’s break it down.
Premium Core Components
Let’s get right to it. Measurements are crucial. For that light and fluffy cake , you’ll need:
- 2 cups (240 g) of all-purpose flour
- 1 ½ cups (300 g) sugar
- ½ cup (113 g) of softened butter
Quality indicators are your besties. always choose fresh, brightly colored oranges. they should feel firm and have a fragrant scent.
If you’re looking for fresh orange recipes , grabbing the juiciest oranges will make your cake irresistible!
Storage guidelines? Keep flour in a cool, dry place. Sugar can hang out in a sealed container. As for your beautiful oranges, they chill nicely in the fridge for about a week.
When it comes to freshness , always check for those little zesty bits. Trust me, using orange zest from a fresh orange gives a flavor boost you just can’t get from bottled juice!
Signature Seasoning Blend
Now, let’s talk about flavor! the signature seasoning blend can elevate your citrus cake to diva status. try mixing 1 tsp (5 ml) of vanilla extract in there it's like a hug for your taste buds.
And don't forget pairing some fresh herbs basil can add a surprising twist to your next orange dessert!
A little sprinkle of cinnamon or nutmeg could also bring some warmth, depending on the mood you’re in. Heck, throw in a hint of cardamom if you're feeling spunky!
Smart Substitutions
Sometimes, life throws curveballs; you might find yourself missing an ingredient. No worries! Here’s where smart substitutions come into play.
Ran out of butter? coconut oil or margarine works like magic. if your kitchen is a bit limited, you can use almond milk instead of regular milk for a lactose free alternative that still keeps your cake moist.
Oh, and if you need a last minute approach, applesauce can replace some of the sugar. You get the sweetness without the guilt bonus! And as seasons change, why not try out mixed citrus like lemon and lime for something different?
Kitchen Equipment Essentials
Now that we have our ingredients down, let’s chat about the right kitchen equipment . Grab yourself:
- Two 9 inch round cake pans (I swear by these!)
- Mixing bowls (you'll need a few)
- A good electric mixer or a sturdy whisk for those arm workouts
Got all that? sweet! before you start mixing, read up on some preparation tips . always preheat your oven so when that batter hits the pan, it’s ready to rise perfectly! also, keep your tools clean and organized trust me, it saves a ton of time.
For storage solutions, invest in some airtight containers for your frosting leftovers. You won’t want it to go to waste!
So there you have it your essential ingredients guide to whip up that tantalizing sun-kissed orange cake with creamy vanilla frosting.
Are you feeling ready to dive into the recipe? just follow the instructions, and before you know it, you’ll have a delicious party cake that everyone will adore! happy baking, friends!
Crushing It in the Kitchen: Mastering the Professional Cooking Method
Alright, folks! if you’ve been following me, you know i love to cook up a storm. today i want to spill some juicy secrets on professional cooking methods that will make you feel like a star in your own kitchen.
Whether you’re whipping up a light and fluffy cake or diving into a hearty main dish, these tips will help you bring out the best in your culinary adventures.
Ready? let’s roll!
Taking Care of Business: Essential Preparation Steps
First things first: mise en place . this fancy french phrase simply means “everything in its place”. before you start cooking, gather all your ingredients and tools.
Trust me; it saves time and avoids last minute scrambling. you want your baking equipment to be ready think mixing bowls, measuring cups, and an electric mixer.
Let’s talk time management. set a timer for yourself! when i bake, i like to have a clock ticking down for each step.
It keeps my focus sharp and helps me avoid the classic “oops, i forgot the eggs!” moment. and the best part? you get to enjoy that sweet and tangy flavor of success when everything comes together perfectly.
Don’t forget about organization! keep your workspace clutter free. a tidy kitchen makes everything easier to find. oh, and safety first: always keep a clean workspace to avoid accidents like slipping on that one bit of flour you forgot to clean up.
Let’s Break It Down: step-by-step Process
Now to the meat and potatoes, or maybe the oranges in our case! When you decide to bake a cake, follow these numbered instructions .
Preheat your oven to 350° F ( 175° C). Preheating is key, or your cake could come out uneven.
Prepare your cake pans . Grease ‘em up so the cake comes out easily.
Mix your dry ingredients . Whisk together flour, baking powder, and salt. Simple, right?
Cream butter and sugar until it’s light and fluffy aim for about 3- 5 minutes . This airiness is crucial for your cake’s perfect texture .
Incorporate those eggs one at a time. That’s right, patience is a virtue here!
Add the magic flavoring : Orange zest, orange juice, and some vanilla extract for good measure.
Combine dry and wet ingredients gently . No one likes a tough cake, so mix until just combined.
Pour batter into pans evenly this helps it bake consistently.
Bake for 30- 35 minutes . Keep an eye on it and insert a toothpick if it comes out clean, you’re golden.
Let them cool . Patience pays off; let them cool in the pan for 10 minutes before transferring to a rack.
Those visual cues for doneness will have you on the right track. If the top springs back when lightly pressed, it’s ready.
Leveling Up: Expert Techniques
Now, let’s kick it up a notch! each recipe has its hurdles, but knowing a few critical steps makes all the difference.
For instance, the key to that creamy frosting is to beat your butter really well before adding sugar. this gives your icing that ultra luscious quality that everyone loves.
As for fixtures like the oven’s temperature, keep a thermometer handy sometimes the built-in one is way off. and if your cake doesn’t rise properly? don’t panic! overmixing or expired baking powder can be culprits.
Final Touches: Success Strategies
Now that you’re ready to bake that sweet orange cake with creamy frosting , let’s talk about common mistakes to avoid.
One biggie is not letting your cake cool completely before frosting. trust me, melting frosting is not pretty!
For quality assurance, taste test your frosting as you go. if it’s too sweet, a pinch of salt can balance it out.
And if you want to make ahead? whip up that cake, freeze it, and frost it the day you plan to serve.
Easy baking recipes are magic like that!
Before you know it, you'll have a beautifully layered cake that everyone will rave about.
Wrapping It Up: Additional Information
So there you have it, friends! by embracing these professional cooking methods, you'll own your kitchen like a boss. whether you're diving into a fun family friendly recipe or crafting that perfect summer citrus cake , these techniques will guide you.
Stay tuned for more tips, tricks, and inspiration as you whip up festive dessert ideas that will wow your friends.
Keep stirring, baking, and enjoying! you’ll be a baking pro in no time.
And remember, the next time you “Bake Orange Cake with Creamy Frosting,” think back to these tips. Happy baking, y’all!
Pro Tips & Secrets
Alright, let’s dive into making this sun-kissed orange cake with creamy frosting as effortless and delicious as possible! here’s what i’ve learned over the years that’ll save you time and help you nail that perfect cake texture .
First off, if you want that zingy flavor to pop, use fresh orange juice and don’t skip the orange zest ! seriously, that zest is like the secret weapon in your baking arsenal.
It brings out such a vibrant flavor, making each bite a little slice of citrus heaven.
Now, when it comes to mixing, make sure your butter and eggs are at room temperature. trust me, this makes a huge difference in achieving that light and fluffy cake .
If they're cold, the batter can get all lumpy, and no one wants that. also, remember, avoid overmixing once you combine your wet and dry ingredients.
Just mix until everything comes together your cake will thank you for it!
If you’re short on time, you can even make the cake layers ahead of time. just store them tightly wrapped in plastic wrap.
They’ll stay fresh for up to three days at room temperature. who doesn’t love a great time saving tip?
Perfect Presentation
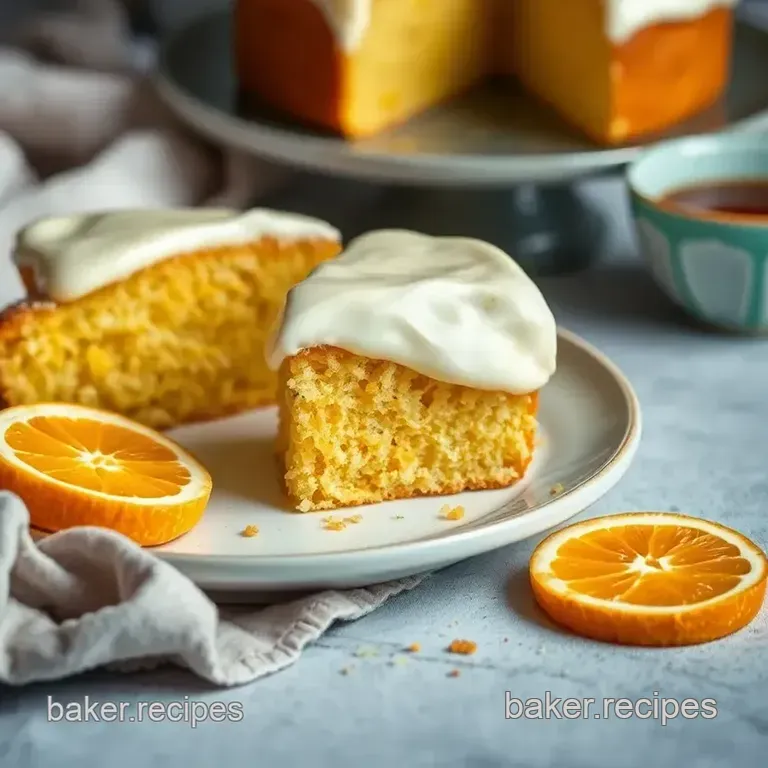
After all that hard work, it’s time to make your cake look as good as it tastes! a great plating technique can elevate your cake from homemade to show stopping! start by placing your first cake layer on a serving platter.
Pop on a generous dollop of your creamy vanilla frosting . it doesn’t have to look perfect; the more rustic, the better!
For a little added flair, drizzle some orange glaze or even a little zest on top. if you’re feeling fancy, a sprinkle of edible flowers can really take your presentation to the next level.
Remember, we eat with our eyes first!
Storage & make-ahead
Okay, let’s chat storage! if you’ve got leftovers (which is kind of a miracle, right?), store this beauty in an airtight container in the fridge.
It’ll stay fresh for about 4-5 days . to preserve that marvelous frosting, keep it separate if you can that way, it won’t get too soggy.
And if you want to make it ahead , like i mentioned before, bake your layers in advance, then wrap and freeze them.
They can last in the freezer for about 3 months . just let them thaw in the fridge overnight before frosting easy peasy!
Creative Variations
Feeling adventurous? let’s talk about some flavorful cake variations ! you can easily switch up this cake recipe. want to try a chocolate orange cake ? just toss in some cocoa powder it’s totally a match made in heaven.
And if you’re one of those folks who have a garden full of lemons or limes, go ahead and replace some of the orange juice with their juice.
You’ll be surprised how a little twist can create a whole new summer cake recipe! by the way, if you have friends with dietary needs, consider making a gluten-free version .
Just swap in a gluten-free flour blend, and you're golden.
Complete Nutrition Guide
Now, let’s break down the numbers. One slice of this glorious Orange Cake packs around 380 calories . It’s got some sugar, yes, but hey, it’s a dessert! Here’s an interesting nugget for your brain: Oranges are loaded with Vitamin C, making this not just any citrus cake , but a dessert that can give you a little vitamin boost win-win!
For portion guidance, stick with one slice unless you’re feeling particularly generous! You can always savor leftovers the flavors only get better with each passing day.
Wrapping It Up
So there you have it! with these tips, tricks, and a sprinkle of creativity, you'll have no trouble baking your perfect orange dessert : that beautiful sun-kissed orange cake with creamy frosting.
Whether it’s a birthday bash, a holiday feast, or a casual get-together, this cake is bound to be a showstopper.
Give it a whirl; i promise, you won't regret it. happy baking, my friend!
Frequently Asked Questions
How do I Bake Orange Cake with Creamy Frosting from scratch?
To bake the cake from scratch, combine all the wet ingredients like orange juice, zest, and eggs with your creamed butter and sugar. Then, slowly mix in the dry ingredients like flour and baking powder, and alternate with whole milk until just combined.
Follow the baking instructions to ensure the cake rises well and is fluffy.
Can I make substitutions in the Bake Orange Cake with Creamy Frosting recipe?
Yes! You can substitute all-purpose flour with a gluten-free blend, or use dairy-free milk to make it lactose free. Consider replacing the unsalted butter in the frosting with coconut oil for a dairy-free version, and feel free to experiment with different citrus juices if you're looking for variations.
What are some tips for frosting the Bake Orange Cake?
For the best results, ensure that your cake layers are completely cooled before frosting to prevent melting. Use a serrated knife to level the tops of the cakes if necessary, and apply a crumb coat first this is a thin layer of frosting that traps crumbs before you apply the final coat.
This technique leads to a neater finish.
How should I store the Bake Orange Cake with Creamy Frosting?
Store the cake covered at room temperature for up to 3 days or in the refrigerator for up to a week. If storing in the fridge, place the cake in an airtight container or cover it with plastic wrap to keep it fresh. You can also freeze the unfrosted cake layers for up to 3 months; just remember to wrap them tightly.
What nutritional considerations should I be aware of with this recipe?
This recipe contains approximately 380 calories per slice, with 20g of fat and 30g of sugar. For a lighter version, consider reducing the sugar in both the cake and frosting or using sugar alternatives. Additionally, you can enhance the fiber by adding a few tablespoons of almond flour if making substitutions.
Whimsical Orange Zest Delight

