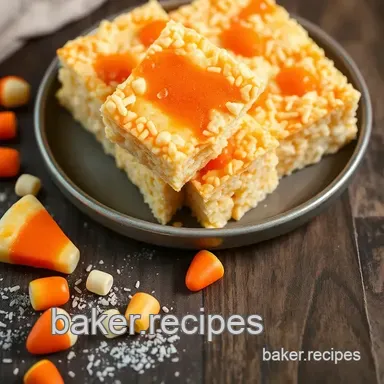
Candy Corn Rice Krispie Treats: Buttery and Gooey
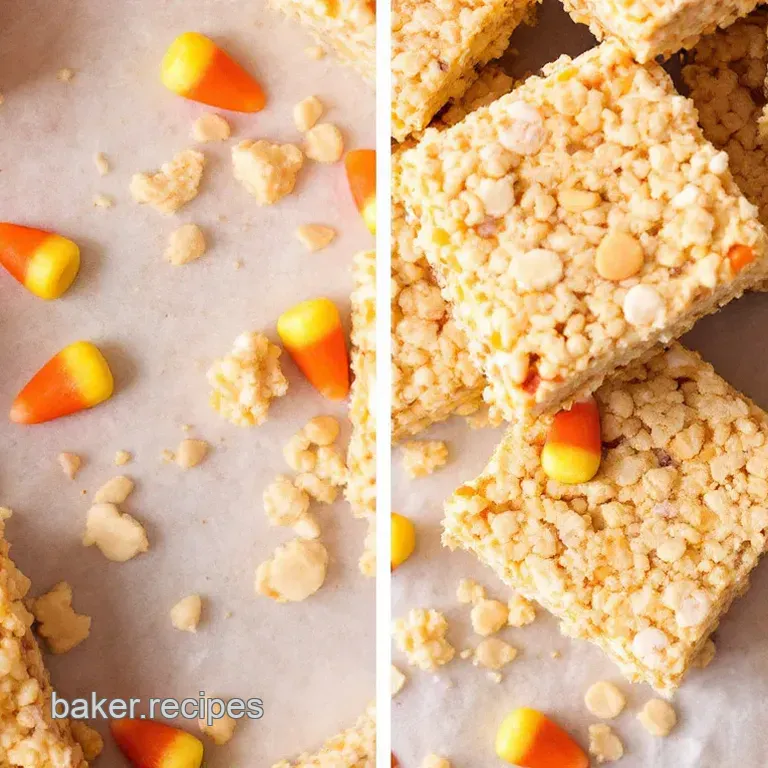
- Time: 5 min active + 10 min cook (45 min setting time)
- Flavor/Texture Hook: Buttery, gooey, and crisp
- Perfect for: Halloween parties or kids' autumn crafts
- Quick & Colorful Candy Corn Rice Krispie Treat with Marshmallows
- Why Low Heat Matters
- Gear for the Job
- The Right Ingredients
- Detailed Recipe Specs
- Step-by-Step Instructions
- Fixing Common Texture Issues
- Adjusting the Batch Size
- Common Treat Misconceptions
- Preservation and Waste
- Twist the Flavor
- Perfect Pairing Ideas
- Recipe FAQs
- 📝 Recipe Card
Quick & Colorful Candy Corn Rice Krispie Treat with Marshmallows
The aroma of toasted sugar and melting butter always reminds me of my very first attempt at Halloween sweets. I recall rushing to finish them for a neighborhood block party and accidentally overheating the marshmallows until they reached the hard crack stage.
Instead of a chewy snack, I served what were essentially sugary bricks. It was a complete failure, but it taught me that patience is the most important part of the process.
You'll enjoy this Quick & Colorful Candy Corn Rice Krispie Treat with Marshmallows because it turns a nostalgic childhood favorite into a visual masterpiece. Rather than just making a standard batch, we're layering colors to recreate that signature candy corn gradient.
The aim is to produce clear yellow, orange, and white tiers without the colors bleeding into a muddy brown. It's a fast method that relies on a few easy steps to maintain a light texture and vibrant hues.
Why Low Heat Matters
- Slow Melting: Keeping the heat low prevents the marshmallows from over caramelizing. This keeps the sugar bonds flexible so the bars stay soft for days.
- Immediate Division: Splitting the mix into three bowls right away ensures the gel colors stay bright and don't muddy together.
| Method | Time | Texture | Best For |
|---|---|---|---|
| Fast (This Way) | 15 mins | Gooey and light | Parties and quick snacks |
| Classic (Oven) | 45 mins | Denser and toasted | long term storage |
Gear for the Job
No specialized equipment is required for this. A durable pot or a microwave safe glass bowl is ideal for melting. I recommend using a silicone spatula, as it scrapes the sides more effectively and sticks less than plastic.
A 9x9 inch square pan is the standard choice. Keep in mind that using a larger pan will result in thinner layers, which may cause them to crumble during slicing.
The Right Ingredients
The base is a classic blend of butter and marshmallows, but the gel colors do the heavy lifting for the look. Using gel instead of liquid coloring prevents the mixture from becoming too runny.
- Unsalted Butter (4 tbsp)
- Provides the rich base. Why this? Controls salt levels for better sweetness balance. Substitute: Salted butter (omit extra salt).
- Rice Cereal (10 cups)
- The crispy structure. Why this? Classic crunch and light airy feel. Substitute: Corn puffs.
- Mini Marshmallows (6 cups)
- The gooey binder. Why this? Melts faster and more evenly than large ones. Substitute: Homemade marshmallow fluff.
- Yellow Gel Coloring
- For the bottom layer. Substitute: Yellow food paste.
- Orange Gel Coloring
- For the middle layer. Substitute: Orange food paste.
- Candy Corn Marshmallows (1 cup)
- For a themed topper. Substitute: Mini white marshmallows.
- Candy Corn Kernels (1/2 cup)
- The final festive touch. Substitute: Orange and yellow M&Ms.
Detailed Recipe Specs
- Prep time: 5 minutes
- Cook time: 10 minutes
- Setting time: 45 minutes
- Total time: 60 minutes
- Yield: 12 bars
Pro Tip: When microwaving, heat the butter and marshmallows in 30-second increments. Stir between each interval to prevent the sugar from scorching.
Step-by-step Instructions
Phase 1: The Foundation
- Fit a 9x9 inch baking pan with parchment paper, allowing the edges to extend past the pan. Note: This makes lifting the entire block out much simpler.
- Lightly grease the paper with butter or a spray of non-stick oil.
Phase 2: Melting and Dividing
- Melt 4 tbsp butter over low heat in a pot or microwave safe bowl.
- Add 6 cups mini marshmallows, stirring constantly until the mixture is smooth and glossy.
- Divide the melted marshmallow blend evenly among three separate bowls.
Phase 3: The Layering Process
- Mix yellow gel coloring into the first bowl, orange gel coloring into the second, and leave the third bowl white.
- Fold approximately 3.3 cups of rice cereal into each bowl until every grain is fully coated.
- Firmly but gently press the yellow mixture into the bottom of the pan.
- Layer the orange mixture directly on top of the yellow, then add the white mixture.
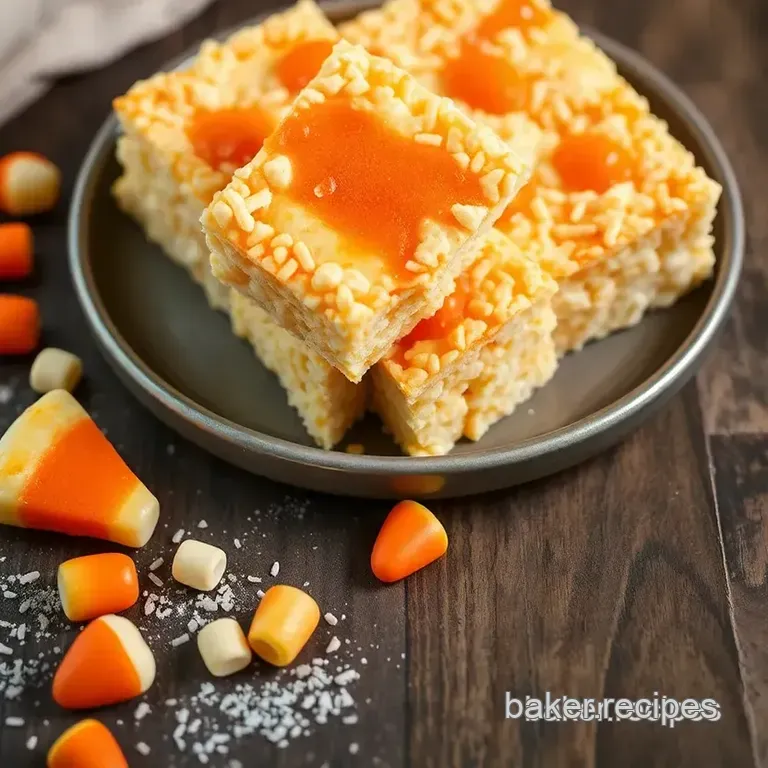
- Top with candy corn marshmallows and candy corn kernels, then let it set for 45 minutes.
Fixing Common Texture Issues
If your treats are coming out too hard, it's usually because the sugar was overheated. According to guidance from the Culinary Institute of America, sugar becomes brittle once it passes the "soft ball" stage. To keep them chewy, never let the marshmallows boil.
For the colors, if they look muted, it's likely because you didn't use a concentrated gel. Liquid colors add too much moisture, which thins the marshmallow glue and makes the layers bleed into each other.
For Sticky Fingers
When pressing the cereal into the pan, the mix will want to cling to everything. Lightly grease your fingers with butter or oil. Trust me on this, it saves you from a sticky mess and keeps the layers flat.
To Fix a Grainy Texture
Graininess happens when the marshmallows are melted too quickly or unevenly. If you see clumps, keep stirring over very low heat for another minute to smooth it out.
To Correct Muted Colors
If the colors aren't popping, add a tiny dot more of gel coloring to the cereal mix before you press it into the pan. Once it's in the pan, you can't change the shade.
| Problem | Root Cause | Solution |
|---|---|---|
| Rock hard bars | Overheated marshmallows | Use lower heat or shorter microwave bursts |
| Bleeding colors | Using liquid food coloring | Switch to concentrated gel colors |
| Crumbling layers | Not enough butter/binder | Stir in an extra handful of marshmallows |
| Sticking to pan | Lack of grease/parchment | Use parchment paper and non stick spray |
Adjusting the Batch Size
Cutting it in half: Use a 5x5 inch square pan. Reduce the cook time by about 20%, but keep the 45 minute setting time. You'll need to beat one egg if you were adding a binder, but since this is a marshmallow base, just halve the measurements exactly.
Doubling the recipe: I don't recommend doing a 2x batch in one pot. It's too hard to stir the cereal in without deflating the air. Work in two separate batches or use a very large stockpot. Use two 9x9 pans instead of one deep pan to ensure the layers set properly.
Common Treat Misconceptions
Some people think that adding extra butter makes the treats "healthier" or "softer." Actually, too much butter can cause the layers to slide apart and lose their structure. Stick to the 4 tbsp ratio for a stable bar.
Another myth is that you need to "pack" the cereal down with a heavy object to make it hold together. If you press too hard, you push out all the air pockets and end up with a dense, gummy block. Press gently with your palms.
Preservation and Waste
Store these in an airtight container on the counter for roughly 3 days. In high humidity climates, refrigeration is recommended to prevent them from becoming sticky.
For longer preservation, wrap each square in plastic and freeze for as long as 2 months. To enjoy them, allow them to thaw for 15 minutes or microwave them for 10 seconds.
Instead of discarding any extra rice cereal, try using it in a fast porridge or blending it into a smoothie for added texture. Any remaining gel coloring should be kept in the refrigerator to maintain the vibrancy of the pigments.
Twist the Flavor
If you want a more adult version, try these tweaks. For a nuttier profile, fold in some roasted salted peanuts to the yellow layer. It balances the sweetness and adds a great crunch. You can find similar ideas in my candy corn peanut treats guide.
For those avoiding gelatin, you can swap the marshmallows for a vegan marshmallow alternative. Just be aware that vegan binders sometimes take longer to set, so give them a full hour in the pan before cutting.
Want a lighter sweetness? Use a handful of toasted oats mixed with the rice cereal. It adds a rustic, earthy flavor that cuts through the sugar of the candy corn.
Perfect Pairing Ideas
These bars are a sugar rush, so they pair well with something a bit more neutral. A side of fresh apple slices or a glass of cold milk is the classic way to go.
If you're putting together a Halloween platter, place these in the center and surround them with a mix of salty and tart treats. I love pairing them with homemade gum drops for a colorful, candy filled spread.
Decision Shortcut: Extra crunch? → Fold in 1/2 cup crushed pretzels Deep autumn flavor? → Add a pinch of cinnamon to the orange layer Less sticky? → Dust the top with a tiny bit of powdered sugar
Recipe FAQs
How to achieve the layered look?
Press each colored mixture individually into the pan. Start with the yellow layer, press the orange mixture directly on top, and finish with the white layer for distinct stripes.
Can I use liquid food coloring instead of gel?
No, gel is highly recommended. Liquid colors add excess moisture, which can make the treats too sticky and result in muted tones.
Is it true that I must bake these treats to set them?
Not true. The melted marshmallow mixture acts as the binder, and the treats only need 45 minutes to set at room temperature.
Why are my treats too hard?
Overheating the marshmallows is usually the cause. Avoid boiling the mixture; stir constantly over low heat to keep the texture soft and chewy.
What is the best way to serve these at a party?
Slice them into small squares for easy snacking. These colorful sweets pair perfectly with a salty side like homemade butter popcorn.
Candy Corn Salted Peanut Rice Krispie Treats