Whipped Feta Dip: Tangy and Creamy
- Time: 10 min active
- Flavor/Texture Hook: Tangy, salty, and velvety
- Perfect for: Last minute guests, potlucks, or a fancy snack
- Making a Creamy Whipped Feta Dip
- Why This Texture Actually Works
- What Each Ingredient Does
- Gathering Your Essentials
- Tools for the Job
- Step by Step Assembly
- Fixing Texture and Taste
- Swaps and Flavor Tweaks
- Adjusting the Batch Size
- Debunking Dip Myths
- Keeping Your Dip Fresh
- Best Things to Serve With
- Recipe FAQs
- 📝 Recipe Card
The smell of lemon zest and salty feta always reminds me of those overpriced appetizer platters at Greek restaurants. I used to think you needed a commercial food processor or some weird stabilizing agent to get that air light consistency.
Honestly, most people think you have to add a ton of cream cheese to get it to hold its shape, but that just masks the actual flavor of the feta.
You don't need the heavy fillers. By using a bit of Greek yogurt and sour cream, you keep the brightness while getting that professional lift. It's a simple balance of fat and acid.
This Whipped Feta Dip is basically a cheat code for hosting. You can throw it together in ten minutes, and it looks like you spent an hour on it. Let's crack on with how to actually do it.
Making a Creamy Whipped Feta Dip
The trick here is all about the order of operations. If you just toss everything in at once, you might end up with a grainy mess. You want to break down the cheese first, then build the emulsion with the oil.
Trust me on this, don't skip the scraping step. Feta likes to cling to the sides of the bowl, and if you leave a clump of unblended cheese, it ruins the vibe. Once it's smooth, the addition of honey and olive oil on top creates a contrast that makes the whole thing pop.
I've found that this recipe works best when the feta is drained well. If it's swimming in brine, the dip can become too runny. Just a quick pat with a paper towel does the trick.
Why This Texture Actually Works
High Speed Aeration: Blending the feta and yogurt incorporates air bubbles, which lightens the dense cheese structure.
Fat Emulsion: Drizzling oil into the running motor binds the fats together, preventing the dip from separating.
| Guests | Feta Amount | Yogurt Amount | Sour Cream Amount |
|---|---|---|---|
| 4-6 people | 225g (8 oz) | 120ml (1/2 cup) | 60ml (1/4 cup) |
| 8-12 people | 450g (16 oz) | 240ml (1 cup) | 120ml (1/2 cup) |
| 15-20 people | 675g (24 oz) | 360ml (1.5 cups) | 180ml (3/4 cup) |
What Each Ingredient Does
| Ingredient | What It Does | Best Swap |
|---|---|---|
| Feta Cheese | Provides salt and structure | Goat cheese (tangier, softer) |
| Greek Yogurt | Adds tang and aeration | Labneh (thicker, more intense) |
| Sour Cream | Smooths out the texture | Full fat mayo (richer, less tangy) |
| Lemon Juice | Cuts through the heavy fats | White balsamic vinegar |
Gathering Your Essentials
For the base, you'll need 8 oz of feta cheese, 1/2 cup of Greek yogurt, and 1/4 cup of sour cream. Make sure the yogurt is thick, not the watery kind.
For the flavor accents, grab 1 clove of garlic, 1 tbsp of lemon juice, and 1 tsp of lemon zest. You'll also need 1/4 tsp of black pepper and 2 tbsp of olive oil for the blending process.
To finish it off, keep 1 tbsp of honey, 1 tsp of dried oregano, and an extra 1 tbsp of olive oil ready for the garnish.
Tools for the Job
You really need a food processor or a high powered blender for this. A hand mixer can work, but it takes way longer and you'll likely still have some lumps.
A rubber spatula is a must. You'll use it to scrape the sides of the bowl every 30 seconds.
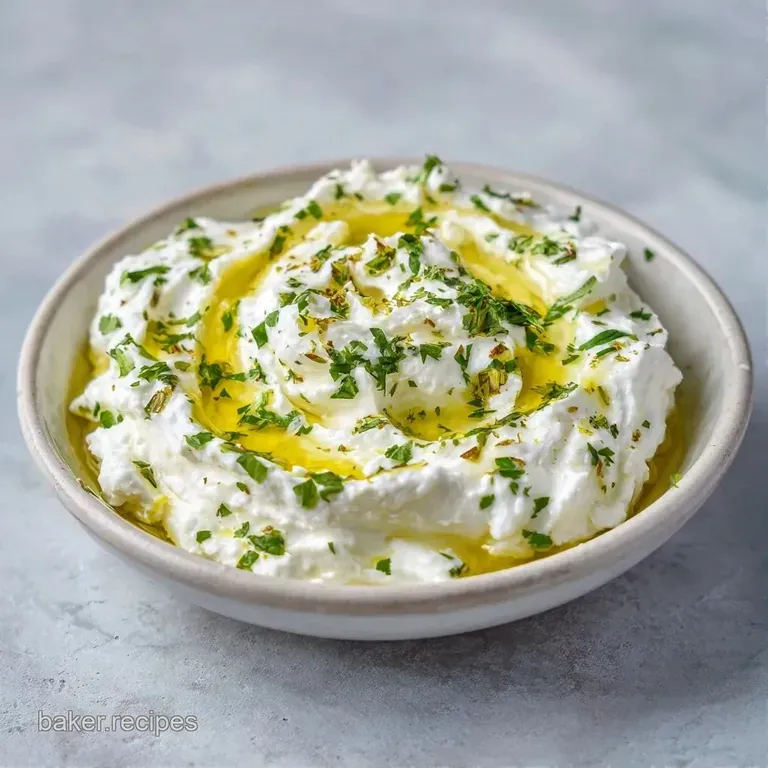
A shallow bowl or a platter works best for serving. It gives you more surface area for the honey drizzle.
Step by step Assembly
- Place the drained feta, Greek yogurt, sour cream, and smashed garlic into the food processor bowl. Note: Smashing the garlic first prevents raw chunks in the dip.
- Pulse 5-7 times until the feta breaks into small crumbles.
- Process on high for 1–2 minutes. Note: Stop halfway to scrape the sides with a spatula.
- Blend until the mixture looks pale and fluffy.
- Drizzle in 2 tbsp of olive oil while the motor runs on medium low. Note: This creates the stable emulsion.
- Add the lemon juice, lemon zest, and black pepper.
- Pulse for 10 seconds until just incorporated.
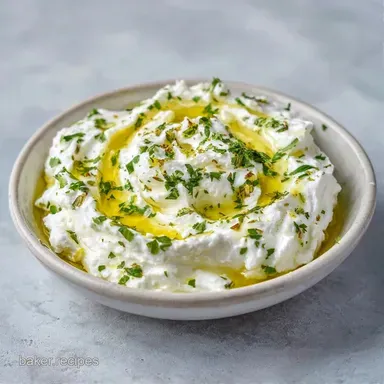
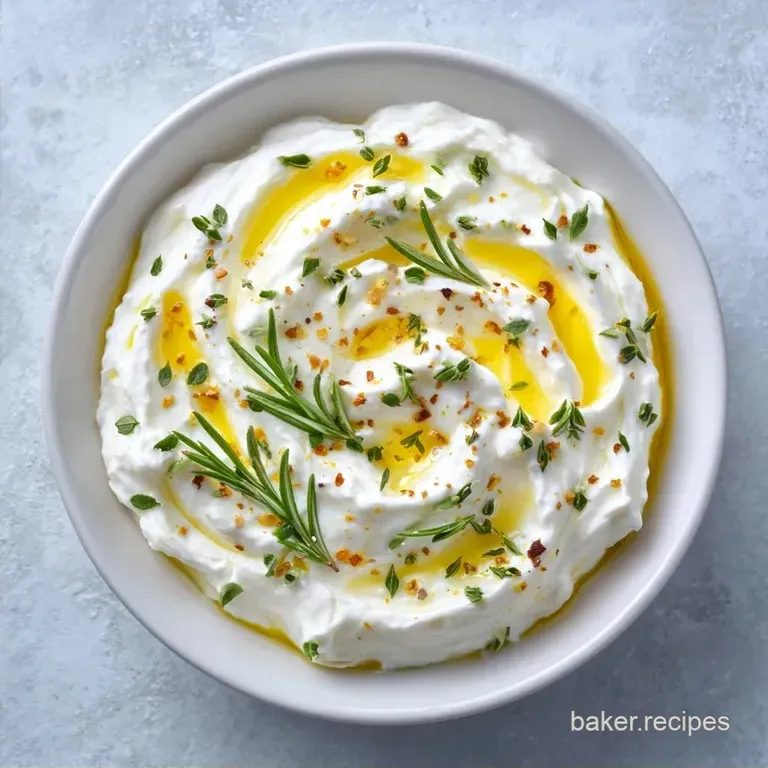
- Spoon the Whipped Feta Dip into a shallow bowl.
- Create a circular well in the center with the back of a spoon.
- Drizzle with honey and 1 tbsp of olive oil, then sprinkle with oregano.
Fixing Texture and Taste
If your dip feels grainy, it's usually because the feta wasn't processed long enough. Most home processors need a full two minutes to really break down those proteins. If you're still seeing lumps, just keep blending.
Sometimes the feta is just too salty, depending on the brand. If it's overwhelming, add another tablespoon of Greek yogurt. This dilutes the salt without ruining the consistency.
If the dip is too thin, it might be the yogurt. I've had this happen with "low fat" versions. You can fix it by chilling the dip for 30 minutes, which lets the fats firm up.
| Problem | Root Cause | Solution |
|---|---|---|
| Grainy texture | Under processing | Blend for another 60 seconds |
| Too salty | Briny feta brand | Stir in 1-2 tbsp extra yogurt |
| Runny dip | Watery yogurt/brine | Chill for 30 mins or add 1 tbsp feta |
Swaps and Flavor Tweaks
If you want a bit more heat, stir in some crushed red pepper flakes or a pinch of smoked paprika. For a different vibe, you can mix in some roasted red peppers, which gives it a gorgeous orange hue.
If you're looking for something even more filling, this works as a base for a roasted tomato feta soup during the winter. Just thin it out with a bit of vegetable broth.
For those who want a vegan version, use a firm tofu based feta and a cashew based Greek yogurt. It doesn't whip quite as high, but the flavor is surprisingly close.
Decision Shortcut
- If you want it tangier: Increase the lemon zest to 2 tsp.
- If you want it sweeter: Double the honey drizzle on top.
- If you want it heartier: Fold in chopped kalamata olives.
Adjusting the Batch Size
When you're making a double batch, don't just double the garlic. Garlic can get aggressive in large quantities, so I usually only increase it by 1.5x. The same goes for the salt if you're adding extra.
If you're scaling down to a half batch, be careful with the oil. Use a small measuring spoon to ensure you don't overdo it, or the emulsion might break and turn oily.
For huge party portions, work in batches. Overloading a food processor prevents the air from getting in, and you'll lose that light, whipped feel.
Debunking Dip Myths
Some people say you have to let the feta reach room temperature before blending. While it helps a tiny bit, it's not necessary. A high speed blade handles cold feta just fine.
Another myth is that you need cream cheese for a "restaurant style" spread. This is false. The combination of Greek yogurt and sour cream provides the same stability while keeping the flavor cleaner.
Keeping Your Dip Fresh
Store the dip in an airtight container in the fridge for up to 5 days. Give it a quick stir before serving, as some oil may settle on top.
I don't recommend freezing this. The emulsion of yogurt and oil tends to break when thawed, leaving you with a separated, grainy mess.
To avoid waste, use any leftover dip as a spread for sandwiches or a dollop on top of grilled chicken. If you have leftover lemon zest or garlic skins, toss them in a freezer bag to make a quick homemade stock later.
Best Things to Serve With
The best partners for this Feta Party Dip are warm, crusty breads. A toasted pita or some sourdough slices are the go to choices.
For something fresher, try sliced cucumbers, radishes, or baby carrots. The crunch balances the richness of the cheese.
If you're serving this as part of a larger meal, it pairs incredibly well with spiced lamb meatballs for a full Mediterranean spread. You can even use the dip as a bed for the meatballs to sit on.
Whether you call it a Feta Party Dip or just a snack, the key is the contrast. That hit of honey against the salty cheese is what makes this a winner every time. Just keep it chilled and serve it simple.
Recipe FAQs
How far in advance can I make whipped feta dip?
Prepare it up to 3 days ahead. Store the mixture in an airtight container in the refrigerator. Stir gently before serving to restore the pale, fluffy texture.
What are the best things to serve with whipped feta?
Serve with warm pita bread, cucumber slices, or kalamata olives. If you enjoy pairing salty cheeses with aromatic herbs, you might also like our guide on cheese and thyme pairings.
How do I get the dip pale and fluffy?
Process on high for 1 2 minutes. Stop halfway through to scrape down the sides with a rubber spatula to ensure no chunks remain.
Can I use a blender instead of a food processor?
Yes, a blender works well. Use a tamper or stop frequently to scrape the sides, as the thick feta mixture can often get stuck.
Is it true that adding olive oil at the end ruins the texture?
No, this is a common misconception. Drizzling olive oil while the motor runs on medium low creates a stable emulsion and a professional whipped finish.
How do I prevent raw garlic chunks in the dip?
Smash the garlic clove before adding it. This ensures the garlic breaks down completely during the initial pulsing stage.
What is the traditional name for this Greek whipped feta dip?
It is often called Tirokafteri. While traditional versions often include hot peppers, this whipped style focuses on a creamy, tangy profile.
Creamy Whipped Feta Dip