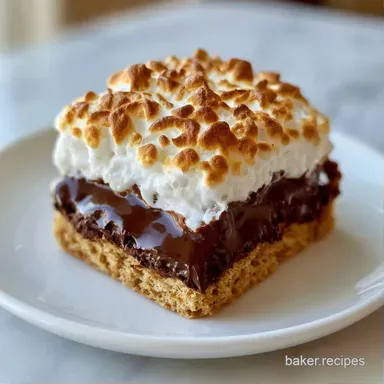
No Bake Smores Bars with Mini Marshmallows
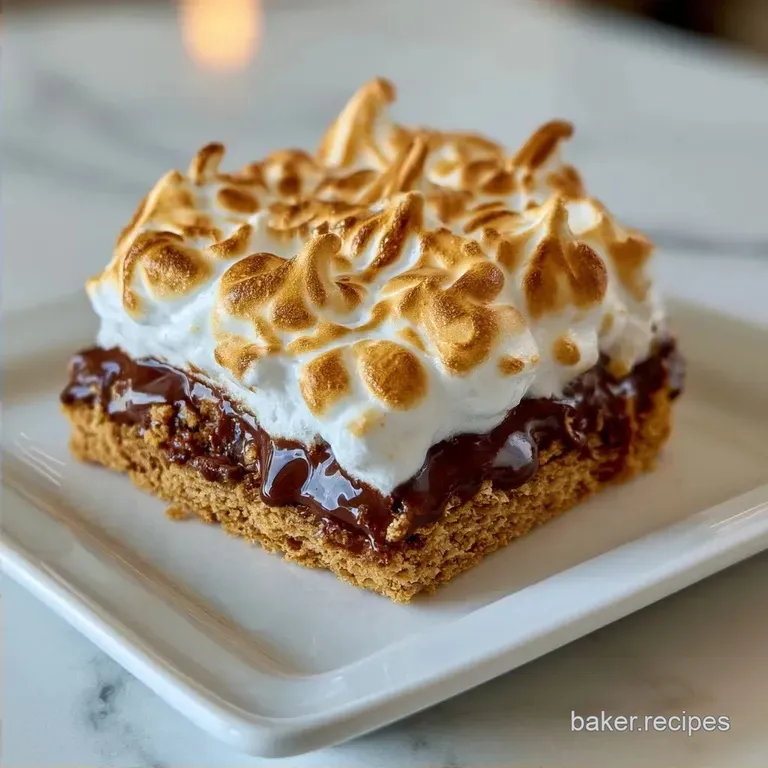
- Time: 10 minutes of prep + 2 hours in the fridge
- The Vibe: A stretchy marshmallow middle paired with a salty-sweet graham crunch
- Great for: Impromptu gatherings or desserts the kids can help make
There's something about that campfire aroma that elevates every bite. I spent an entire summer attempting to capture that nostalgia in a sweet treat, all without needing a charcoal grill or a backyard fire. It's surprisingly tricky, as many no-bake desserts tend to taste either overly buttery or just like pure sugar.
My early attempts were either too mushy or hard as rocks. The breakthrough happened when I stopped using marshmallows as a garnish and started using them as the binding agent. That's when I finally nailed that toasted sugar aroma and a consistency that actually stays firm.
These No Bake Smores Bars deliver all the chocolatey, graham filled goodness of a s'more in a sliceable bar. It's the perfect choice for when you're craving something rich but prefer to keep the oven off.
No Bake Smores Bars
Marshmallow Binder: Melted marshmallows create a flexible, chewy matrix. This keeps the bars from becoming rock hard when chilled, which is a common issue with butter only binders.
The "Sand" Technique: Pressing the crumbs into a dense, flat layer prevents the base from crumbling. This creates a stable foundation that supports the heavy chocolate filling.
Chocolate Pockets: Adding chips at the very end ensures they soften but don't fully melt. This gives you those little bursts of chocolate rather than one solid, monolithic slab.
| Feature | Campfire S'mores | No Bake Shortcut |
|---|---|---|
| Flavor Profile | Charred and smoky | Toasted sugar and vanilla |
| Texture | Molten and messy | Chewy and structured |
| Convenience | High effort/gear | Low effort/fridge set |
Gear You'll Need
This recipe requires minimal equipment. Start with a medium saucepan; a heavy bottomed one is best to prevent the marshmallows from scorching. To ensure you get every drop of chocolate goo from the pot, a silicone spatula is essential.
For the baking dish, a standard 8x8 inch square pan works perfectly. Lining it with parchment paper is highly recommended. You can use butter instead, but you'll lose the ability to lift the whole block out for clean cutting.
The Shopping List
| Ingredient | Role | If You Don't Have It |
|---|---|---|
| Graham cracker crumbs | Structural base | Digestive biscuits (adds a nuttier taste) |
| Mini marshmallows | Sweet binder | Marshmallow fluff (will be softer/runnier) |
| Semi sweet chocolate chips | Richness | Chopped dark chocolate (more bitter) |
| Unsalted butter | Fat/binding | Coconut oil (adds a slight coconut hint) |
For the crust, use 2 cups (200g) of Graham cracker crumbs and 4 tbsp (57g) of melted unsalted butter.
For the filling, you'll need 10 oz (283g) of mini marshmallows, 1 cup (170g) of semi sweet chocolate chips, 2 tbsp (30ml) of unsalted butter, 1 tsp (5ml) of vanilla extract, and a pinch of sea salt. Why this? Salt cuts through the heavy sugar of the marshmallows.
Timing and Yield
This recipe requires very little active effort but plenty of patience. You will spend about 10 minutes prepping the base and 10 minutes melting the filling, while the chilling stage does the heavy lifting. The total time is 2 hours 20 mins.
Avoid rushing the time in the fridge, or the marshmallow will remain too soft to form a bar. This makes 9 generous squares.
How to Make Them
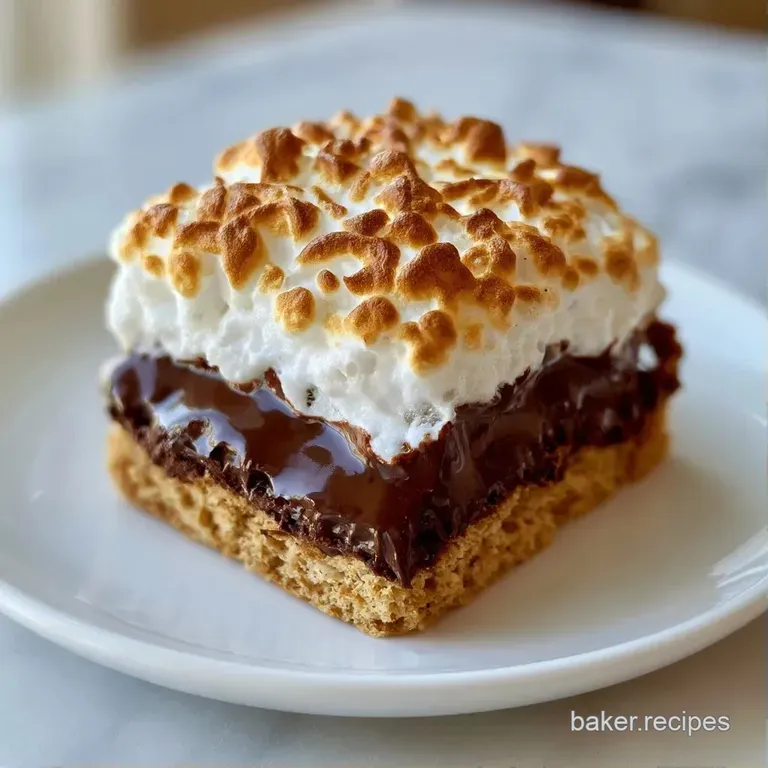
Phase 1: The Foundation
- Line an 8x8 inch square baking pan with parchment paper, leaving a 2 inch overhang on two opposite sides to help with removal.
- In a bowl, stir together the melted butter and graham cracker crumbs until the texture resembles wet sand.
- Use a flat glass to pack the graham base tightly into the pan, creating a dense, even layer.
Phase 2: The Gooey Core
- Combine the mini marshmallows and 2 tbsp butter in a saucepan over low heat. Stir without stopping until the mixture is a velvety liquid and smooth.
- Remove from the heat and stir in a pinch of salt and the vanilla extract.
- Fold in the chocolate chips, stirring for 30 seconds until the chocolate softens but still holds its shape.
Phase 3: The Set
- Spread the marshmallow chocolate mixture over the graham crust, leveling the top with a spatula.
- Place the pan in the refrigerator to set for at least 2 hours.
- Use the parchment handles to lift the No Bake Smores Bars out of the pan. Cut into 9 equal squares with a blade heated in hot water.
Chef's Note: To prevent the marshmallow from dragging and pulling up the crust, keep your knife hot. Dip the blade in boiling water and wipe it dry between every cut for clean, professional lines.
Fixing Common Issues
If your bars aren't behaving, it's usually a temperature problem. Most people rush the cooling process or overheat the sugar. Overcooking marshmallows can make them grainy or too hard once they cool down.
Sticky Slices
If the bars are sticking to the knife or feel too soft, they haven't set. Even if they feel firm to the touch, the center might still be molten. Put them back in the fridge for another 30 minutes.
Separate Chocolate
If you see streaks of oil or the chocolate looks "split," the heat was too high. The fats in the chocolate separate when they hit a boiling point. Next time, keep the heat on low and remove the pot from the burner before adding the chips.
Crumbly Base
A base that falls apart usually means it wasn't pressed hard enough. You really need to put some weight into it with that glass to ensure the butter and crumbs lock together.
| Problem | Root Cause | Solution |
|---|---|---|
| Bars are too gooey | Not chilled long enough | Chill for another 60 mins |
| Base is too dry | Not enough melted butter | Add 1 tbsp melted butter to crumbs |
| Marshmallows are grainy | Overheated on the stove | Use lower heat; stir constantly |
Keeping Them Fresh
Store these in a container in the refrigerator, where they will remain firm and flavorful for about 5 days. If kept on the counter in a warm room, the marshmallow layer may soften, though they are still perfectly edible.
They will last up to 2 months in the freezer. Wrap each piece individually in parchment paper and place them in a freezer bag. Thaw them in the fridge for one hour before eating.
Don't throw away any extra graham crumbs. I typically stir them into my Homemade Granola Bars for an added crunch.
Mixing Up Flavors
Once you've got the base No Bake Smores Bars down, you can play with the add ins. I love adding a layer of peanut butter between the crust and the marshmallow for a salty twist. If you want something different, check out my Peanut Butter Blondies for another heavy hitter dessert.
Quick Adjustments: Salty kick? → add 1/2 tsp flaky salt on top. Crunchier base? → toast crumbs 5 mins in a pan. Darker chocolate? → use 70% cocoa chips.
You can also swap the graham crackers for crushed pretzels to get a more savory contrast. Just make sure you still use enough butter to keep the pretzel dust from being too sandy.
Best Ways to Serve
These are quite decadent, so small portions are sufficient. I recommend pairing them with a chilled glass of milk or some bitter black coffee to offset the sweetness. For gatherings, keep the bars refrigerated until you are ready to arrange them on a platter.
To add a professional touch, top every square with a tiny piece of graham cracker and a single mini marshmallow. This tells your guests exactly what to expect before the first bite.
Because these No Bake Smores Bars are so dense, they make a great handheld dessert. Just be sure to provide napkins, as the marshmallow can get sticky at room temperature. Per USDA guidelines, dairy based treats should be stored in the fridge to ensure safety and quality over several days.
Recipe FAQs
How to make no bake smores?
Mix graham crumbs with melted butter, press into a pan, and top with a melted mixture of marshmallows, butter, vanilla, salt, and chocolate chips.
Tip: Chill for at least 2 hours to ensure they set properly.
Is it true that no-bake bases always crumble without oven baking?
Actually, no, because pressing the crumbs firmly into the pan with a flat glass creates a dense, stable foundation.
Tip: Using parchment paper with an overhang makes lifting the bars much easier.
Which mistakes most often ruin these bars?
Overheating the chocolate until it seizes or failing to let the bars set in the fridge are the biggest issues.
Tip: Dip your knife in hot water before slicing for clean, professional edges.
Can I use a different base instead of graham crackers?
You can use digestive biscuits or crushed oat cookies for a similar texture.
Tip: If you enjoyed the crumbly texture here, see how we use a similar base in our no-bake cheesecake.
No Bake Smores Bars