Fudgy Oats Cocoa Cookies
- Chewy and Rich Oats Cocoa Cookies
- Fast Prep for Busy Bakers
- The Science of Why it Works
- Ingredient Deep Dive Analysis
- Essential Pantry Staples for Cookies
- Tools for the Perfect Batch
- Steps to Bake Oats Cocoa Cookies
- Solving Every Cookie Texture Issue
- Creative Flour and Sugar Swaps
- Storing and Refreshing Your Treats
- The Best Drinks for Cookies
- Debunking Common Baking Beliefs
- Helpful Home Baker Answers
- Common Questions
- 📝 Recipe Card
- Time: Active 10 minutes, Passive 10 minutes, Total 20 minutes
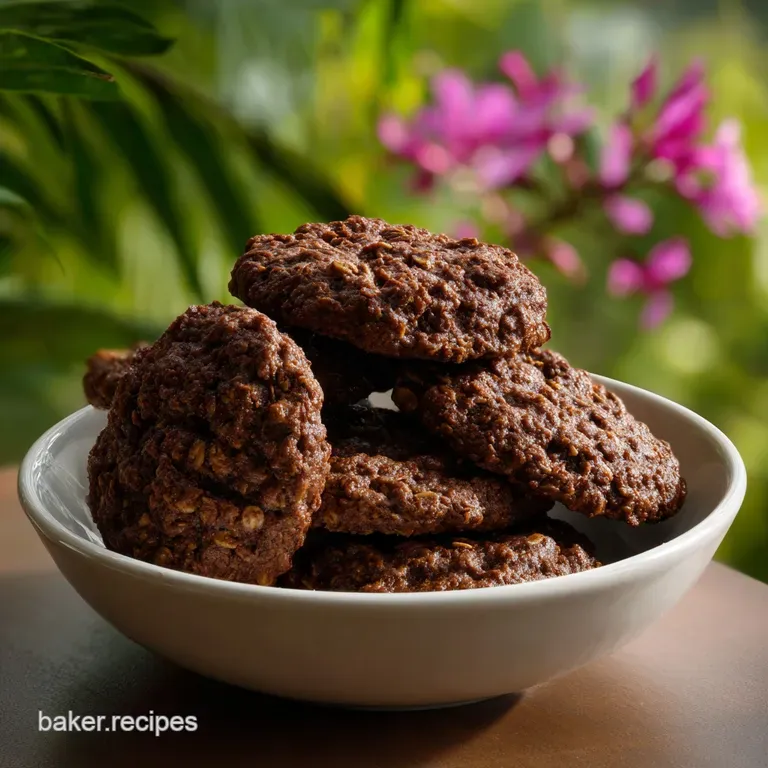
- Flavor/Texture Hook: Fudgy, chocolate rich center with a crispy oat flecked edge
- Perfect for: Quick afternoon snacks or meal prep school lunches
Chewy and Rich Oats Cocoa Cookies
Have you ever pulled a tray of cookies out of the oven only to have them turn into porcelain tiles within twenty minutes? I’ve been there more times than I care to admit. It is incredibly frustrating when you want a soft, comforting snack but end up with something that requires a glass of milk just to survive the first bite.
That is exactly why I fell in love with this specific method. It solves the "dry cookie" dilemma by leaning into the moisture wicking power of oats and the richness of cocoa.
The aroma that fills your kitchen while these bake is something you won't soon forget. It’s that deep, dark scent of warming chocolate mixed with the nutty smell of toasted grains. I remember the first time I made these on a rainy Tuesday. I was out of chocolate chips and felt desperate for a treat.
I threw this together in one bowl, and honestly, I haven't looked back since. They are far more sophisticated than a standard oatmeal raisin cookie but just as easy to whip up.
We are going to skip the complicated steps like chilling the dough for hours or hauling out a heavy stand mixer. This is a "whisk and go" situation. We want that immediate gratification. Whether you are a seasoned baker or someone who usually burns toast, these are designed to be foolproof.
Let’s get into the details so you can have a warm, chocolatey cookie in your hand in less than half an hour.
Fast Prep for Busy Bakers
There is a distinct difference between a cookie made with quick oats and one made with the real deal. When we look at the texture of these treats, the "shortcut" version often lacks the character we want.
If you use a pre packaged mix, you lose that specific "shatter" on the edges that only comes from fresh butter and dark cocoa. This recipe prioritizes a fast turnaround without sacrificing the artisanal feel of a scratch made dessert.
| Feature | Fresh Oats Cocoa Cookies | store-bought Mix |
|---|---|---|
| Edge Texture | Crispy and golden | Soft and doughy |
| Complexity | Deep, bitter sweet notes | One note sweetness |
| Shelf Life | Stays moist for 5 days | Hardens after 24 hours |
1. The Hydration Phase
The secret to the texture lies in how the oats interact with the fats. By using melted butter, we allow the 2 cups (180g) Old Fashioned Rolled Oats to begin absorbing moisture immediately. This prevents the final product from feeling like you're eating birdseed.
It creates a cohesive, velvety crumb that holds together even without a lot of flour.
2. Fat to Fiber Balance
We have a high ratio of fiber here thanks to the oats, which can sometimes lead to a crumbly mess. However, the inclusion of a large egg and light brown sugar provides the necessary "glue." The sugar acts as a liquid during the baking process, ensuring the 1/2 cup (45g) Unsweetened Cocoa Powder doesn't dry out the dough.
3. The Residual Heat Rule
You must trust the timer on this one. When the 10 minutes are up, the cookies will look slightly underdone in the center. Don't panic! This is vital. The carryover heat from the Nordic Ware Baking Sheet will finish the cooking process on the counter.
If they look "done" in the oven, they will be overdone by the time they cool.
The Science of Why it Works
- Hygroscopic Action: The light brown sugar contains molasses, which naturally attracts and holds onto water molecules, ensuring the cookies remain chewy rather than brittle.
- Starch Gelatinization: As the oats and all purpose flour heat up, they absorb the melted butter and egg moisture, setting a flexible structure that doesn't crack when you bite it.
- Maillard Reaction: The proteins in the egg and the sugars react under the heat to create those complex, savory sweet aromatic compounds that give the cookie its "browned" flavor.
Ingredient Deep Dive Analysis
Success in the kitchen starts with knowing your components. I always reach for specific brands because consistency is the enemy of failure. For example, using Diamond Crystal Kosher Salt allows for much better control than standard table salt.
| Ingredient | Science Role | Pro Secret |
|---|---|---|
| Unsalted Butter | Provides fat for tenderness | Melt it until it just starts to foam for a nuttier flavor |
| Old Fashioned Oats | Adds structure and fiber | Avoid "Quick" oats; they turn into mush and lose the snap |
| Cocoa Powder | Provides flavor and acidity | Sift it! Cocoa is notorious for lumps that won't bake out |
| Light Brown Sugar | Adds moisture and caramel notes | Pack it tight in the cup to ensure you get the full 150g weight |
Essential Pantry Staples for Cookies
You likely have most of these in your cupboard right now. If you're out of something, don't worry I've got a list of swaps below. But first, let’s look at the lineup.
- 2 cups (180g) Bob's Red Mill Old Fashioned Rolled Oats: These provide the essential chew. If you’re curious about oat varieties, you might find my guide on a How to Cook recipe for oats helpful for understanding textures. Why this? Rolled oats maintain their shape and provide a rustic, hearty mouthfeel.
- 1 cup (125g) King Arthur All Purpose Flour: This acts as the skeletal structure. Why this? It has a consistent protein content that prevents the cookies from spreading too thin.
- 1/2 cup (45g) Ghirardelli Unsweetened Cocoa Powder: This is where the soul of the cookie lives. Why this? Higher quality cocoa has more fat, leading to a richer, darker chocolate flavor.
- 1 tsp Arm & Hammer Baking Soda: Our lifting agent. Why this? It reacts with the acidic cocoa and brown sugar to create air bubbles.
- 1/2 tsp Sea Salt: To balance the sugar.
- 1/2 cup (113g) Unsalted Butter, melted: For that fudgy, brownie like consistency.
- 3/4 cup (150g) Domino Light Brown Sugar: For chewiness.
- 1/4 cup (50g) Granulated Sugar: For those slightly crisp edges.
- 1 Large Egg: The binder.
- 1 tbsp Vanilla Extract: To enhance the chocolate notes.
Chef's Tip: Freeze your butter for 10 minutes before melting it in a saucepan. This slight temperature shock before the heat actually helps the milk solids brown more evenly if you choose to take it to a "brown butter" stage.
Also, add a pinch of espresso powder to the dry mix; it won't taste like coffee, but it makes the cocoa taste twice as intense.
Tools for the Perfect Batch
You don't need a spaceship to bake. I prefer simple, high-quality tools that I know will last.
- Lodge Cast Iron Skillet (optional): If you want to melt your butter with a smoky depth, do it in cast iron.
- KitchenAid Hand Mixer: While you can whisk by hand, a quick 30 second blast with a hand mixer ensures the sugars and egg are perfectly emulsified.
- Nordic Ware Aluminum Baker's Half Sheet: These distribute heat evenly, preventing the bottoms from burning before the tops are set.
- Silpat Silicone Baking Mat: This prevents sticking and helps the cookies spread just the right amount.
Steps to Bake Oats Cocoa Cookies

Right then, let's crack on with the actual baking. This process is fast, so make sure your oven is preheated to 350°F before you start mixing.
- Melt the butter. Place the 113g of butter in a microwave safe bowl or small pot. Heat until liquid and slightly warm to the touch. Note: Don't let it boil away, or you lose moisture.
- Cream the sugars. Combine the melted butter, 150g light brown sugar, and 50g granulated sugar. Whisk vigorously until the mixture looks like wet sand.
- Add the wet aromatics. Beat in the large egg and 1 tbsp vanilla extract. Continue whisking until the batter is glossy and pale. Note: This aeration helps the baking soda do its job.
- Sift the dry goods. In a separate bowl, whisk together the 125g flour, 45g cocoa powder, baking soda, and salt. Add this to the wet mix.
- Fold the base. Use a spatula to incorporate the dry ingredients. Mix until no white streaks of flour remain.
- Add the oats. Dump in the 180g of rolled oats. Fold them in gently until every oat is coated in chocolate dough.
- Scoop the portions. Use a standard cookie scoop to place mounds on your prepared sheet. Space them 2 inches apart until the tray is full (about 9 per sheet).
- Bake the batch. Slide the tray into the center rack. Bake for 10 minutes until the edges look matte and the centers are slightly puffy.
- Cool on the pan. Let them sit on the hot tray for at least 5 minutes. This is crucial until they are firm enough to lift without breaking.
- Final rest. Move them to a wire rack to cool completely. They will transition from soft to chewy as they reach room temperature.
Solving Every Cookie Texture Issue
Even the best of us run into trouble sometimes. Usually, it comes down to temperature or measurement.
Why Your Cookies Spread Too Thin
If your cookies look like pancakes, your butter was likely boiling hot when you added the sugar, or your kitchen is simply too warm.
| Problem | Cause | Fix | Pro Tip |
|---|---|---|---|
| Flat Cookies | Butter was too hot | Chill dough for 15 mins | Use a cold tray for the second batch |
| Dry/Crumbly | Too much flour | Use a kitchen scale | Spoon flour into the cup, don't scoop |
| Burnt Bottoms | Dark baking sheet | Use parchment or Silpat | Move rack to the upper third of oven |
Why Your Cookies Are Too "Tough"
Over mixing is the usual culprit here. Once you add the flour, you start developing gluten. If you beat the dough like it owes you money, the cookies will be bread high and rubbery. Just fold until combined.
Why Your Cocoa Tastes Bitter
Not all cocoa is created equal. If you used a very cheap store brand, it might have a metallic or overly acidic aftertaste. Always look for "Dutch processed" if you want a smoother, mellow chocolate flavor.
Creative Flour and Sugar Swaps
I’m a big fan of using what you have. Honestly, don't even bother going to the store if you’re missing one minor thing. Just keep the ratios the same.
| Original Ingredient | Substitute | Why It Works |
|---|---|---|
| All Purpose Flour | Almond Flour | Adds nuttiness. Note: Results in a much softer, more fragile cookie |
| Light Brown Sugar | Coconut Sugar | Similar caramel notes but less moisture; cookies will be crispier |
| Unsalted Butter | Coconut Oil (Solid) | Keeps the fat content high. Note: Adds a distinct tropical flavor |
| Large Egg | Flax Egg (1 tbsp meal + 3 tbsp water) | Great for binding, though the "lift" will be slightly less |
- If you want a deeper flavor, use dark brown sugar instead of light. The extra molasses makes them almost black and very moist.
- If you want a "Midnight" variation, add 1/2 cup of dark chocolate chips to the final fold.
- If you want them vegan, use the flax egg and coconut oil mentioned above.
Storing and Refreshing Your Treats
These cookies are champions of longevity. Because of the oat content, they don't stale as fast as a standard sugar cookie.
- Countertop: Store in an airtight container for up to 5 days. I like to put a small piece of bread in the container; the cookies will suck the moisture out of the bread to stay soft.
- Freezer: These freeze beautifully. Place them in a single layer on a tray to freeze, then bag them up. They stay good for 3 months.
- Zero Waste: If you have crumbs or broken cookies at the bottom of the jar, don't throw them away. Pulse them in a blender and use them as a "dirt" topping for vanilla pudding or as a crust for a cheesecake. You can even use the leftover dry oats to make a Peanut Butter Cookies recipe variation if you're feeling adventurous.
The Best Drinks for Cookies
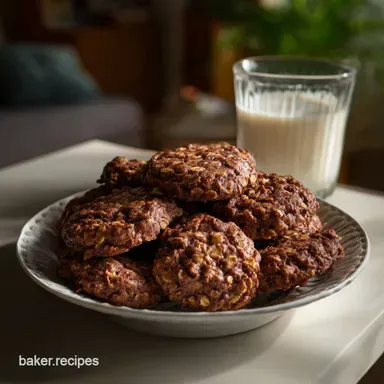
You can’t have a plate of these without a proper beverage. I’m a purist a cold glass of whole milk is the gold standard. The fat in the milk cuts through the richness of the cocoa perfectly.
However, if it’s late at night, a warm mug of oat milk latte is a brilliant pairing. It echoes the grain flavor in the cookie. For those who like a bit of contrast, a sharp, acidic espresso creates a "mocha" experience on the palate. If you’re serving these at a holiday gathering, they fit right in next to a Christmas Cookies recipe platter, offering a darker, more rustic option to the sugary cut outs.
Debunking Common Baking Beliefs
Let's clear the air on a few things that people get wrong about oats and cocoa.
- Oats need to be soaked: Some people think you need to soak oats in the liquid ingredients for an hour. You don't. The 10 minutes in the oven is plenty of time for them to soften, especially when using melted butter.
- Cocoa powder is the same as chocolate: It isn't. Cocoa powder is essentially chocolate with the fat (cocoa butter) removed. This is why we need the full 1/2 cup of butter to bring that richness back.
- Melted butter makes flat cookies: Only if you don't have enough flour or oats. In this recipe, the oats act as sponges that hold the structure together, allowing the melted butter to provide flavor without the "puddle" effect.
Helpful Home Baker Answers
The Texture Profile
These cookies are designed to be "bendy." If you are looking for a hard, crunchy biscuit that snaps like a cracker, this isn't the one. These are for the soft batch lovers. The edges will have a slight crunch, but the heart of the cookie remains tender.
Measuring for Accuracy
If you don't have a scale, please use the "fluff and level" method for your flour. Stick a spoon in the bag, fluff it up, spoon it into the measuring cup, and level it with a knife. If you pack the flour into the cup, you’ll end up with nearly 30% more than the recipe calls for, and your cookies will be dry.
Scaling the Batch
If you want to double this to make 36 cookies, it's very straightforward. However, only increase the baking soda to 1.5 tsp instead of 2 tsp to avoid a soapy aftertaste. You should also work in two separate batches for the baking to ensure the oven temperature doesn't drop too much when you slide the trays in.
If you're cutting the recipe in half, beat one egg in a small bowl and use exactly half of it by weight or volume.
Trust your instincts when you're looking at the dough. It should be thick, sticky, and dark. If it feels too runny, let it sit for 5 minutes; the oats are slow learners and sometimes take a moment to realize they need to start absorbing that butter! Let's get baking.

Common Questions
Can I substitute quick oats for old-fashioned rolled oats in this recipe?
No. Quick oats are too finely processed. They absorb moisture too rapidly, resulting in a cakey, mushy center rather than the desired chewy texture.
What is the primary role of using melted butter instead of creaming cold butter?
Melted butter. This method yields a denser, fudgier interior texture similar to a brownie, bypassing the aeration provided by creaming.
Why are my cookies spreading too much and ending up thin?
Butter temperature likely caused excessive spread. The fat was too warm, leading to premature melting before the structure could set.
- Chill the scooped dough for 15 minutes before baking.
- Ensure your baking sheet is not preheated.
- Use parchment paper to slightly slow heat transfer from the pan.
Should I use Dutch processed cocoa powder or natural unsweetened cocoa?
Dutch processed cocoa powder. Natural cocoa is more acidic and reacts strongly with the baking soda; Dutch processed offers a smoother, deeper chocolate flavor profile.
How long should these cookies bake before I pull them out?
Bake for exactly 10 minutes. The residual heat on the hot baking sheet continues to cook the centers after removal, preventing a dry outcome.
Can I make this recipe vegan by swapping the egg?
Yes, a flax egg is an effective substitute. Mix one tablespoon of ground flaxseed with three tablespoons of water and allow it to gel for five minutes before adding it to the wet ingredients.
What is the best way to store these cookies to maintain softness?
Store them in an airtight container with a slice of bread. The bread releases moisture, which the oats readily absorb, keeping the cookies tender for several days.
Oats Cocoa Cookies Recipe
Ingredients:
Instructions:
Nutrition Facts:
| Calories | 162 kcal |
|---|---|
| Protein | 2.9 g |
| Fat | 6.5 g |
| Carbs | 24.5 g |
| Fiber | 2.0 g |
| Sugar | 11.4 g |
| Sodium | 70 mg |
