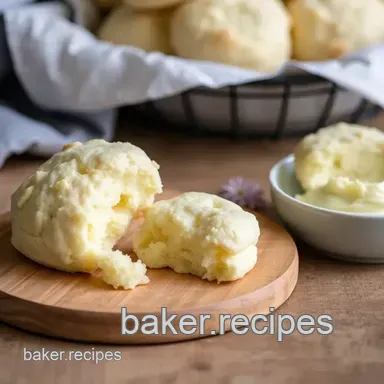
Fluffy Buttermilk Biscuits in 30 Minutes
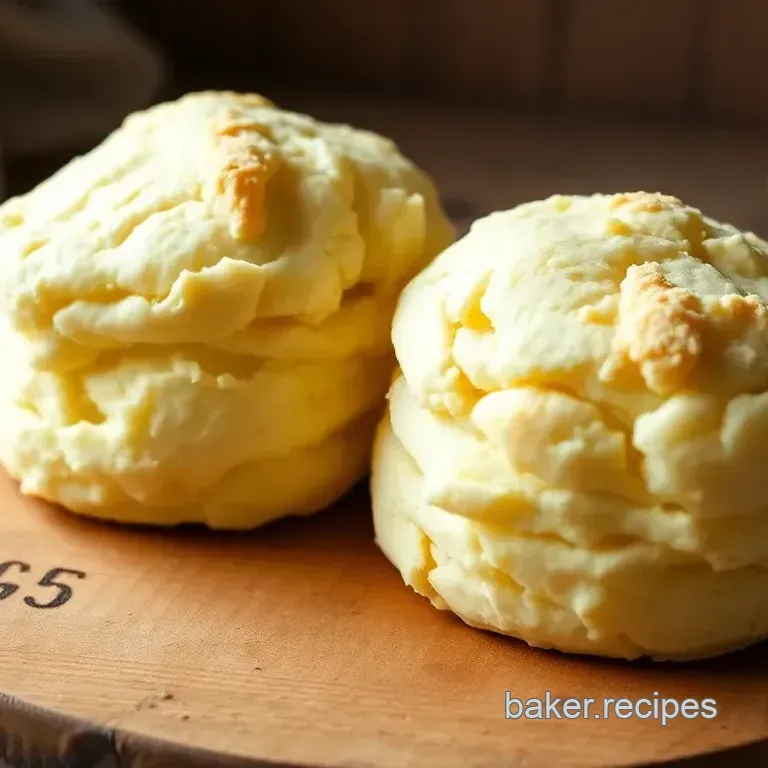
- Time: 15 min active + 15 min bake
- Flavor/Texture Hook: Tangy, buttery, and light
- Perfect for: Sunday brunch or a quick side
Early on, I mistakenly believed that more mixing equaled a better result, stirring the dough until it was perfectly smooth. The outcome was a set of rock hard biscuits that were practically inedible. That mistake taught me a vital baking lesson: restraint is often the key to success.
You don't need a professional pastry blender to achieve a crisp, flaky crust. A standard dinner fork works perfectly fine. The real trick is maintaining cold ingredients and working efficiently.
These Buttermilk Biscuits are all about achieving a great rise and a soft, tender interior. By bypassing complex folding methods in favor of a straightforward approach, you'll get perfect results whenever you want a warm, homemade treat.
How to Make Buttermilk Biscuits
Cold Butter: Tiny chunks of chilled fat melt during baking, which creates steam pockets that push the dough upward.
Acidic Buttermilk: The buttermilk reacts with the baking powder to create bubbles, making the Buttermilk Biscuits airy rather than dense.
| Method | Time | Texture | Best For |
|---|---|---|---|
| Fast Fold | 30 min | Flaky/Tender | Weekday breakfasts |
| Classic Layer | 60 min | Tall/Defined | Holiday brunch |
Right then, if you want to tweak the results based on your mood, use this shortcut.
| Goal | What to change |
|---|---|
| More Height | Fold dough 8 times instead of 5 |
| Richer Taste | Use European style butter |
| Softer Crumb | Add 1 extra tbsp of buttermilk |
Gathering Your Baking Essentials
The flour provides the structure, while the baking powder handles the lift. I use all purpose flour because it keeps the Buttermilk Biscuits from getting too tough. A pinch of sugar helps the tops brown in the oven.
The butter is the most important part. It has to stay cold to ensure those layers actually form. If your kitchen is hot, put the flour in the fridge for 10 minutes first.
The buttermilk adds that signature tang and helps the dough rise. If you've ever tried making Buttermilk Biscuits with regular milk, you'll notice they lack that specific zip and a bit of the lift.
Essential Recipe Details
You'll need to keep an eye on your oven temp. 425°F (218°C) is the sweet spot. It hits the dough hard and fast, forcing the steam up before the structure sets.
Prep takes 15 minutes and baking takes another 15 minutes. The total time is exactly 30 minutes.
Tools You'll Actually Use
Forget the specialized tools. A large mixing bowl, a fork (or pastry cutter), and a circular biscuit cutter are all that's necessary.
Lacking a cutter? The rim of a glass works just as well, provided the edge is sharp enough to avoid squishing the dough.
Step by step Baking
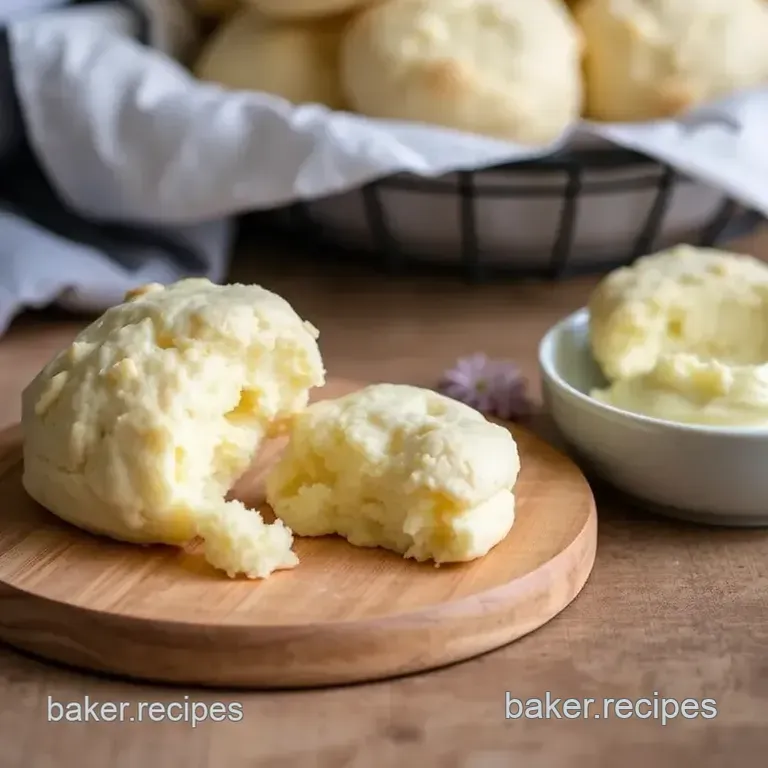
Whisk together 2 ½ cups (310g) flour, 1 tbsp (12g) baking powder, ¾ tsp (4g) salt, and 1 tsp (4g) sugar. Note: This helps distribute the leavening agents evenly.
Incorporate ½ cup (113g) chilled, cubed butter. Work it into the flour with a fork until the mixture looks like coarse crumbs with pea-sized bits.
Pour in 1 cup (240ml) cold buttermilk. Use a wooden spoon to stir just until the dough pulls away from the bowl's edges. Note: Stop mixing immediately to prevent the dough from becoming tough.
Move the dough to a floured surface and gently fold it over itself 5-6 times.
Pat the dough into a rectangle 1 inch thick. Note: Be gentle so you don't flatten out the air pockets.
Push the cutter straight down and lift straight up. Arrange them on a baking sheet so they are just touching.
Bake at 425°F (218°C) for 12-15 minutes until the tops are golden brown.
Brush the warm tops with 1 tbsp (15ml) melted butter.
Fixing Common Biscuit Issues
Flat biscuits usually happen because the cutter was twisted. When you twist the cutter, you seal the edges of the dough, which prevents them from rising. Always press straight down and lift straight up.
Toughness comes from overworking the dough. If you knead it like bread, you develop too much gluten. Keep the mixing minimal and the butter cold.
If the butter leaks out the sides and fries the bottom, your butter chunks were likely too small or too warm before they hit the oven.
| Problem | Root Cause | Solution |
|---|---|---|
| Flat Tops | Twisted the cutter | Press and lift straight up |
| Heavy/Dense | Overmixed the dough | Stir only until combined |
| Butter Leaking | Butter melted too early | Use frozen cubed butter |
Keeping Biscuits Fresh
While they are best served warm, you can store them in a closed container in the fridge for 3 days. To reheat, warm them in the oven at 350°F (180°C) for 5 minutes.
For longer storage, freeze them after baking. Wrap each piece in foil and keep them in a freezer bag for up to 2 months.
To prevent waste, any stale Buttermilk Biscuits make great croutons. Cube them, mix with melted butter and garlic, and bake until crispy.
Best Ways to Serve
Honey butter is the traditional pairing here. A sprinkle of sea salt over the melted butter gives them a professional, bakery style finish.
Serve them alongside fried chicken or a rich stew for a complete meal. For a savory, cheesy variation, check out these Zucchini Biscuits.
If you prefer a sweet treat, these Apple Biscuits are ideal for a cozy morning.
Tasty Flavor Swaps
The Cheese Version: Stir in ½ cup of sharp cheddar cheese during the dry mix phase. It adds a salty punch that pairs great with jam.
The Herbed Route: Add a teaspoon of dried rosemary or thyme to the flour. This makes the Buttermilk Biscuits feel more like a dinner roll.
The Greek Yogurt Swap: If you're out of buttermilk, mix 3/4 cup plain Greek yogurt with 1/4 cup milk. It's thick and tangy, providing a similar result.
The Whole Grain Mix: Replace half the flour with white whole wheat flour. Note that this will make the Buttermilk Biscuits slightly denser and heartier.
| Original Ingredient | Substitute | Why It Works |
|---|---|---|
| Buttermilk (1 cup) | Yogurt + Milk | Similar acidity and thickness. Note: Slightly thicker dough |
| Unsalted Butter | Cold Lard | Higher melting point for more flakes. Note: Different flavor profile |
Right then, if you're doubling the batch, remember to lower the oven temperature by 25°F and bake for a few minutes longer. This prevents the outside from burning before the middle is cooked.
Biscuit Myths
You might believe that chilling the dough for an hour is mandatory before baking. Although it can help, it isn't required as long as your butter remained cold during the mixing process.
Another misconception is the need for pricey "biscuit flour." Standard all-purpose flour works great, provided you don't overmix your Buttermilk Biscuits.
The most frequent error is expecting a smooth dough. If it looks like a polished ball, you've worked it too much; it should remain shaggy and slightly irregular.
Believe me the less you handle the dough, the better your Buttermilk Biscuits will turn out. Simply get them into the oven and let the heat do its job.
Recipe FAQs
How to ensure a taller rise?
Fold the dough over itself 5 6 times and press the cutter straight down without twisting.
Tip: Keep your butter and buttermilk very cold to create airy layers.
What secret makes them so flaky?
Keeping pea-sized bits of cold butter in the flour creates steam pockets while baking.
Tip: This same aeration technique is also used to make these vegan banana muffins.
Is it true that twisting the cutter helps them rise?
Actually, no. Twisting seals the edges of the dough and prevents the biscuits from climbing upward.
Tip: Always pull the cutter straight up for maximum height.
Why must the butter stay chilled?
Cold butter prevents the fat from melting into the flour before it hits the 425°F oven.
Tip: Use a pastry cutter or fork to keep the process quick and the butter firm.
Soft And Tender Buttermilk Biscuits