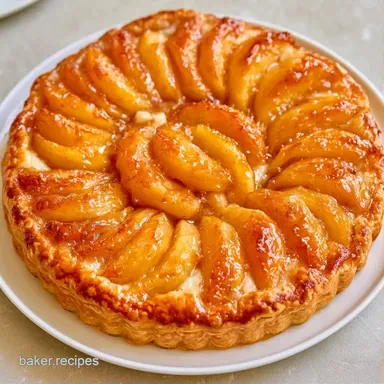
Cream Cheese Apple Puff Pastry Tart
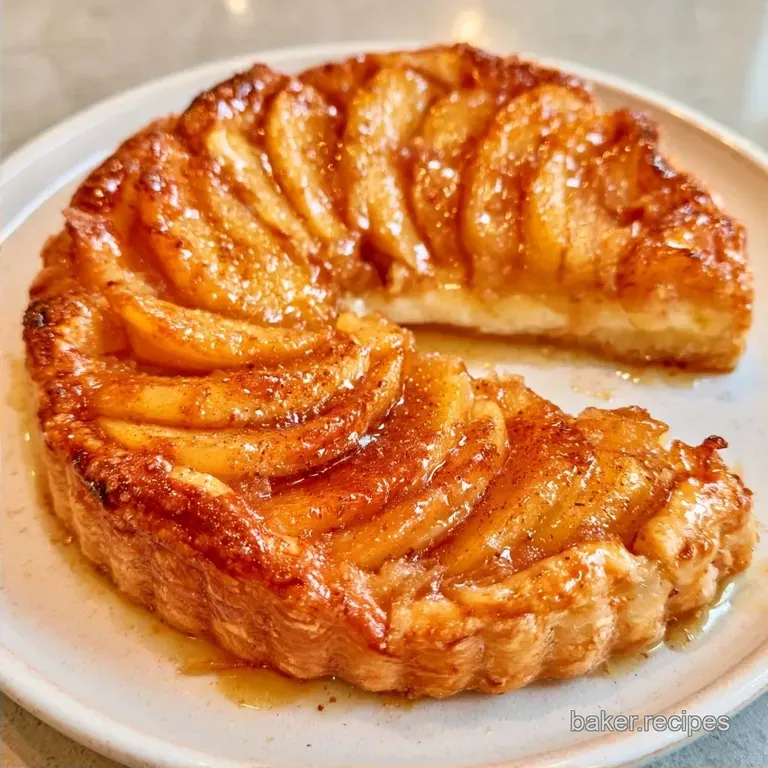
- Time: 20 min active + 20 min bake
- Flavor/Texture Hook: Tangy, creamy filling with a glittering sugar crunch
- Perfect for: An autumn brunch or a simple harvest dessert
The aroma of cinnamon and melting butter wafting through a hot oven always evokes memories of October visits to the local orchard. My initial attempts at fruit tarts were failures I once made a soggy, limp mess that looked more like a pancake than a pastry.
It was disappointing to see the bottom simply melt into the filling.
I spent several autumns adjusting the proportions before realizing the issue was moisture, not the oven. Switching to a thick cream cheese base and adding a bit of cornstarch fixed everything. Now, the filling holds its shape and the pastry puffs up beautifully.
You'll love how effortlessly this Apple Cream Cheese Tart comes together. It has the polished look of a professional bakery window, but it's mostly just simple assembly. By using a few smart shortcuts, you can get high end results without spending four hours in the kitchen.
Apple Cream Cheese Tart
A moisture barrier is essential here. Layering a thick cream cheese mixture beneath the apples prevents juices from soaking directly into the pastry.
Cornstarch Thickening: This binds with the apple juices to form a jammy glaze rather than a watery liquid. Pastry Scoring: Cutting a border keeps the filling centered, enabling the edges to rise into a golden frame.
For another way to use your harvest, you might enjoy my Sourdough Apple Pie if you have some discard in the fridge.
Quick Recipe Specs
This tart is designed for speed without sacrificing that rustic, orchard fresh feel.
| Feature | Detail |
|---|---|
| Total Time | 40 minutes |
| Oven Temp | 200°C (400°F) |
| Servings | 12 slices |
| Main Vibe | Tangy & Crispy |
What Each Ingredient Does
Selecting the right apple is essential for this dish. Granny Smiths are the best choice as they retain their shape and provide a necessary tartness.
| Ingredient | Role | If You Don't Have It |
|---|---|---|
| Puff Pastry | Flaky base | Phyllo dough (thinner and more fragile) |
| Cream Cheese | Tangy barrier | Mascarpone (richer, less tangy) |
| Granny Smith | Tart structure | Honeycrisp (sweeter, softer) |
| Cornstarch | Thickener | Arrowroot powder (1:1 swap) |
Tools You'll Need
Standard kitchen equipment is all you need to get this done. Basic household tools will work perfectly.
- Baking sheet (Standard size)
- Parchment paper (To prevent sticking)
- Sharp knife (For scoring the pastry)
- Hand mixer or whisk
- Small saucepan (For melting butter)
- Pastry brush
Bringing It Together
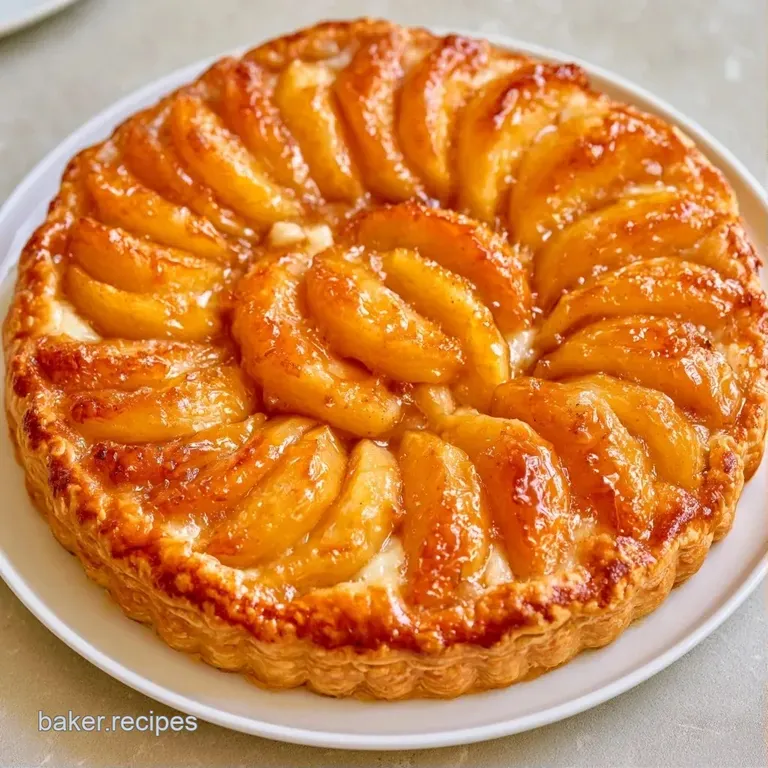
Time to get baking. Ensure the cream cheese is fully softened to prevent any lumps from forming.
1. Preparing the Foundation
Set your oven to 200°C (400°F) and place parchment paper on a baking sheet. Roll out the puff pastry over the paper. Lightly score a 1 inch border around the perimeter. Note: Do not slice all the way through; this just creates a guide for your filling.
2. Whipping the Filling
Whip the granulated sugar and softened cream cheese on medium high speed for 2 minutes until the texture is silky. Fold in the lemon juice and vanilla extract, then spread the mixture evenly inside the border.
3. Layering the Apples
In a bowl, toss the apple slices with cornstarch, cinnamon, brown sugar, and melted butter until fully coated. Arrange them over the cream cheese layer in an overlapping fan pattern.
4. The Golden Bake
Brush the pastry edges with beaten egg and finish with a sprinkle of turbinado sugar. Bake for 20 minutes until the crust is golden brown and shattered. You'll notice the aroma of caramelized sugar and cinnamon filling the air.
5. The Final Garnish
Whisk the powdered sugar, milk, and vanilla extract together in a small bowl. Drizzle the glaze over the warm tart and let it sit for 5 minutes before slicing.
Avoiding Kitchen Disasters
Mishaps happen even with straightforward bakes. I've run into all these issues myself, so don't worry if your first tart isn't picture perfect.
The Filling is Lumpy
This occurs if the cream cheese is too chilled. The fats fail to emulsify with the sugar, leaving behind small white clumps. If this happens, just continue mixing with a hand mixer for an additional minute.
The Bottom is Pale
When the edges are brown but the center appears underdone, you might have a cold spot in your oven. Next time, try positioning the rack in the lower third of the oven to direct more heat under the pastry.
The Apples Browned Too Quickly
This usually indicates the oven is too hot or the apple slices were cut too thin. You can protect the fruit by tenting the tart with foil for the final 5 minutes of baking.
| Problem | Fix |
|---|---|
| Lumpy filling | Beat room temp cheese for 2+ mins |
| Soggy bottom | Increase cornstarch by 1/2 tsp |
| Burnt edges | Tent with foil after 15 mins |
How to Serve and Enjoy
This Apple Cream Cheese Tart is delicious warm, but it’s even more satisfying once the glaze has fully set.
For a classic touch, serve a slice with a dollop of chilled whipped cream or a scoop of vanilla bean ice cream. The heat from the pastry turns the cream into a rich, melting sauce. If you are serving this for brunch, a handful of fresh berries adds a bright, refreshing contrast.
To make your autumn dessert spread even more indulgent, my Sticky Toffee Apple Cake is the perfect companion.
| Goal | Modification |
|---|---|
| For a firmer set | Chill the tart 30 mins before slicing |
| For more crunch | Add 1 tbsp crushed walnuts to the apples |
| For extra zing | Add 1/2 tsp orange zest to the filling |
Preservation Secrets
Make the most of your leftovers. While the dish is best enjoyed immediately, it stays good for a few days.
Store the slices in a container, placing parchment paper between the layers. They can be stored in the refrigerator for 3 days. To restore that "fresh baked" quality, warm a slice in a toaster oven at 175°C for 5 minutes. Skip the microwave to avoid losing the puff pastry's crunch.
Don't discard the apple peels and cores. Instead, simmer them in a pot with water, a cinnamon stick, and some cloves. This fills your home with a cozy harvest aroma and creates a simple syrup that's great for pancakes.
Dietary Adaptations
You can easily tweak this recipe to fit different needs without losing the spirit of the dish.
The Orchard Twist
Swap the Granny Smiths for a mix of Braeburn and Honeycrisp. This gives you a balance of tart and sweet that feels very farm to table. You can also add a pinch of ground ginger to the apple mix for a warmer, spicier note.
The Nutty Crunch
Add a layer of almond flour or finely chopped pecans over the cream cheese before adding the apples. This adds a toasted flavor and an extra layer of texture.
Gluten-free Swap
Use a certified gluten-free puff pastry. Most store-bought versions are quite similar in performance, though they might brown a bit faster. Just keep a close eye on the edges.
Dairy-free Alternative
Use a vegan cream cheese and plant based butter. Note that vegan cream cheese often has a higher moisture content, so I recommend adding an extra 1/2 tsp of cornstarch to the apple mixture to compensate.
A Note on the Apples
Serious Eats' testing shows that the variety of apple significantly impacts the water release during baking. Using a firmer apple like the Granny Smith ensures the tart doesn't become a puddle of juice.
Trust me on this: don't skip the lemon juice in the filling. It cuts through the richness of the cheese and makes the apple flavor pop. Right then, get your apples sliced and let's get baking!
Recipe FAQs
Can puff pastry work for an apple tart?
Yes, it creates a light and shattered texture that contrasts perfectly with the creamy filling. It is much faster than making a traditional shortcrust.
Do pears work instead of apples?
Pears are a great substitute and provide a softer, sweeter flavor. Just ensure they are firm so they don't release too much juice during baking.
How to prevent the crust from getting soggy?
Spread a thick layer of cream cheese over the dough to act as a moisture barrier. The addition of cornstarch to the apples also helps bind the juices.
Is it true that you must roll out puff pastry for this tart?
No, and here's why. Most store-bought sheets are pre-rolled to the perfect thickness and only need to be unrolled onto your baking sheet.
Why does the cream cheese filling leak?
This usually happens if the cream cheese isn't beaten until smooth or if the pastry border isn't scored deeply enough. If you enjoyed mastering the creamy texture here, see how the same principle works in our creamy potluck classic.
Where do you score the pastry border?
Cut a 1 inch perimeter around the edge of the sheet. Stop just before you hit the bottom layer so the pastry remains connected.
Does using cornstarch make the filling taste chalky?
Not true. The small amount used here simply thickens the apple juices into a jammy glaze without affecting the flavor.
Apple Cream Cheese Tart