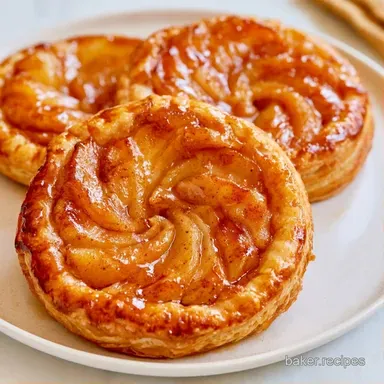
Individual Apple Tarts with Puff Pastry
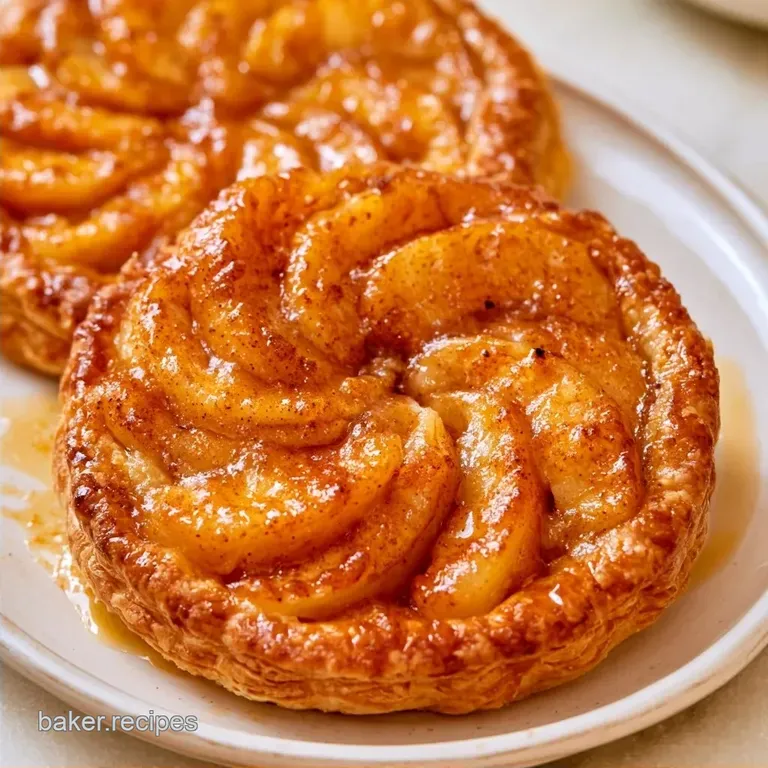
- Time: 30 min active + 20 min bake
- Flavor/Texture Hook: Shattering buttery crust with mahogany gold apples
- Perfect for: Autumn gatherings or a cozy weekend treat
Easy Apple Tarts Recipe
Have you ever wondered why some tarts have a layer of gummy, undercooked dough at the bottom? I spent years fighting that exact problem. I used to throw raw sliced apples into a crust and hope for the best, but I usually ended up with a soggy mess that looked more like apple soup than a dessert.
The shift happened when I started treating the filling like a preserve. By sautéing the fruit first, you concentrate the orchard flavors and get rid of the excess water. These apple tarts aren't just a dessert, they're a lesson in texture.
You can expect a treat that hits the balance between the tartness of Granny Smiths and the deep, toasted scent of cinnamon. Since we're using puff pastry, these apple tarts come together quickly but taste like you spent all afternoon in the kitchen.
Why Pre Cooking Matters
- Moisture Control: Cooking the apples first binds the juices into a thick syrup. This stops the liquid from soaking into the dough, so your apple tarts don't get soggy.
- Flavor Concentration: Heat evaporates the water in the fruit, which makes the cinnamon and brown sugar taste more intense.
- Texture Balance: The pre cooked filling stays soft and jammy, creating a sharp contrast with the shattering crispness of the puff pastry.
| Filling Method | Bake Time | Texture | Best For |
|---|---|---|---|
| Raw Apple | Longer | Softer, wetter | Traditional deep dish pies |
| Sautéed Apple | Shorter | Jammy, concentrated | Mini apple tarts |
The Essential Gear
These can be made with basic home equipment. A typical 12-cup muffin tin is essential here to maintain the pastry's shape as it puffs up.
For the filling, a medium, heavy bottomed saucepan works best to stop the brown sugar from scorching. I also recommend using a circular cookie cutter or a wide mouthed glass to ensure your pastry circles are consistent.
The Harvest Pantry
The heart of these apple tarts is the Granny Smith apple. Its firm structure and high acidity keep the slices from turning into mush during the sauté process.
Dark brown sugar provides a deeper, molasses like flavor compared to light brown sugar. The cornstarch acts as a thickener, turning the apple juices into a glossy glaze that clings to the fruit.
Ingredients & Substitutes
- 2 lbs Granny Smith apples, peeled and thinly sliced Why this? Holds shape and adds tartness (Sub: Honeycrisp apples)
- 1/2 cup dark brown sugar, packed Why this? Rich, caramel like depth (Sub: Coconut sugar)
- 3 tbsp unsalted butter Why this? Adds richness and sheen (Sub: Coconut oil)
- 1 tsp ground cinnamon Why this? Classic autumn warmth (Sub: Apple pie spice)
- 1 tbsp cornstarch Why this? Thicken the juices (Sub: Arrowroot powder)
- 1 tbsp lemon juice Why this? Prevents browning, adds zest (Sub: Apple cider vinegar)
- 1 sheet frozen puff pastry, thawed but cold Why this? Light, airy layers (Sub: Homemade shortcrust)
- 1 large egg yolk, beaten Why this? Deep golden finish (Sub: Milk or cream)
- 1 tbsp coarse sparkling sugar Why this? Added crunch and sparkle (Sub: Turbinado sugar)
The Quick Details
The goal here is high heat and fast action. We want the pastry to hit the oven while it's still cold, which creates those distinct, flaky layers.
Precision Checkpoints: Sauté the apples for exactly 5-7 minutes. Preheat oven to 400°F (200°C). Bake for 15-20 minutes.
Chef's Note: If your puff pastry feels soft or sticky, put it in the freezer for 10 minutes before cutting. Cold dough is the only way to get a high rise.
Making the Tarts
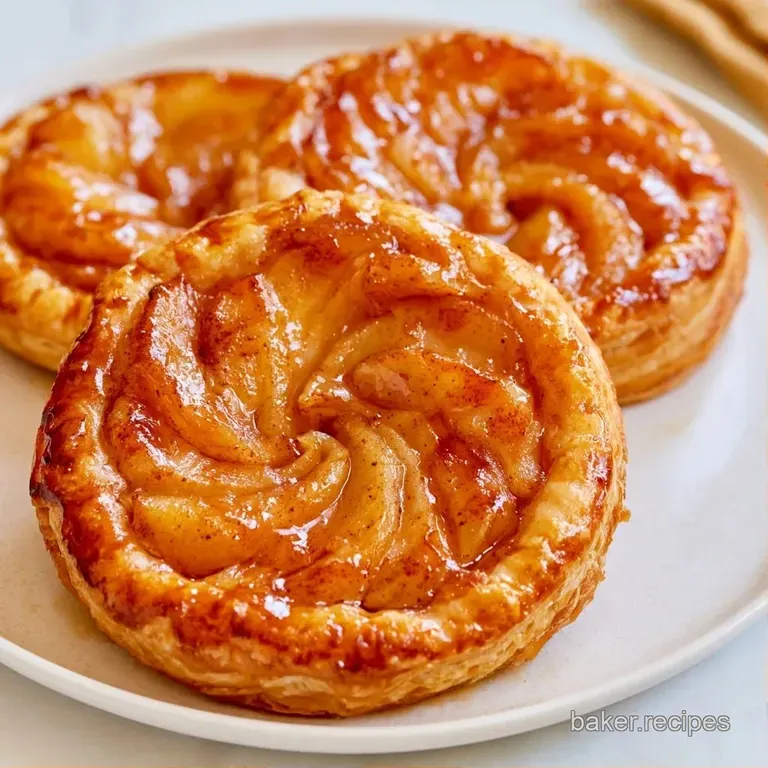
Sautéing the Filling
- Set a saucepan over medium heat and melt the butter.
- Stir in the sliced apples, brown sugar, cinnamon, and lemon juice. Cook for 5-7 minutes until the apples become tender and the sugar melts into a bubbly syrup.
- Dust the cornstarch over the mixture. Stir for 1 more minute until the sauce turns thick and glossy.
- Remove the pan from the heat and let it cool slightly so it doesn't melt the pastry immediately.
Shaping the Bases
- Set your oven to 400°F (200°C).
- Roll out the puff pastry on a surface lightly dusted with flour.
- Cut circles slightly larger than the muffin tin cavities.
- Press the pastry into the tins, allowing the edges to hang over the side to form the "rim" for your apple tarts.
Final Assembly
- Spoon the thickened apple filling evenly into each pastry shell.
- Brush the hanging edges with beaten egg yolk and sprinkle with sparkling sugar.
- Bake for 15-20 minutes until the edges are crisp and the pastry is a deep mahogany gold.
Fixing Common Issues
Flat Pastry Crust
If your apple tarts failed to rise, the dough probably became too warm. Puff pastry depends on layers of cold butter that steam to lift the dough. If the butter liquefies during preparation, the result is a flat cracker. Work rapidly and keep the dough chilled.
Filling Leakage
Filling that spills over the edges and burns on the pan is usually a sign that the cornstarch didn't cook through. Ensure the sauce is thick and glossy before spooning it into the pastry. If it remains too fluid, let the mixture cool further to set.
Over Browned Edges
The egg wash and sparkling sugar can brown rapidly. If the rims look dark while the center is still pale, slide a baking sheet onto the rack above to shield the edges. This allows the base of the apple tarts to finish cooking without scorching the top.
Adjusting the Batch
Scaling Down To make a smaller batch, use a half sheet of puff pastry. Reduce the apple quantity to 1 lb and halve the sugar and butter. Since you'll have fewer tarts in the oven, check them 2-3 minutes early as the airflow in the oven changes.
Scaling Up If you're doubling the recipe, don't double the cinnamon or salt exactly, as they can become overwhelming. Use 1.5x the spices. Work in batches with your muffin tins, but keep the remaining pastry in the fridge so it doesn't warm up while the first set bakes.
- For a deeper color
- Use dark brown sugar.
- For extra tang
- Add a splash more lemon juice.
- For a sturdier base
- Freeze pastry 10 mins before filling.
Baking Beliefs
Some people think you need to blind bake the crust to avoid sogginess. While that works for large tarts, it's unnecessary for these apple tarts because we pre cook the filling. The cornstarch barrier does the work for us.
Another common thought is that you should use a mix of apple types for the best flavor. While variety is nice, using only Granny Smiths ensures a consistent texture. Other apples often break down too much, turning the filling into a jam rather than distinct slices.
Saving Your Treats
Keep remaining apple tarts on a tray or plate, ensuring they aren't stacked, and cover lightly with plastic wrap. These stay fresh in the fridge for 3 days.
For longer storage, flash freeze them on a parchment lined sheet for 1 hour, then move them into a freezer bag. They'll keep for 2 months. To reheat, warm them in the oven at 350°F (175°C) for 5-8 minutes.
Avoid using the microwave so the crust remains shattering.
Avoid waste by saving apple peels and cinnamon bits. Simmer them in a pot with some sugar and water to create a quick pancake syrup.
New Flavor Ideas
For a different flavor than the traditional cinnamon, try a Honey Ginger variation. Swap the brown sugar for honey and stir a teaspoon of freshly grated ginger into the sauté. This adds a floral, spicy note that pairs perfectly with the autumn harvest.
To add some crunch, scatter crushed walnuts or pecans over the filling before baking; this provides a nutty contrast to the tender fruit. If you have sourdough discard available, you might prefer a Sourdough Apple Pie for a tangier, more complex crust.
Dietary Shifts:Vegan: Substitute egg yolk with a maple syrup glaze and use vegan butter. gluten-free: Use a gluten-free almond flour crust instead of puff pastry, though you will lose the airy puff.
The Best Pairings
Because these apple tarts are so rich and buttery, a tangy accompaniment balances the sweetness perfectly. A scoop of salted caramel ice cream or a dollop of chilled crème fraîche is highly recommended.
For those arranging a larger dessert variety, pair these tarts with a sharp cheddar cheese plate; the saltiness accentuates the apples' tart notes. If you're looking for another fruit based dessert, my Apple Fritters are a wonderful alternative trading this elegant bake for a rustic, fried delight.
It is best to enjoy these tarts while they are still slightly warm, as the scent of toasted cinnamon is a huge part of the appeal. Once removed from the oven, let them set for 5 minutes before lifting them from the tin.
Recipe FAQs
Should I cook apples before making tarts?
Yes, sauté them first. Cooking the fruit for 5-7 minutes concentrates the flavor and prevents the puff pastry from becoming soggy.
What is the best pastry for an apple tart?
Puff pastry is the top choice. Its light, shattering layers provide a professional texture contrast against the jammy filling.
Is it true that only apples work in this recipe?
Surprisingly, no. Pears work beautifully as a substitute; if you enjoyed balancing sweetness here, see how we manage rich flavors in our coconut pecan frosting.
How to use extra filling that doesn't fit?
Spoon the mixture into small jars. You can chill the sauce and use it as a topping for pancakes or morning oats.
Which method is easiest for mini tarts?
Using muffin tins is the simplest approach. Press cold puff pastry discs into the cavities to create uniform shells for the filling.
Individual Apple Tarts