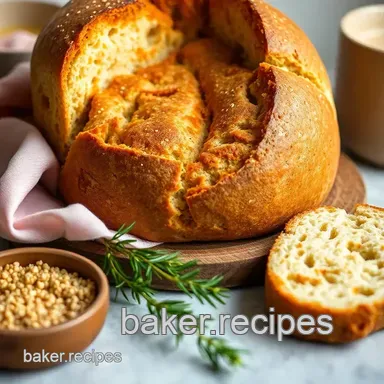
Artisan Bread Loaf: Crispy and Easy
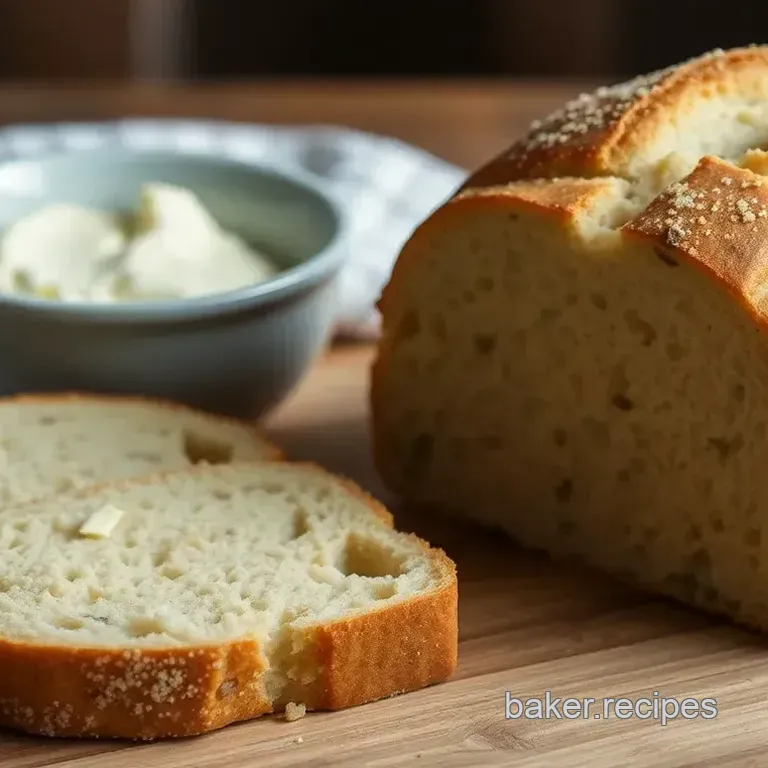
- Time:10 minutes active + 13 hours 15 mins resting
- Flavor/Texture Hook: A crisp, deep-brown crust and a light, airy crumb
- Perfect for: Novice bakers or anyone seeking fresh bread with minimal exertion
- Easy No Knead Deliciously Crusty Artisan Bread Loaf
- Why This Bread Actually Works
- The Gear You'll Need
- Getting Your Ingredients Ready
- The Quick Loaf Specs
- How to Bake It
- Fixing Your Bread Issues
- Changing the Batch Size
- Common Bread Myths
- Storage and Waste Tips
- Simple Flavor Variations
- Serving Your Fresh Loaf
- High in Sodium
- Recipe FAQs
- 📝 Recipe Card
Easy No Knead Deliciously Crusty Artisan Bread Loaf
Nothing beats that initial crackle when you lift the pot's lid. The singing crust and warm, yeasty scent drifting through the home are unmistakable. It's the sort of aroma that draws everyone in the house toward the kitchen to see what's baking.
This is the definitive guide to a simple No-Knead Artisan Bread. I once believed a professional mixer or endless kneading was required to achieve those open air pockets, but all you really need is a mixing bowl and a bit of time.
The result is a loaf with the quality of a high end boulangerie. It features a bold, crunchy crust paired with a tender, chewy center. Believe me, once you ditch the kneading, you'll never return to the old way.
Why This Bread Actually Works
- Extended Fermentation: Letting the dough rest for 12-18 hours allows enzymes to develop gluten naturally, handling the work typically done by kneading.
- Dutch Oven Steam: The lid locks in moisture, keeping the surface pliable so the bread can expand fully before the crust firms up.
- Initial High Heat: Starting at 450°F (230°C) generates a rapid burst of steam, ensuring the loaf gets a significant lift.
Here is how your choice of equipment influences the outcome.
| Method | Time | Texture | Best For |
|---|---|---|---|
| Dutch Oven | 45 mins | Thick, crackly crust | Classic artisan style |
| Baking Sheet | 35 mins | Thinner, softer crust | Quick batches |
The Gear You'll Need
Keep your setup simple. A sturdy wooden spoon and a large mixing bowl are the primary tools, plus a piece of parchment paper to stop the dough from sticking to the pot.
The key piece of equipment is a 5 quart Dutch oven with a tight fitting lid. While a heavy lidded pot is a suitable substitute, cast iron provides the best heat retention. We recommend using a digital scale for the flour, as weighing is far more accurate than using cups.
Getting Your Ingredients Ready
For this loaf, the flour is the hero. I use all purpose, but bread flour adds a bit more chew. The water temperature needs to be warm, but not hot, or you'll kill the yeast.
| Component | Purpose | Substitute Notes |
|---|---|---|
| All Purpose Flour | Structure | Bread flour: Stronger rise, chewier crumb |
| Sea Salt | Flavor & Control | Kosher salt: Use slightly more by volume |
| Instant Yeast | Rising agent | Active dry: Must bloom in water first |
| Warm Water | Hydration | Filtered water: Avoids chlorine taste |
Below are a few more swaps if you're missing something.
| Original Ingredient | Substitute | Why It Works |
|---|---|---|
| AP Flour (390g) | Bread Flour (390g) | Higher protein content. Note: Creates a heartier chew |
| Instant Yeast (2g) | Active Dry Yeast (2g) | Same fungus. Note: Requires 5 mins to dissolve in water |
| Sea Salt (9g) | Table Salt (7g) | Provides salinity. Note: Table salt is finer, so use less |
The Quick Loaf Specs
- Prep time:10 minutes
- Cook time:45 minutes
- Total time:13 hours 25 mins
- Yield: 1 loaf
Chef's Tip: Use a digital thermometer to keep your water around 105°F (40°C). Too cold and it won't rise, too hot and it's game over for the yeast.
How to Bake It
- Whisk the flour, salt, and instant yeast in a large bowl.
- Stir in the warm water with a wooden spoon until a shaggy, sticky ball forms. Note: Don't overmix; just make sure no dry flour is left.
- Cover the bowl tightly with plastic wrap.
- Rest the dough at room temperature for 12 to 18 hours until it doubles in size and bubbles appear on top.
- Turn the dough onto a floured surface.
- Fold the edges toward the center to form a rough ball. Note: Be gentle so you don't pop the air bubbles.
- Place the dough on parchment paper, cover with a towel, and let it rest for 30 minutes.
- Preheat your oven to 450°F (230°C) with the Dutch oven inside.
- Carefully lift the parchment and dough into the hot pot, cover with the lid, and bake for 30 minutes.
- Remove the lid and bake for 15 more minutes until the crust is mahogany colored and sounds hollow when tapped.
Fixing Your Bread Issues
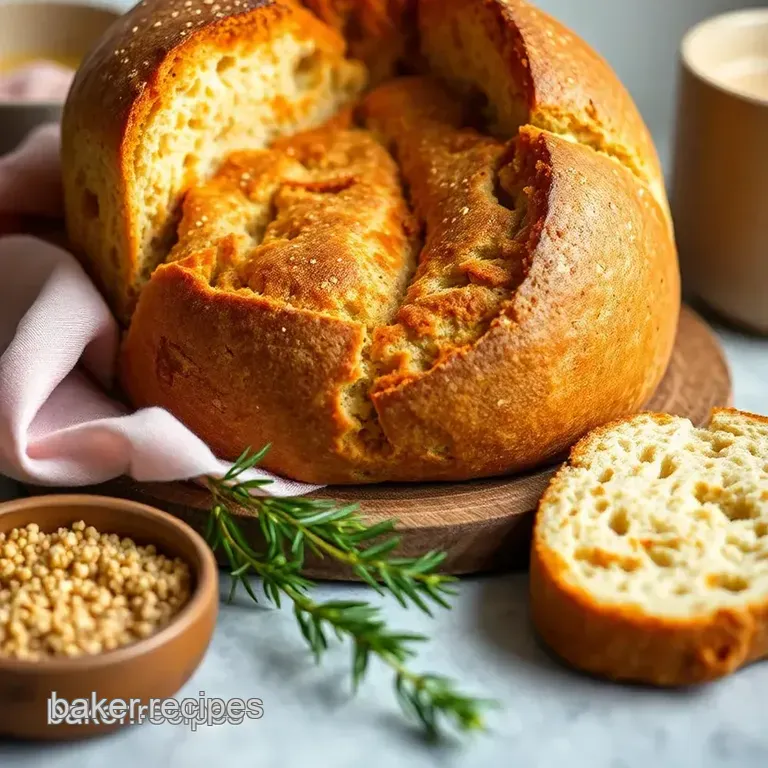
If your loaf didn't quite hit the mark, it's usually a temperature or timing issue. For example, if the dough didn't rise, your yeast might be expired or your water was too hot.
Flat Loaves
This happens when the dough over proofs. If it sits too long, the gluten structure weakens and collapses. Stick to the 18 hour limit.
Burnt Bottoms
Some ovens run hot at the base. If the bottom burns before the top browns, slide a baking sheet on the rack below your pot.
Gummy Interior
Taking bread out too early leads to a gummy center. Serious Eats' testing shows that internal temperature is key. Ensure the crust is deeply browned.
| Problem | Root Cause | Solution |
|---|---|---|
| Flat Shape | Over proofing | Shorten the room temp rise |
| Burnt Base | Bottom heat too high | Add a baking sheet underneath |
| Gummy Crumb | Underbaked | Bake 5-10 mins longer |
Changing the Batch Size
Want more than one loaf? You can double the ingredients, but don't double the salt or yeast exactly. Use 1.5x the salt and yeast for a double batch to avoid an overly fermented taste.
If you're scaling down to a half loaf, use a smaller pot like a 2 quart saucepan. Reduce the baking time by about 20% and keep a close eye on the color. Since you can't easily half a yeast packet, just use a pinch.
For those who love variety, try a cranberry nut version for a sweeter twist.
Common Bread Myths
You don't need to punch down no-knead dough to prevent it from over rising. Instead, fold it gently to maintain the air pockets, which ensures a beautifully open crumb.
Similarly, a sourdough starter isn't a requirement for "artisan" bread. Although starters provide a signature tang, using instant yeast combined with a long soak replicates that professional texture perfectly.
Storage and Waste Tips
Store your loaf in a paper bag at room temperature for 2 days; using plastic will make the crust soften. For longer preservation, slice the bread and freeze it for up to 3 months. To warm it up, use a toaster or oven.
Save those ends! They make wonderful croutons. Cut them into cubes, toss with garlic and olive oil, and roast at 375°F (190°C) for 10 minutes.
For an even more straightforward method, my overnight no knead bread is a perfect option.
Simple Flavor Variations
Customize your bread with these simple additions: Garlic herb? → mix 1 tsp dried rosemary and garlic powder into the flour Cheesy? → stir in 1/2 cup shredded sharp cheddar while shaping Olive? → mix 1/2 cup sliced kalamata olives into the shaggy dough
For a heartier version, substitute some of the flour with whole wheat. A 50/50 blend provides a nuttier taste, though you'll need 2 more tablespoons of water to account for the extra absorption.
Serving Your Fresh Loaf
The hardest part is waiting for it to cool. If you cut it while it's steaming, the inside can become gummy. Wait at least 30 minutes.
Serve it warm with salted butter or a drizzle of olive oil and balsamic vinegar. It also makes a killer base for avocado toast or a hearty grilled cheese. Right then, get your oven preheating and enjoy that smell!
High in Sodium
871 mg 871 mg of sodium per serving (38% 38% of daily value)
The American Heart Association recommends a daily sodium limit of no more than 2,300 mg to help maintain heart health and manage blood pressure.
Tips to Reduce Sodium
-
Reduce Salt Quantity-25%
Cut the fine sea salt in half. Since salt is the only sodium source here, reducing the quantity is the most effective way to lower the sodium count.
-
Use Low-Sodium Salt-20%
Replace the sea salt with a low-sodium salt alternative or a potassium based substitute to maintain flavor with less sodium.
-
Salt Free Flavor Enhancers-15%
Use a salt free seasoning blend to add depth to the dough, allowing you to use significantly less actual salt.
-
Add Aromatic Herbs
Incorporate garlic powder, onion powder, or dried rosemary to enhance the savory profile of the bread without adding any sodium.
Recipe FAQs
What are common problems with no knead bread?
Flat loaves usually result from over proofing or expired yeast. Make sure your dough only doubles in size during the long rest.
How do I get a crusty no-knead loaf?
Bake the loaf in a preheated Dutch oven at 450°F. The trapped steam helps the crust expand and brown for a professional finish.
Is it true that no-knead bread is healthier than regular bread?
No, this is a common misconception. It contains the same calories and nutrients as most standard white breads.
Why don't you knead artisan bread?
Extended resting time allows the gluten to align itself automatically. If you enjoyed working with high hydration dough here, see how we adapt it for homemade pizza dough.
The Easiest Overnight No Knead Bread